Light is something we all take for granted unless you live in the arctic c... Read More
- Home >
- A Basic Guide To Seed Starting For Hydroponics
A Basic Guide To Seed Starting For Hydroponics

The beauty of hydroponics is that it allows you to have complete control over every input that goes into your plants: be it air, water, light, or nutrients.
You may have tasted success in your first grow system, or you may be in the process of building one now. We all know the drill.
A lot of hard reading and research, and multiple trips to your local Home Depot or gardening supply store, time spent creating your system from scratch. It is all worth the effort.
But where did you get your first plants from? The chances are that you got them as seedlings or runners from the local store.
Buying pre-grown seedlings/saplings is a good option for beginners. But in the long run, learning to start with your own batch of seeds is the best option.
Today, we will examine why this is so, and also look at all the processes involved.
Why Seeds Are Better Than Seedlings From Stores

Remember what we said at the beginning, about how hydroponics gives you complete control over all the inputs? Well, seeds are also inputs, aren’t they?
They are arguably the most important input, as they decide the type of plants and the productivity of your final harvest as well. So why would you want to leave this all-important aspect in the hands of others?
Choice
First and foremost, it is a question of freedom and choice. When buying seedlings from a store, you are dependent on their catalog. They may or may not have the varieties you seek.
Easy Access
Seeds are more abundant and easier to get. In fact, some rarer heirloom plants are often available only as seeds.
Cleaner (Less Trauma Involved)
When you do the seed starting process at home, you can plan ahead and create seedlings in a soilless medium. But when you buy from a store, you cannot guarantee that.
As you may very well know by now, soil and hydroponic systems do not go together. Soil can contain contaminants. Seedlings planted in the soil will have to go thorough rinsing and cleaning.
And if you are not careful, that can damage the fragile roots of young seedlings. When you start with seeds, this complication does not arise.
Cheaper
This one is pretty straightforward. Buying seeds are always cheaper than buying seedlings of the same plant.
Getting seeds started takes time and effort. And you can bet that the local store or nursery will charge you extra for that. Start at home, and you can avoid this middleman.
No Cheating!
If you want to do legit hydroponics, you have to learn how to start your own seeds. It is an integral part of growing plants.
When you buy pre-grown seedlings, it almost feels like cheating. Plus, watching a plant grow from a tiny seed will give you more satisfaction than a seedling that someone else nurtured.
Tools & Components Required For Seed Starting
Seeds require the same inputs as adult plants, only, in smaller quantities. So you will need some way to deliver light, water, nutrients, and heat.
Starting Medium/Starter Plugs

Like mature plants, seeds also need a growing medium to dig their roots into and grow. A very popular option is to buy small cubes of Rockwool, coco coir, or similar growing medium.
These cubes are also called starter plugs. They are spongy cubes that can hold air and water. Each cube has a hole in which you can drop a single seed (or several, depending on the size and type of seed).
The advantage of using cubes or starter plugs is that you don’t have to uproot the seedlings once they are ready for transplantation. You can take the entire cube and place it in a larger container filled with the same material, i.e., Rockwool or coir.
There is also another option in starter plugs, called rapid rooter. This is a moist cube made from organic materials like decomposed tree bark and peat. These may contain beneficial microbes that aid in root growth and nutrient absorption.
Another option is to ditch starter plugs entirely and use a soilless medium like perlite or vermiculite. You can just fill a tray with this material, and plant seeds in them, just as you would in natural soil.
Netcups
If using rockwool cubes or rapid rooter plugs, you will need multiple small net cups to hold these in. Or you can look for specially crafted trays that contain individual slots for cubes or plugs.
If buying net pots, small 2″ versions work best, as you can keep a lot of them on a small tray.
A Container/Tray

Since you will be starting a large number of seeds, (anywhere from a dozen to fifty), it is better to look for trays or boxes that can fit these individual cups. Look for containers with a depth of around four to six inches for best results.
There are more advanced options, like building a hydroponic cloner system for your seeds. This is like a miniature hydroponic system, complete with air pumps and everything for your seeds.
For a first attempt though, a simple tray-based system is all you need.
Heating Mat
This is for regions where you cannot guarantee a temperature range between 70-90 degrees Fahrenheit at all times during the germinating and starting process.
If you live in a cold area, consider buying a heating mat to be placed under your growing tray. Seeds will refuse to sprout unless the ideal temperature requirements are met.
Grow Lights
Again, these are optional components. If it is summer and you have space where the grow tray can get adequate sunlight, you can forego artificial lights entirely. A window sill is often a great place to keep your seeds.
But if sunlight access is not available, get a decently sized grow light that can keep the entire tray surface properly illuminated.
Nutrient Solution
There are several options when it comes to nutrients for seed starting. One option is to use a diluted, half-strength solution of regular hydroponic nutrients.
Or you can go for specialized starter nutrients. There are many brands available, armed with the right mix of nutrients and compounds to encourage root growth and germination.
A Ziploc Bag
This is an optional component to get your seeds to germinate. You may want to try it out to see for yourself whether it has any advantages.
Step-by-Step Instructions – Germinating
1. Prep The Growing Medium

Whether using rockwool, coco coir or rapid rooter cubes, you need to soak them in water to prepare them. Rockwool has a high pH, so you need to wash it in a mixture of vinegar and water to make it suitable for seeds.
Ensure that the cubes are thoroughly moist. For Rockwool and coir, keep them in fresh water for an hour. Rapid rooter cubes can be moistened using a combination of pure water and mild nutrient solution for a few minutes.
2. Place the seeds

There is no guarantee that every single seed you start out with will germinate. So you may want to place at least a couple of seeds in each starter cube.
As an optional step, you can place these wet cubes inside a Ziploc bag and seal them. Place the bag in a dark corner for 2-5 days to allow for germination.
Once that is done, the cubes can be placed in your grow tray. If you opt out of this Ziploc method, simply place the cubes with the seeds in the grow tray, in individual net cups.
3. Add water and nutrients

Fill the bottom of the tray with a mix of pure water and a low concentration of hydroponic nutrients or blooming mixes.
The water level should be high enough to submerge just half an inch of your starter cube and no more. Keep an eye on the water level. If it starts to go down, add more water+nutrients to the tray.
4. Provide adequate light

One of the advantages of a grow tray is its mobility. You can move them around the house if needed. If sunlight is available, you can place them on a windowsill or patio.
If not, just move them indoors and add some grow lights. As the seeds start to sprout, increase the light intensity by bringing the grow lights closer to the tray. Do not bring them closer than six inches though.
Transplanting The Seedlings
Your seedlings are ready for transplantation if their roots are poking out of the cube of growing medium. This stage can take anywhere from a couple of weeks to more than four weeks.
It all depends on the individual plant species. Continue watering your seedlings diligently until they reach this stage. If multiple seeds germinate inside a single cube, look for the healthiest one and remove the others.
Once they are ready, carefully remove the cubes from your grow tray. You should have a working hydroponics system ready by now.
Create some space in the growing medium in your “grown-up” hydroponic system. Place the entire cube with the seedling inside this space.
Gently cover the cube with more growing medium. Water the seedling from the top with a nutrient mix in the first few days. This will encourage the young roots to push into the fresh layers of growing medium for nutrients.
And that’s all there is to it! Your seedlings are ready to grow into big healthy plants in your hydroponic system now!
Conclusion
Learning to get your own seed starter system is not as complicated as learning to create an entire hydroponic system. All you need is some gentle care and attention.
Starting with seeds is definitely cheaper and gives you more freedom. It is also much more satisfying than buying seedlings from the store.
And the best thing is that it takes only minimal input costs and effort. There is no logical reason not to germinate your own seeds for hydroponics.
Related Content
-
How Light Affects Plant Growth – What You Need to Know
-
10 Best Rain Barrels for Your Home & Garden in 2024
We reviewed over 60 rain barrels to find the top 10 picks. Take a look at ... Read More
-
A Complete Guide to Aquaponic Gardening
In this article, you will learn about the basics of aquaponics practice - ... Read More
-
What is Vermiculite? What is it used for?
If you’re looking for an additive to improve the quality of your soil, or ... Read More
Explore Our Categories
-
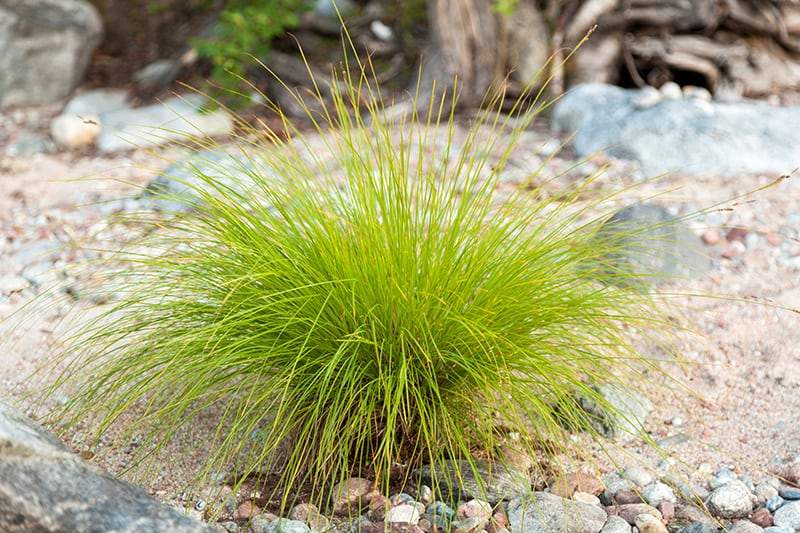
 Ornamental Grasses
Ornamental grasses are often overlooked when people are buying new plants for their garden; however, ornamental grasses ...
-
Olive Trees
Olive Trees can grow in a variety of climates. Here you'll discover more about how to take care of this popular tree for...