Starting with Hydroponics is easier than it seems. You don't need to grow ... Read More
- Home >
- Tree Care Tips & Techniques
Tree Care Tips & Techniques
Trees are among the most notable plants in any landscape. But growing and caring for a healthy tree takes work and know-how. To help you do both, we created this extensive resource for all things tree care. From choosing and planting new trees to removing diseased or decaying trees, we gathered all the tree care tips and techniques you need to keep your home’s landscape growing strong.
How to Choose a Tree
Choosing a tree for your home property involves many considerations. Many people fixate on the tree’s size and appearance when they should be focusing on other more important factors, such as climate, space, and tree health. To choose the right tree for your landscape, follow the guidelines below.
1. Work within your climate
No matter how much you love a certain tree species, there’s no use buying one if it won’t survive in your climate. As with any plant type, each tree variety comes with a specific set of required growing conditions that take into account:
- Sun exposure
- Soil moisture
- Soil acidity
If your property cannot provide the necessary sun exposure and soil quality, then that tree species isn’t the pick for you.
It’s also crucial that you consider your hardiness zones. A hardiness zone indicates how cold a region becomes during the winter. Some trees need a hot climate year-round while others can withstand a harsh winter.

When shopping for a new tree, start by checking the hardiness zone for the location where you intend to plant it. A single number corresponds to each hardiness zone. The lower the number is, the colder the average low temperature is for that region.
After you identify your hardiness zone, soil levels, and sun exposure, you can begin to search for a tree species that suits your climate.
2. Consider your space
Many novice gardeners plant their shrubs and trees too close to a fixed object such as a house or fence. Within a few years, the plant becomes too large for the area. Those gardeners failed to anticipate how large their trees would grow.
Avoid this common error by knowing your tree’s mature size. Consider both the height and spread of the tree once it reaches its old age. Then choose a planting area that can accommodate that growth.
If you plan to plant multiple trees, give them enough space to prevent overcrowding. The exact spacing varies for each tree species, but as a general rule, use the dimension of the mature canopy spread as the distance between each tree’s trunk. It is possible to plant trees closer than that, but using the tree’s mature spread to determine your spacing should give ample room for each tree to grow.
You should also ensure that your planting area has the right amount of space for you to maneuver around the tree and provide the maintenance it will require.
3. Check the tree’s health
Not all trees at local nurseries are equal. In fact, some may be diseased or dying before you even purchased them. Make sure you pick a healthy tree right from the start by checking for these warning signs:
- Damaged or missing bark
- Brown leaves or needles
- Fungus or a slimy texture to the bark
You should also be wary of pests. Small holes in the trunk of a tree can indicate that insects have already infested the tree and impacted its health.
A good nursery should have quality trees in stock. But even the best commercial nurseries may have some damaged or dying trees for sale. If you manage to find a healthy one that you like, go ahead and buy it. Next get ready to plant it properly.
How to Plant Trees in 5 Steps
A tree’s future health and development depend on the planting techniques used by the landscaper. Since you only have one chance to plant your tree right the first time, it’s vital that you do so properly. Below is a quick step-by-step guide to getting your tree in the ground the correct way.
1. Remove the tree from its container
New trees always come in some form of container that holds the root system. Your first step is to remove the tree from its container.

Some plants come in a plastic bucket. But for trees, the most common type of container is a burlap wrapping. This wrapping envelops the roots and their surrounding soil, creating a neat bundle called a root ball.
Use caution when opening the burlap. There are often nails and staples that hold the burlap in place. If you aren’t careful, you might cut yourself. As you remove the burlap, expose the root flare. To do so, remove soil from the base of the trunk until you see the point at which the trunk becomes roots.
The roots themselves should remain covered. But the root flare must be uncovered for the tree to grow in a healthy manner. Once you’ve removed the burlap and exposed the root flare, you’re ready to pick up your shovel.
2. Dig a planting hole
Before you roll up your sleeves and start shoveling dirt, you need to consider your planting hole’s dimensions. Here are the two most important rules when it comes to digging a hole for a tree:
- The depth of the hole should match the height of the root ball — measure from the bottom of the root system to the bottom of the root flare.
- The width of the hole should be twice the width of the root ball.
The correct depth allows the root flare to remain exposed, while the proper width gives the roots a chance to expand.

3. Score the hole and the root ball
This is a professional tip many people don’t know. To help your tree’s root system expand, score (i.e., rough up) both the root ball and the sides of the planting hole. Here’s a video to help demonstrate this:
This technique makes it much easier for roots to grow through soft, loosened soil. If you skip this step, the ground may be too compacted for the tree’s roots to move through it.
In that case, the roots may turn back towards the trunk, become entwined, and eventually strangle themselves. Above the surface, you’ll be left to wonder why your new tree is dying.
4. Fill your planting hole
The last step is to fill in your planting hole. Begin by placing the root ball in the hole and double-checking the hole’s dimensions. Make sure that the root flare is just above the top of the hole and the trunk is straight.
Next, begin backfilling the hole with the soil you removed. Consider watering the tree while you backfill. The water at this stage has a dual purpose. First, it helps the tree recover from the planting process. Second, it eliminates any air pockets that might cause the tree to settle in an odd way later.
Once you’ve backfilled the hole, it’s time for the finishing touches. Spread a few inches of organic mulch around the base of the tree. Mulch helps the soil retain moisture and adds nutrients to the soil as it breaks down.
5. Create a dish
Here’s the last step before your planting is complete. To help your tree’s root system soak up as much water as possible, pile soil and mulch in a ring around the base of the tree.
This raised circle creates a dish shape, which acts as a reservoir containing the water as it percolates into the soil. Once you’ve planted your tree and formed a dish, fill the dish with water and let it soak into the ground. You can do this multiple times to help the tree get the water it needs.

Important note: There’s a common yet incorrect method many people use when planting trees. This method involves piling soil around the tree’s trunk to create a volcano shape with the trunk emerging at the volcano’s center. There’s no practical reason to mound the soil this way and doing so harms the tree’s growth by covering its root flare. Likewise, the volcano shape does not promote water retention above the roots. This common mistake causes many newly planted trees to decline rapidly. Remember — you want to create a dish, not a volcano.
Once you’ve successfully planted your tree, it’s time to practice proper care and maintenance.
How to Care for New Trees
To establish your tree in its new home, you’ll need to give it some special attention. Once your tree shows consistent healthy growth, tree care becomes much easier. But first, let’s discuss some tips to care for your new tree.
Water thoroughly
Whether you’re planting or transplanting, the process causes your tree to go into a state of shock. This state, sometimes called transplant shock, is normal and should not last more than a few weeks. During that period, the tree may appear slightly wilted.
The watering you did during the planting process helps your tree overcome shock, but you must continue watering your tree regularly in order for it to make a full recovery. For at least the first week, water your tree daily. After the initial week, water every three days for the next three months.
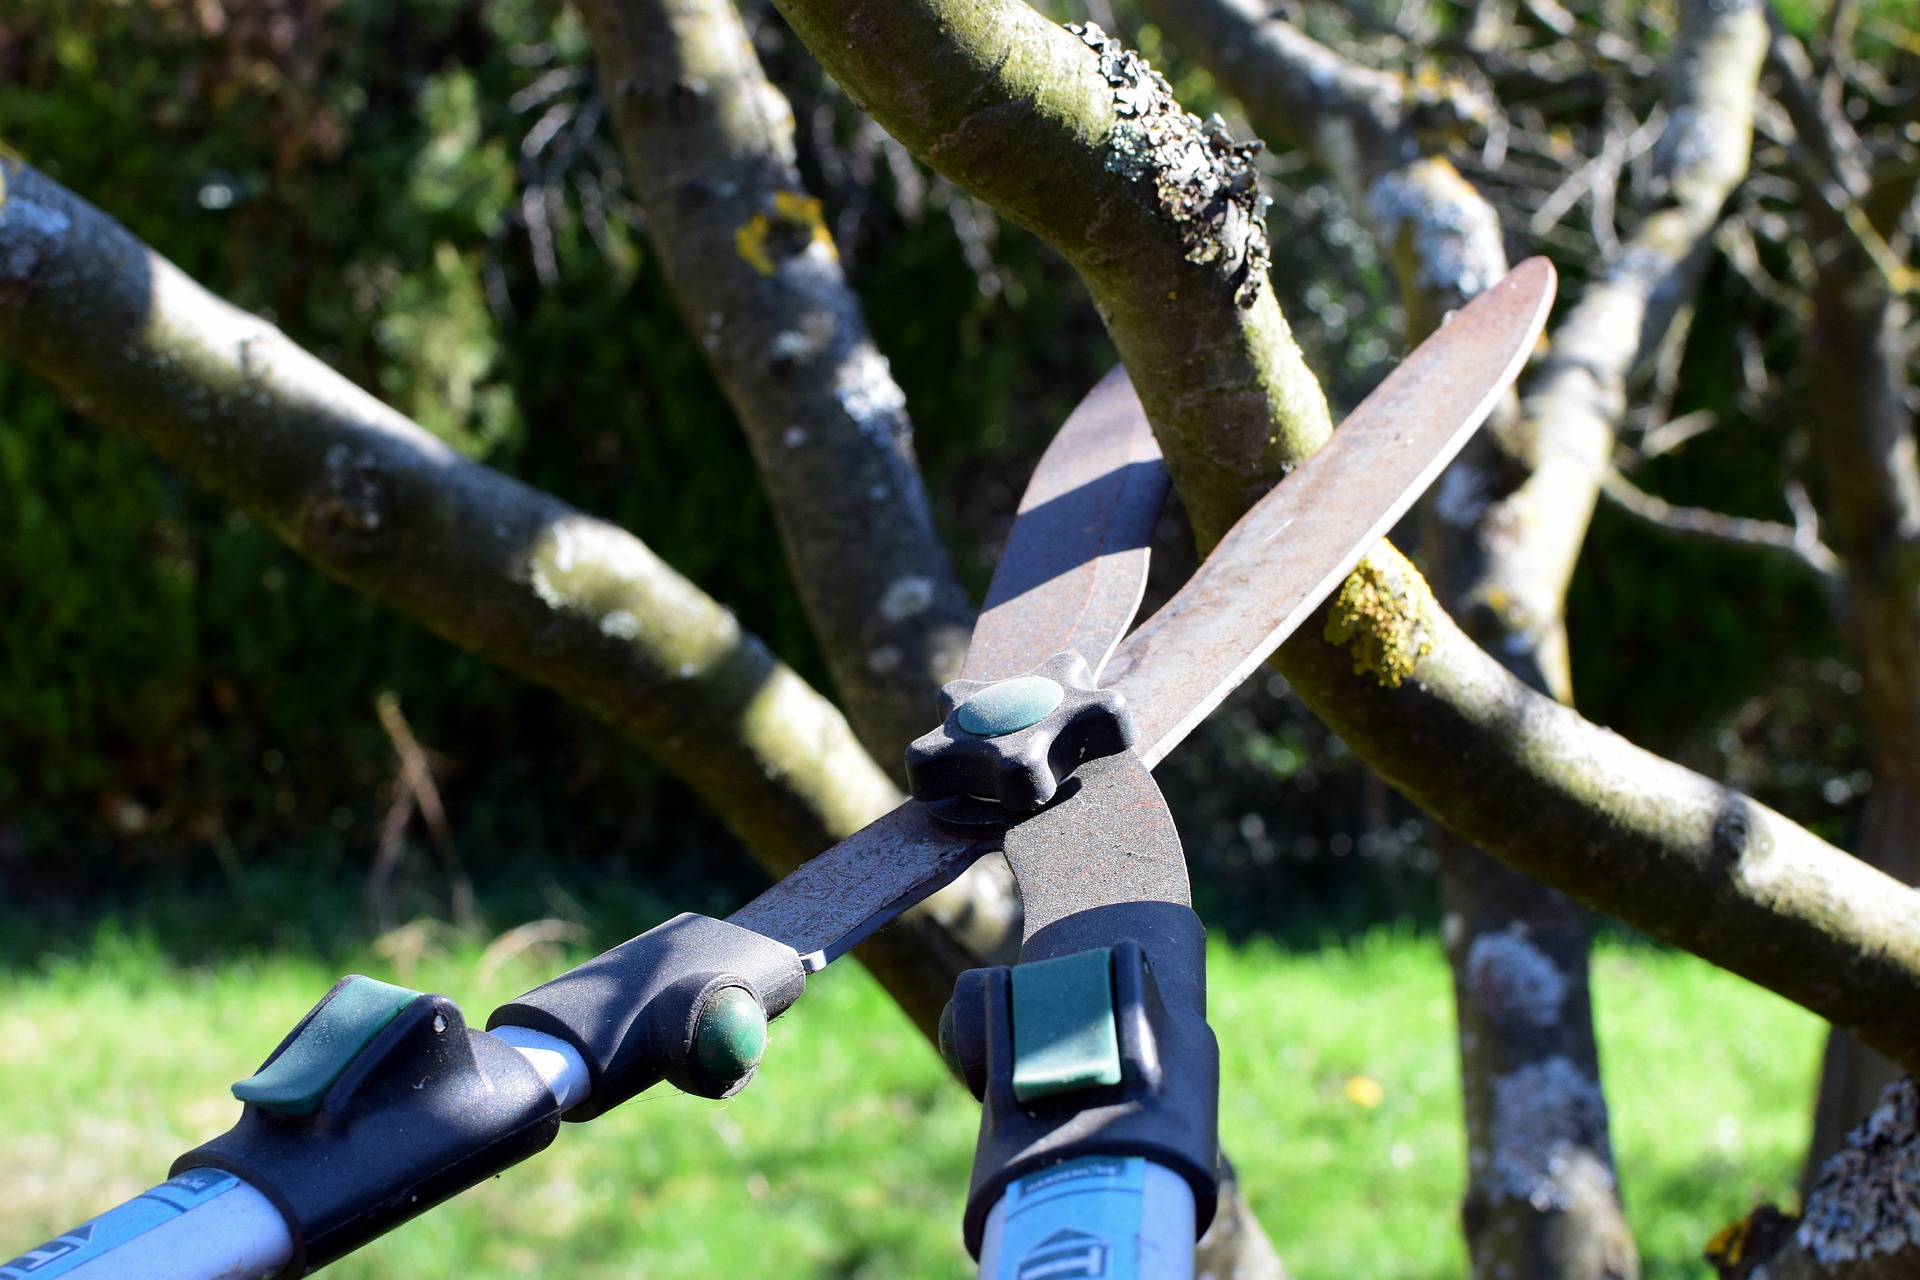
Prune at the proper time

Careful pruning is especially important just after planting a tree. Once your tree is in the ground and watered, use your pruning tools to remove any branches that are:
- Dead
- Broken or damaged
- Crossing another branch
Through pruning, you prevent your tree from expending energy growing branches that are destined to die anyway. Removing those branches helps the tree allocate its energy towards its healthiest limbs.
After the initial planting, the best time of year to prune your tree is just before the growing season begins. When pruning, you should also consider the overall form of the tree. But pruning for form is more of an art than a science. As long as you remove the three types of branches listed above, you’re doing your part to help your tree grow to its full potential.
Fertilize your tree
Fertilizer adds nutrients to the soil that promote the vigorous growth you hope to see in your plant. However, there’s an ongoing debate in the gardening community over whether you should fertilize a newly planted tree.
Some gardeners claim that immediate fertilization is a requirement for the tree’s early growth. Others say that a new tree needs only water and mulch in its first season.
Regardless of this debate, everyone agrees that fertilizer is beneficial after the first few growing seasons. Plan to fertilize your tree at the same time as your yearly pruning. It’s also okay to fertilize later in the season after your tree enters its dormant winter phase.
When selecting a fertilizer, choose one that’s well-suited to your tree species. As we stated above, each tree has unique needs, and the vast array of fertilizers on the market reflect that.
However, if you find it overwhelming to sift through that multitude of fertilizer options, opting for an all-purpose fertilizer is a safe bet, so is consulting with a professional landscaper.
Protect against winter damage
Cold winter temperatures combined with freezing winds can damage a tree. This is especially true for trees that put forth flowers and foliage in early spring. For those trees, a late winter storm can eviscerate its leaves and petals. Winter protection is a well-advised precaution for these types of trees.
Start by recognizing wind patterns. If you can plant your tree in a place that is relatively sheltered from strong winds, you’re off to a good start. Using stakes and tree wrap add further protection by holding your tree in place and shielding its canopy from the wind.

You should also be mindful of how close your tree is to a road or driveway. While road salt is an effective way to reduce the ice on the street, it can also damage trees that aren’t salt-tolerant.
When to Remove a Tree
There may come a time when your best option is to remove a tree from your property. When a large tree is no longer healthy, it has the potential to fall, causing damage to your home or injury to those nearby.
To avoid these serious problems, monitor the health of the trees in your yard. When deciding whether to remove a tree, look for these clues that it is time to do so:
- The trunk of the tree is hollow
- More than a quarter of the branches are dead or damaged
- The tree is leaning significantly rather than growing straight
- There is a severe fungus or infestation affection the tree

At times, it can be difficult for an average homeowner to get an accurate idea of a tree’s health, and it’s even more difficult to remove a large tree safely without help. In either case, the smartest decision is to seek the help of an expert at a local tree service company.
Find a Local Tree Service Company

Don’t rely on guesswork to decide if a tree on your property needs to stay or go. Instead, seek the advice of a tree care professional. There are likely several tree service companies in your area. Their teams can evaluate your trees’ health and decide whether or not it should be removed. Most tree service companies will also have the skill and equipment to remove the tree for you.
It’s important to note that tree removal is an incredibly dangerous activity. You should never attempt to remove large trees on your own. It’s no exaggeration to say that performing DIY tree removal risks your health and your life. While it can be sad to see a grand old tree cut down, at times it’s the only intelligent choice. Using the service of a qualified arborist is the best way to get the job done.
Sources
https://www.extension.purdue.edu/extmedia/fnr/fnr-faq-18-w.pdf
http://www.longislandtreeservice.org/helping-trees-recover-from-transplant-shock/
Related Content
-
The Kratky Method – Grow Food The Passive Hydroponic Way (Step by Step Guide)
-
Top 4 Compost Tumblers For Home & Garden Waste
Does your household have continual leftover food and garden waste which is... Read More
-
Top 7 Aquaponics Books That You Should Read (From Beginner to Expert Level)
In recent years the number of books on many hobbies and entrepreneurial en... Read More
-
Cal Mag for Plants – What You Need to Know
When it comes to plants' nutrients, besides Nitrogen (N) Phosphorus (P) an... Read More
Explore Our Categories
-
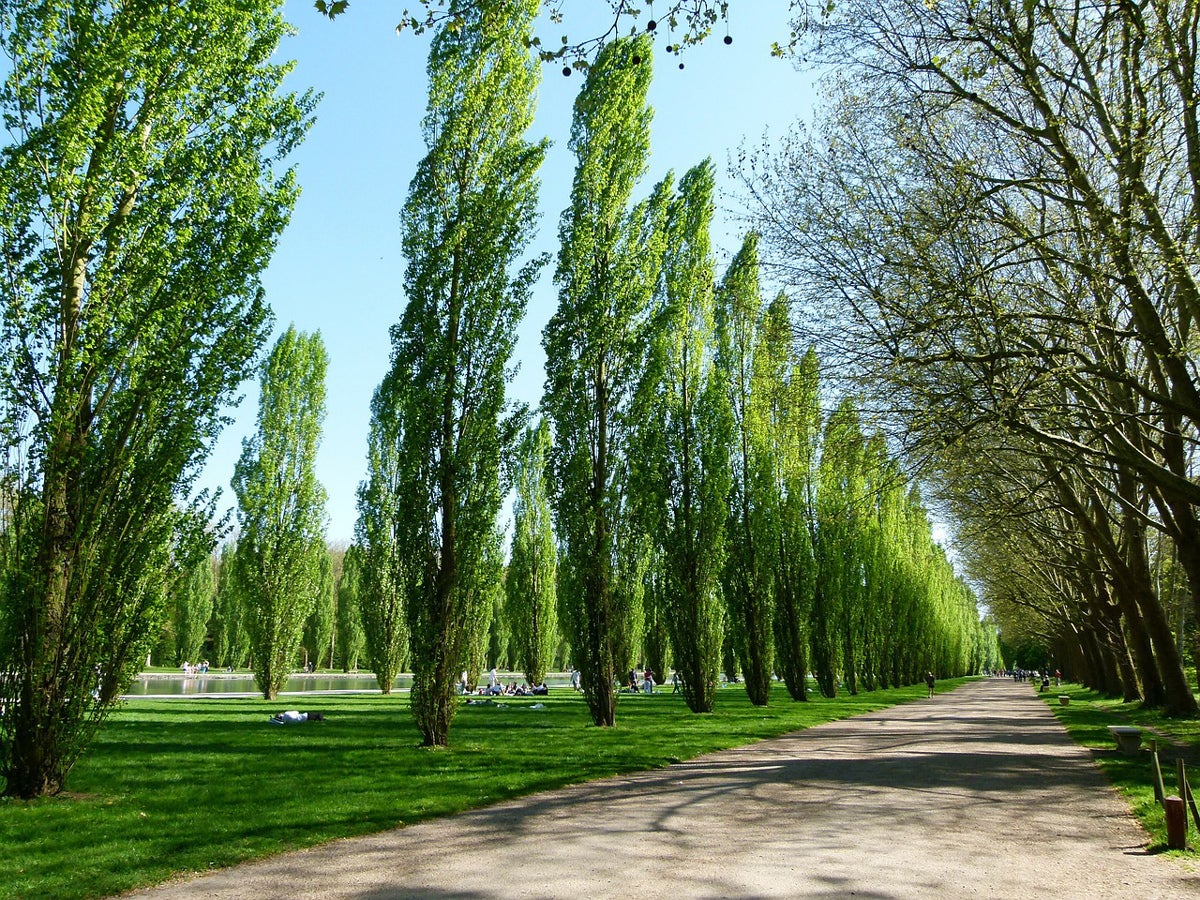
 Poplar Trees
Fast-growing, low-maintenance poplar trees are a superb addition to the landscape, with some varieties growing tall and ...
-
Juniper Trees
Juniper trees and bushes are aromatic evergreen plants that offer a stately presence in formal and informal gardens. Pop...