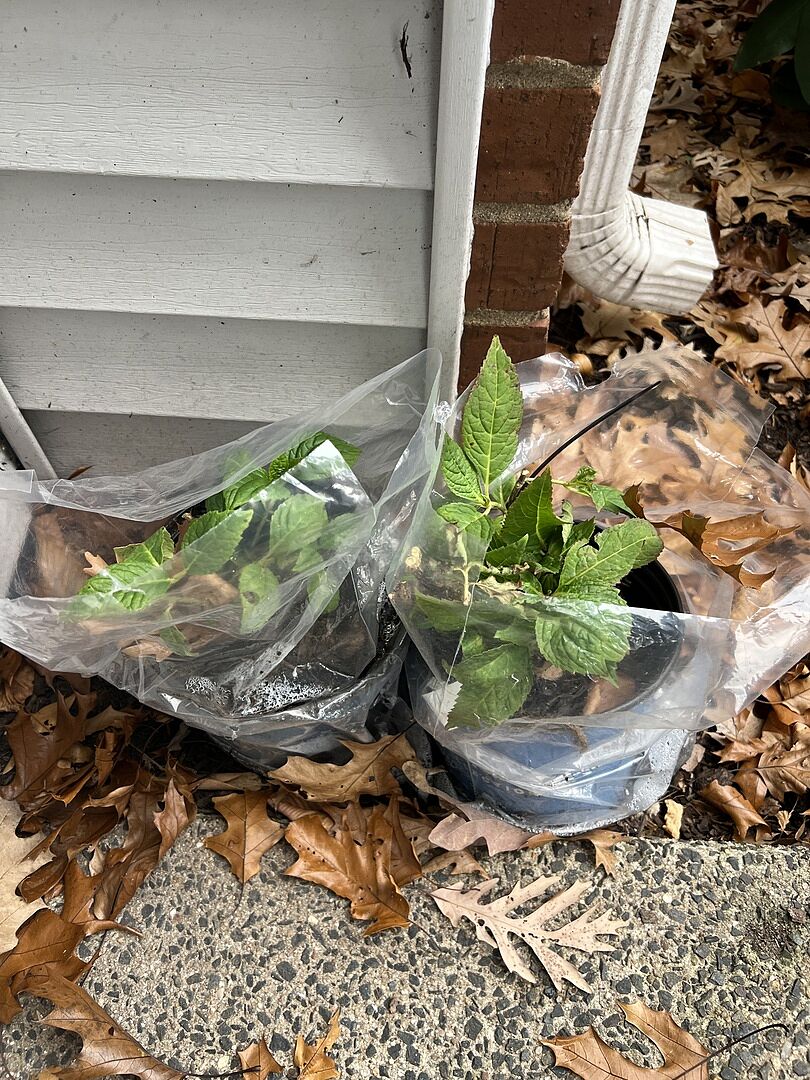
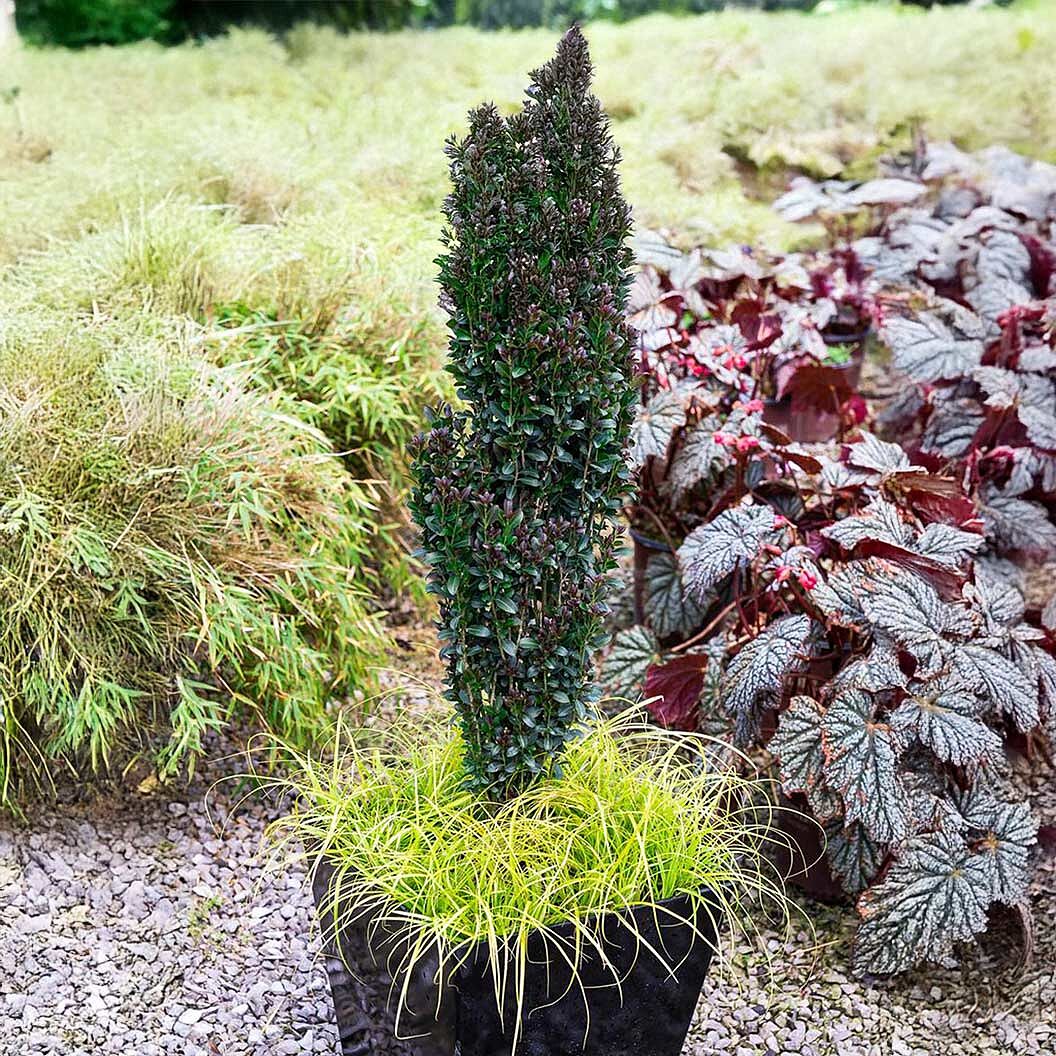
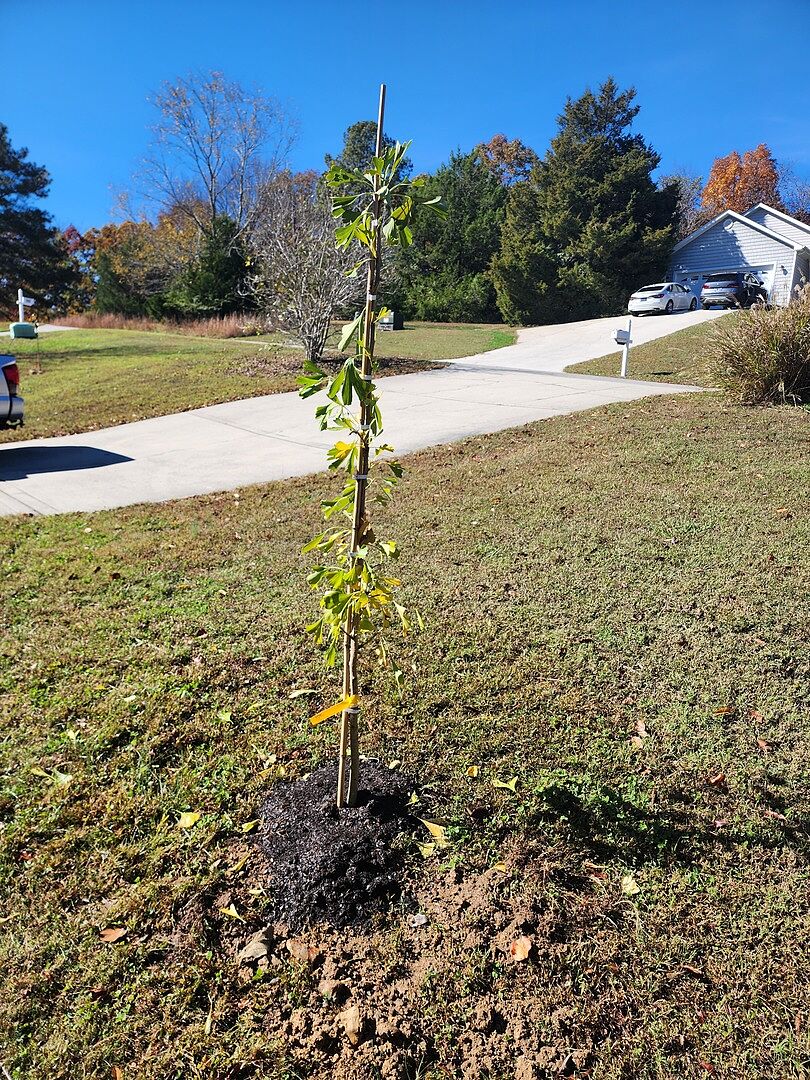
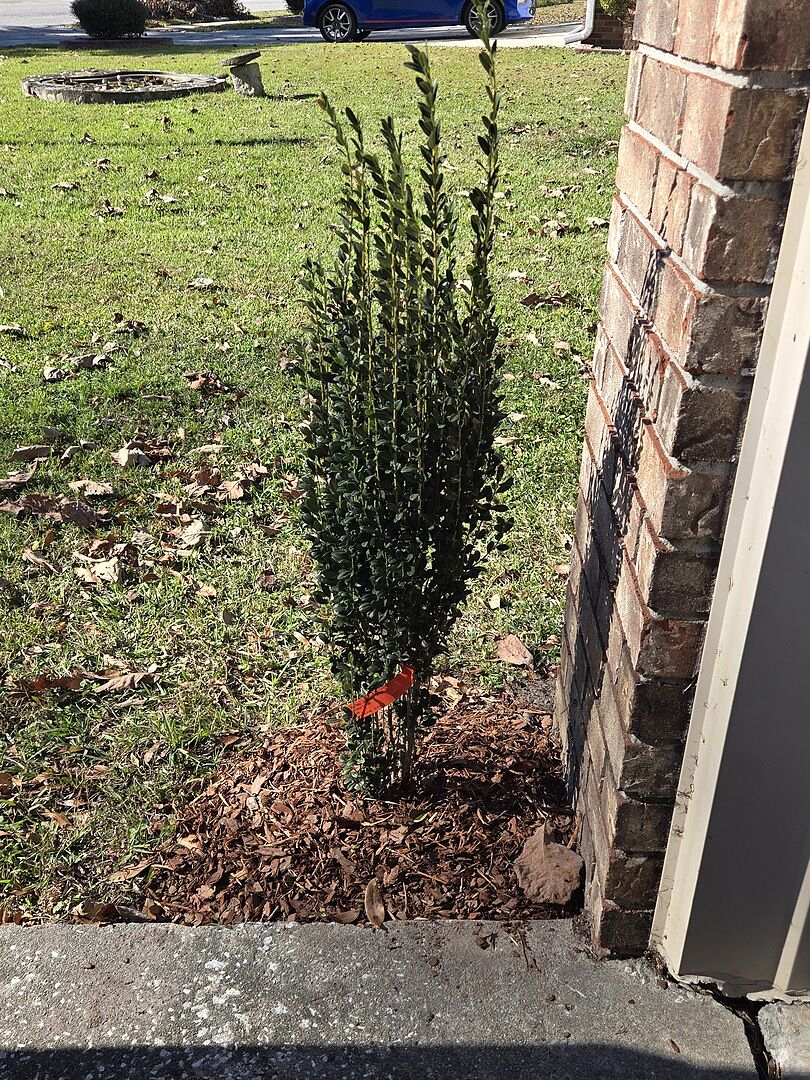
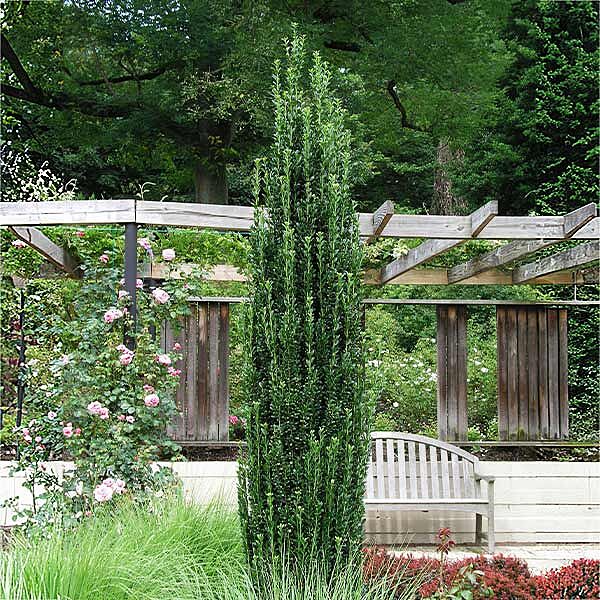
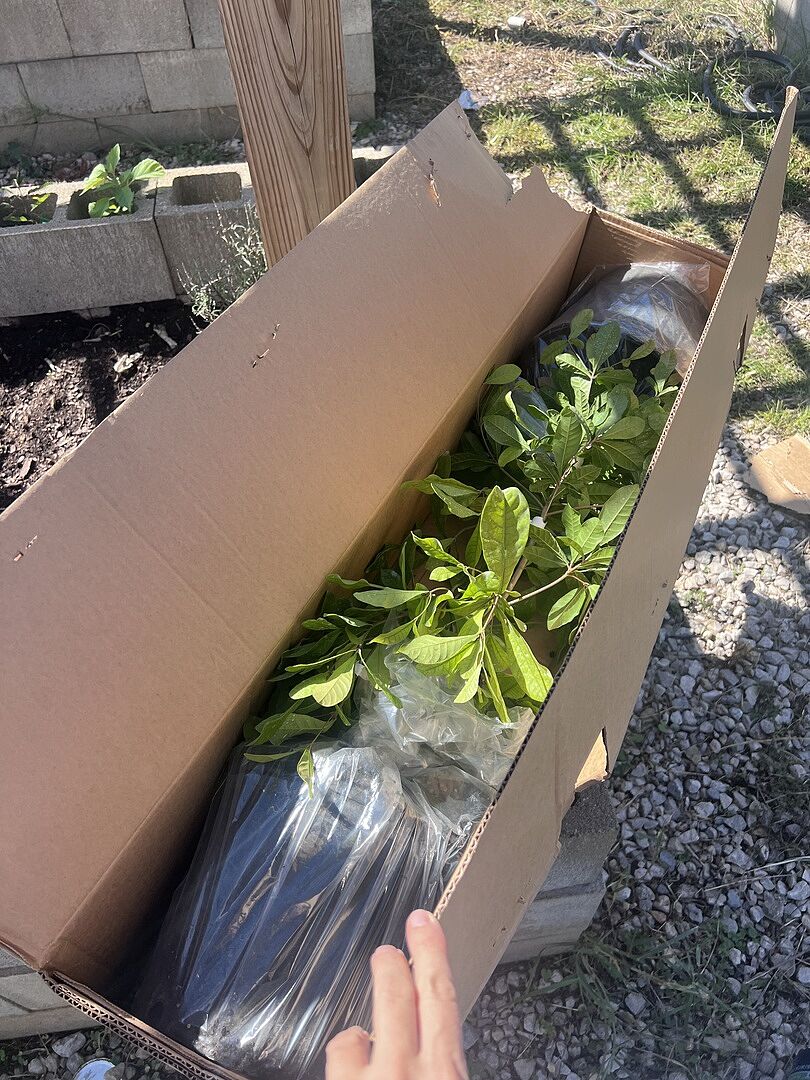
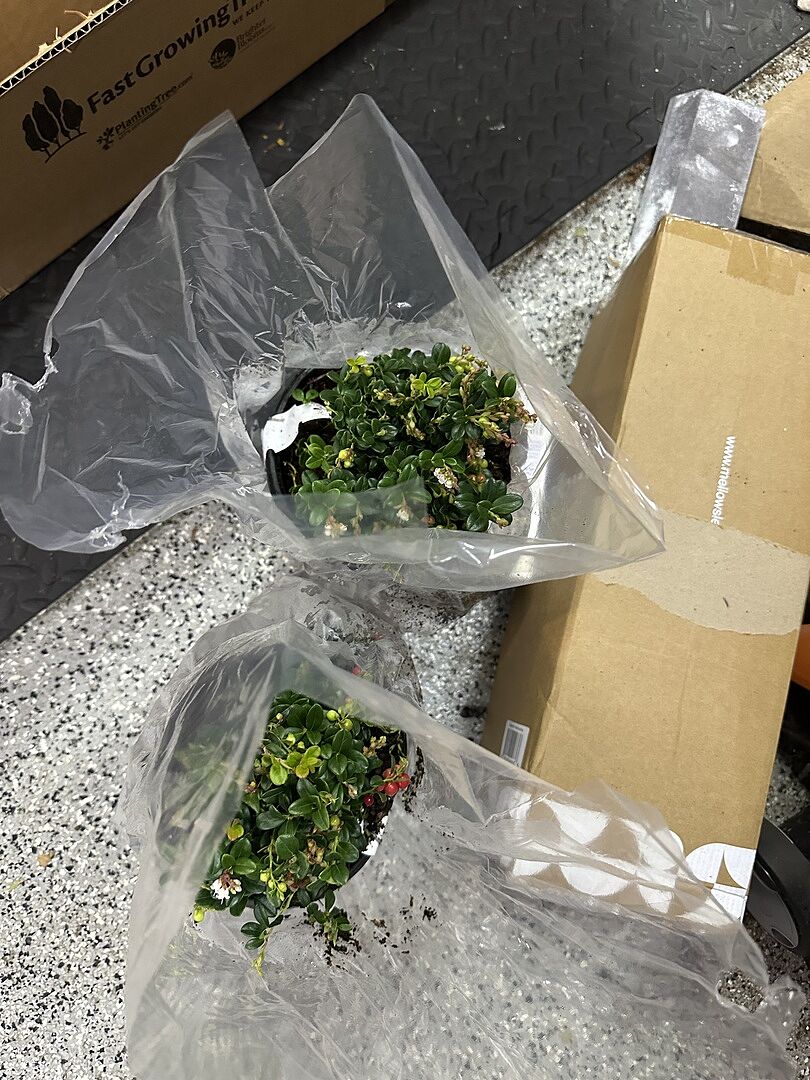
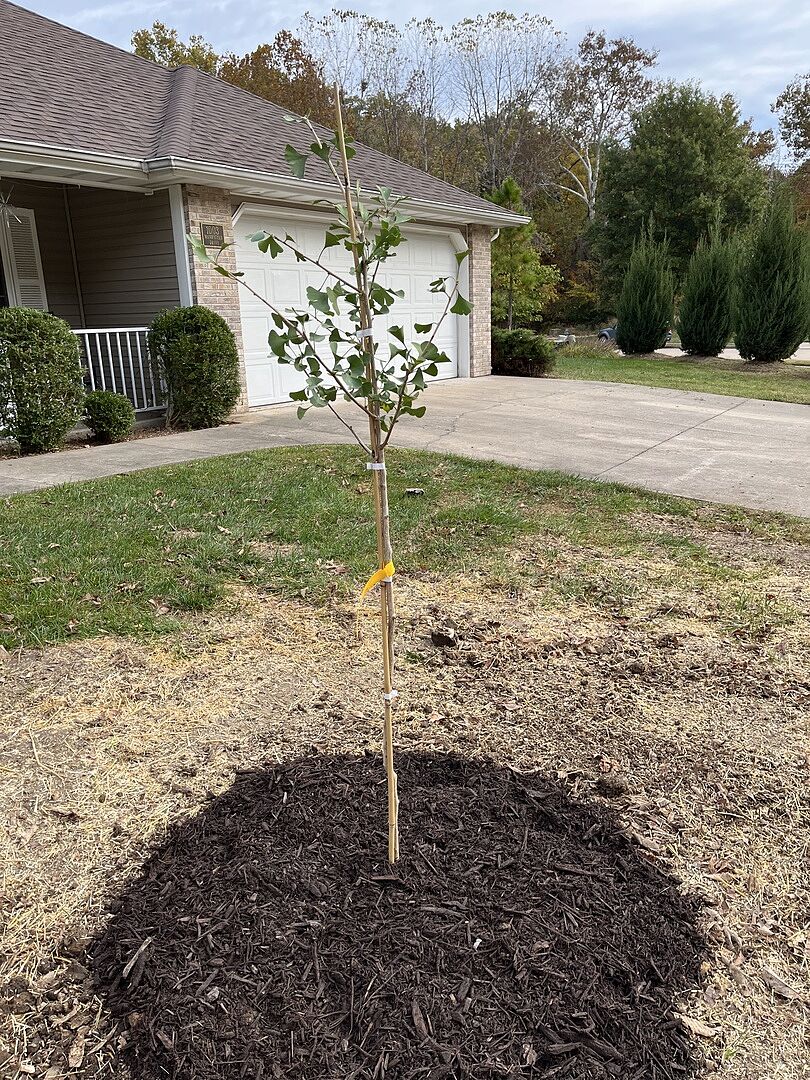
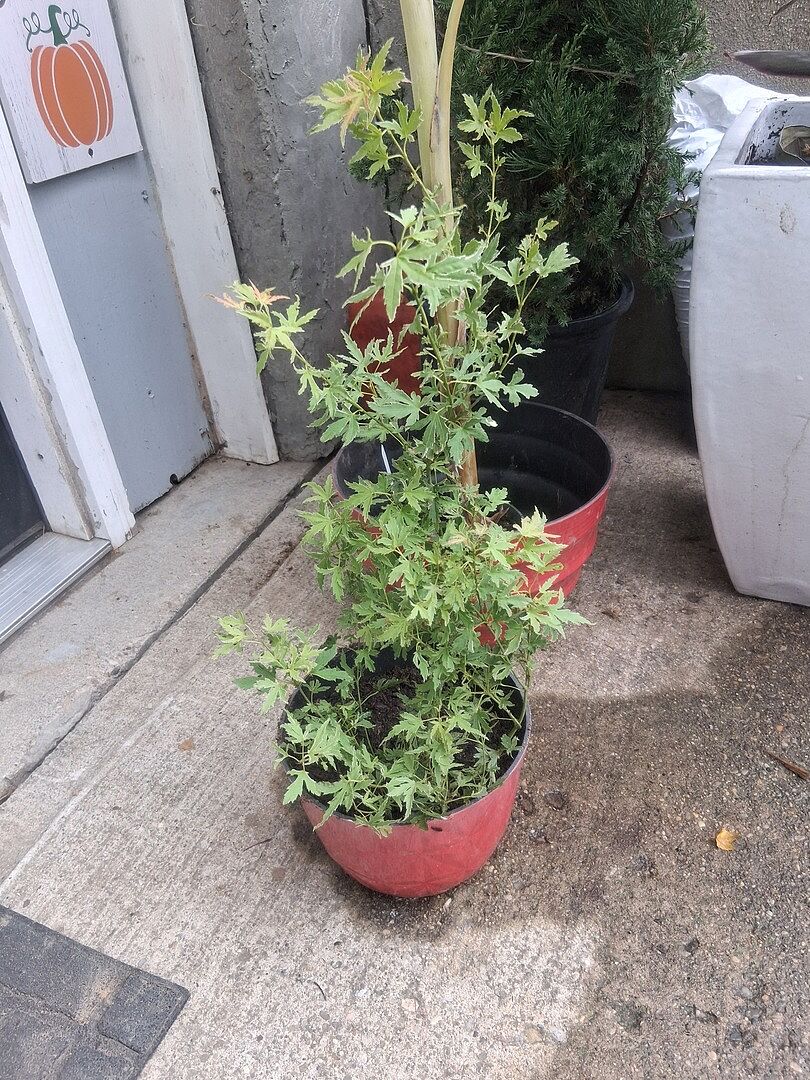
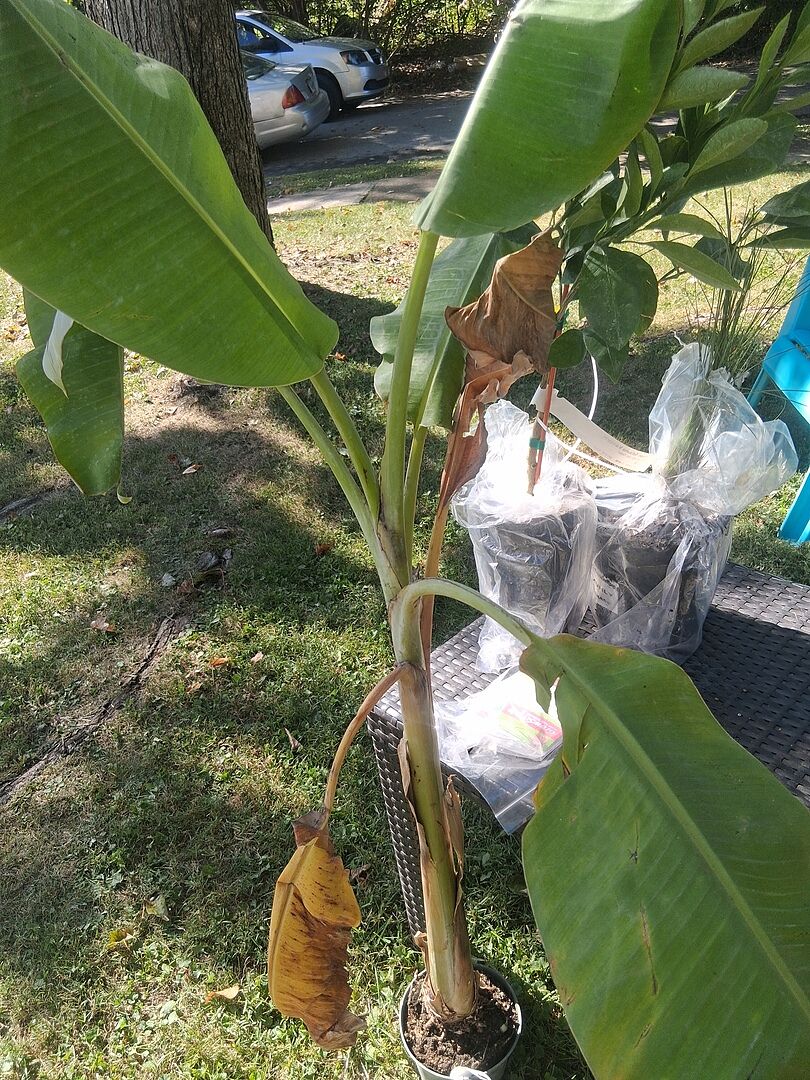
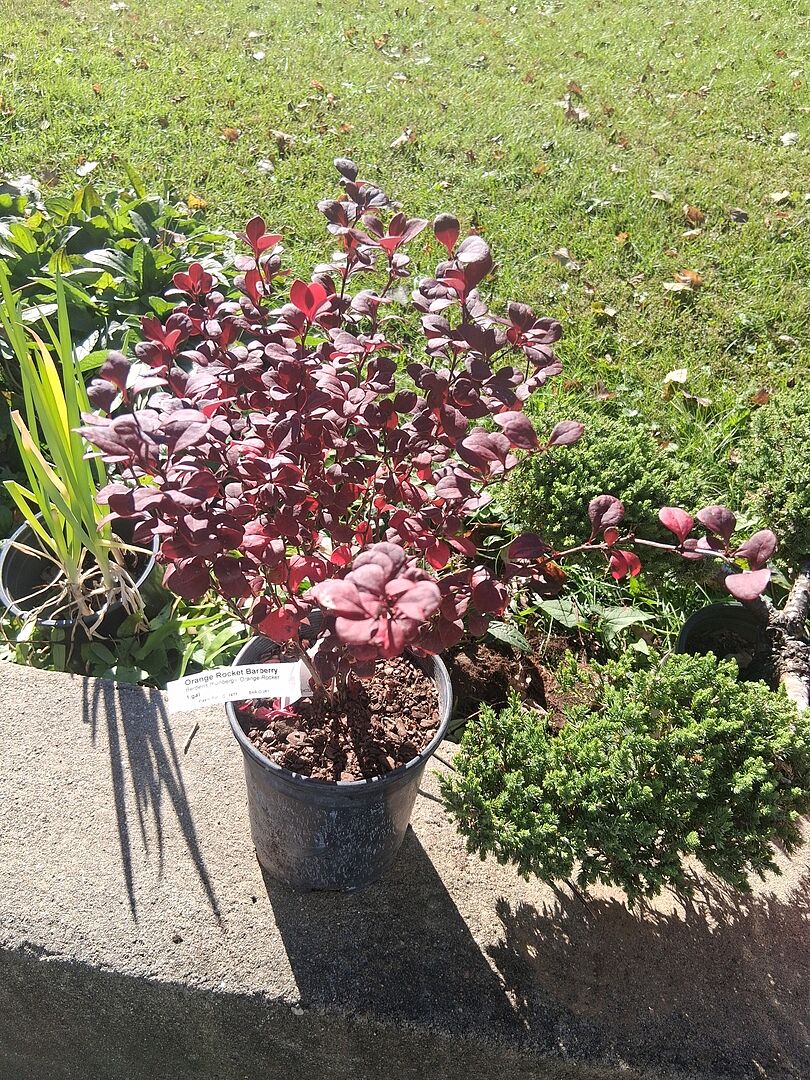
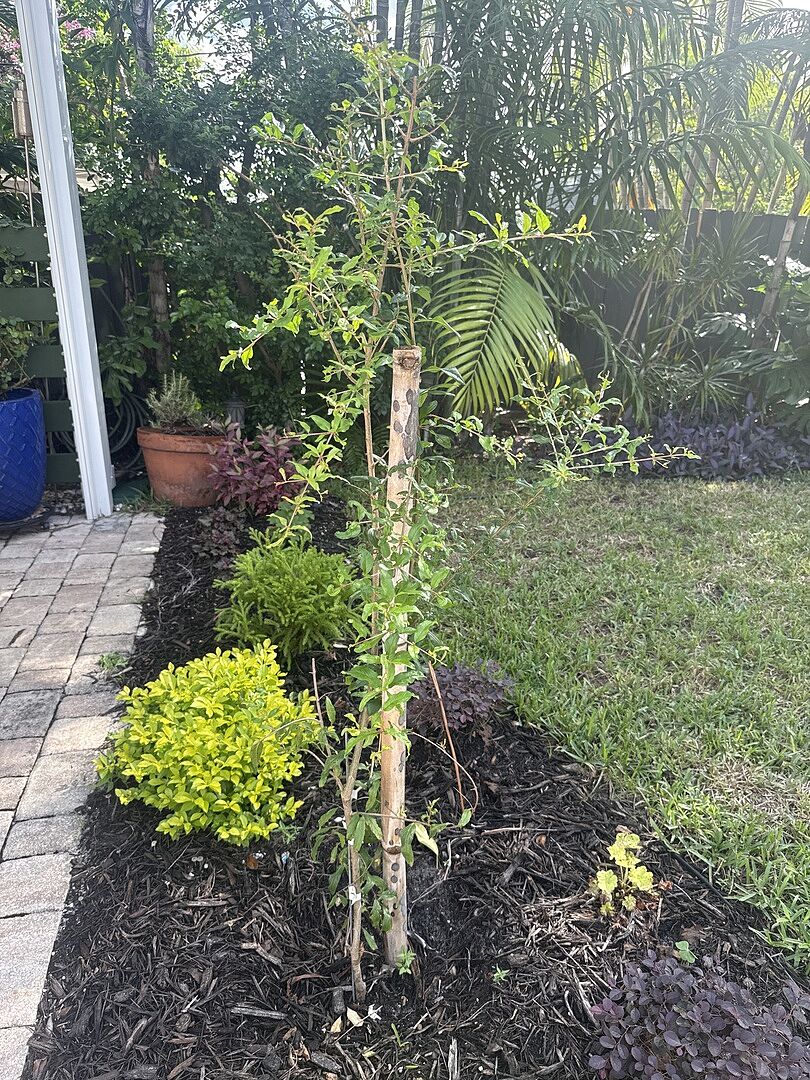
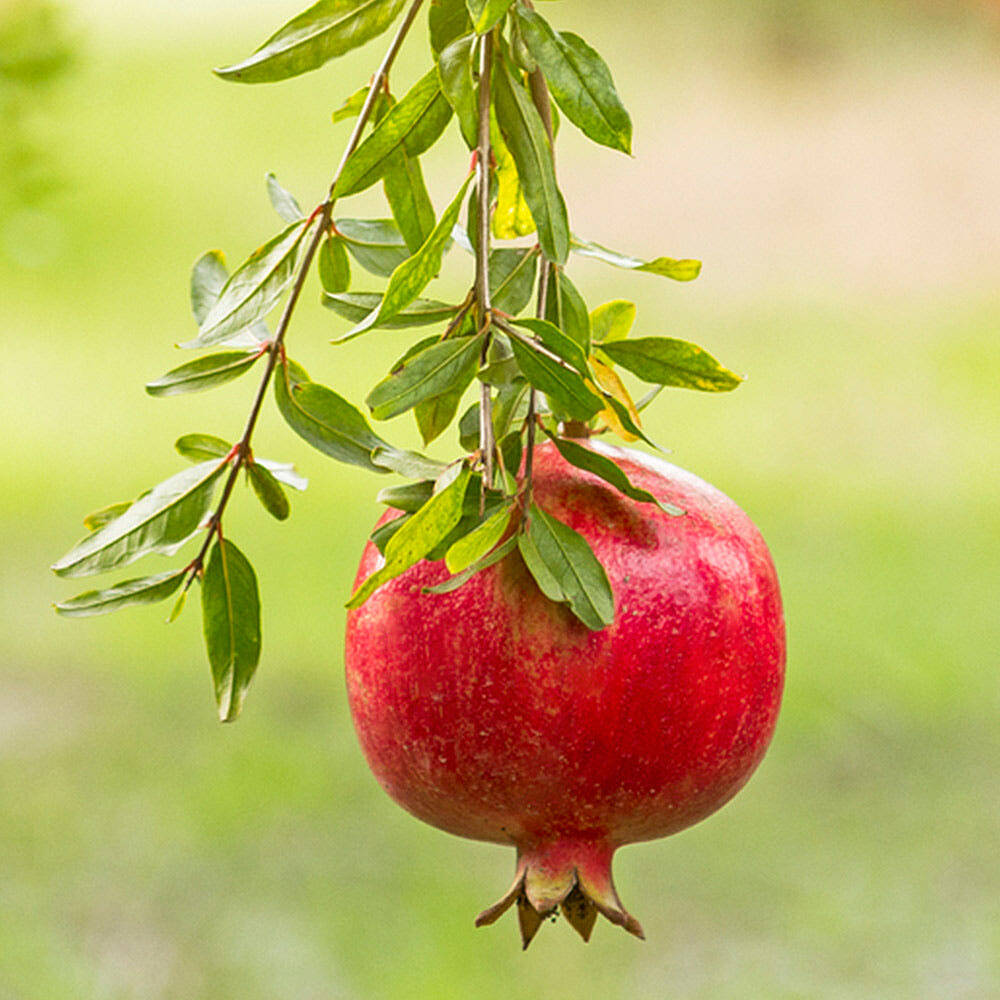
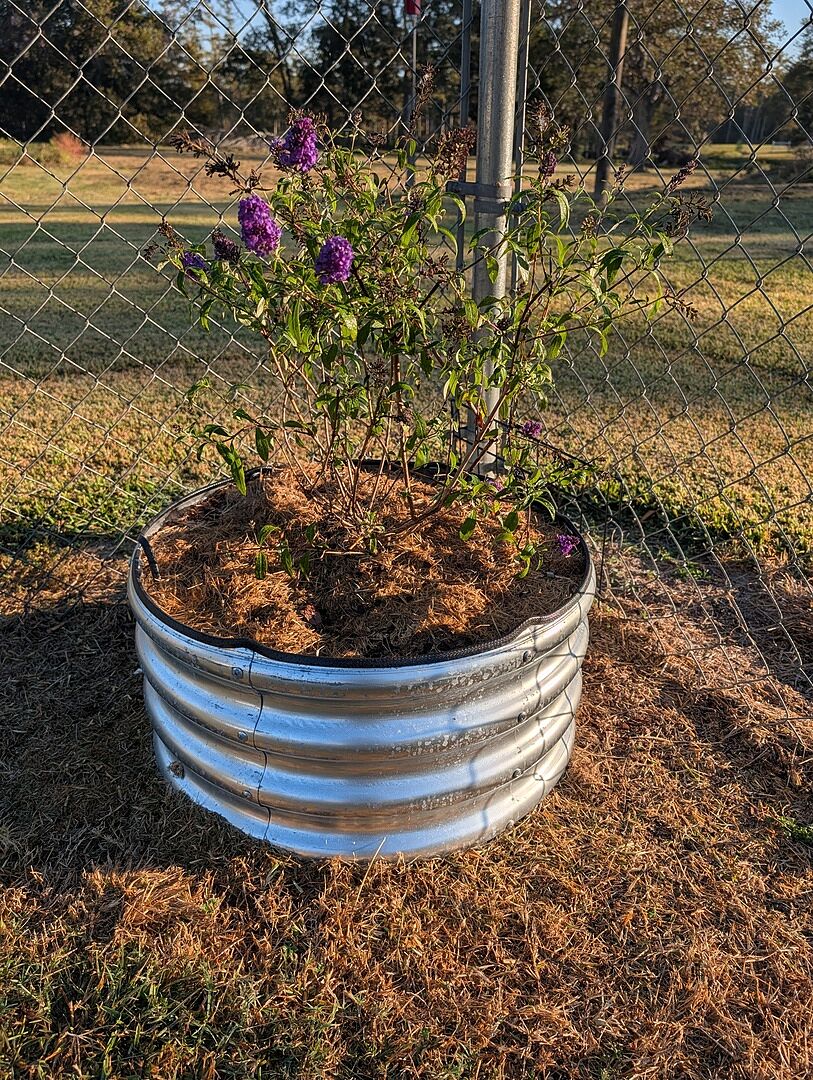
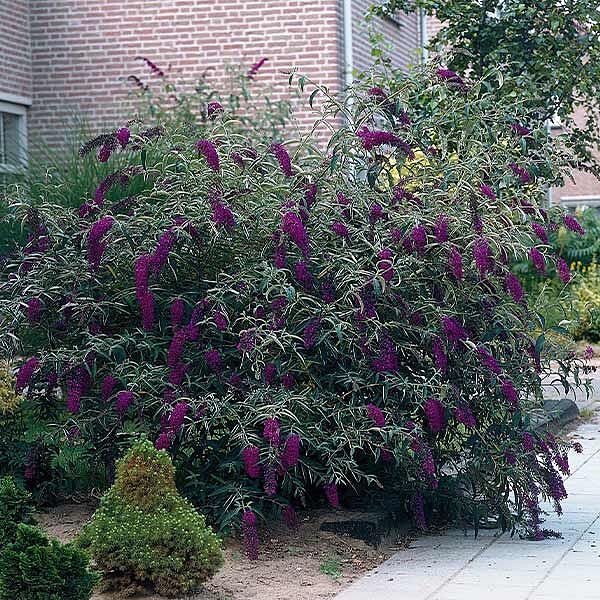
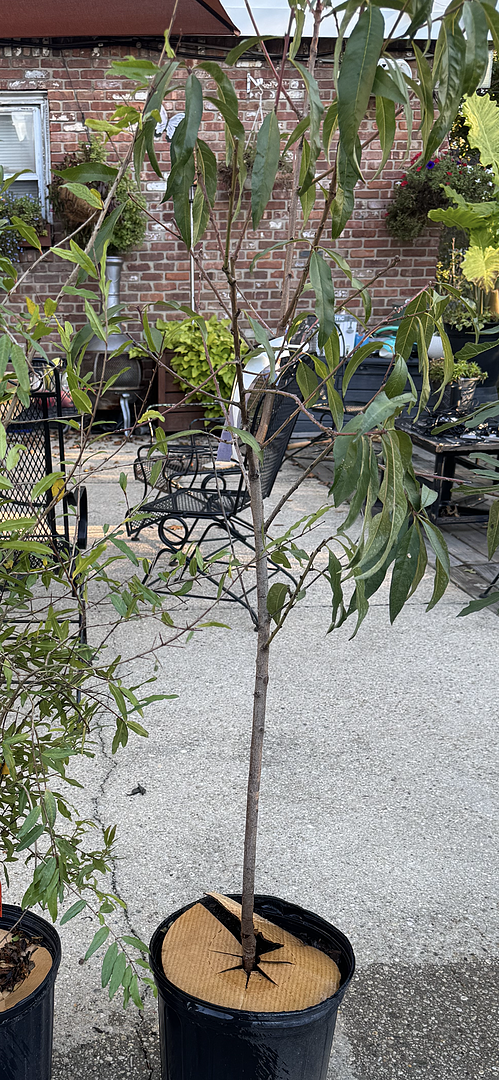
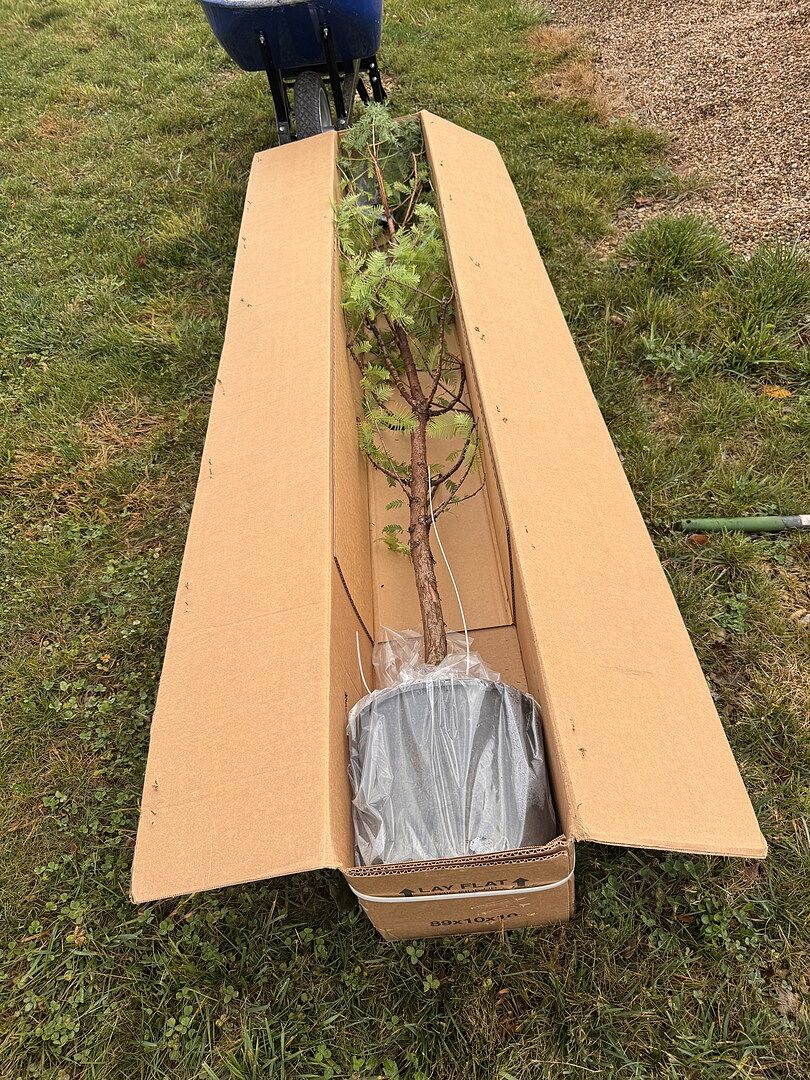
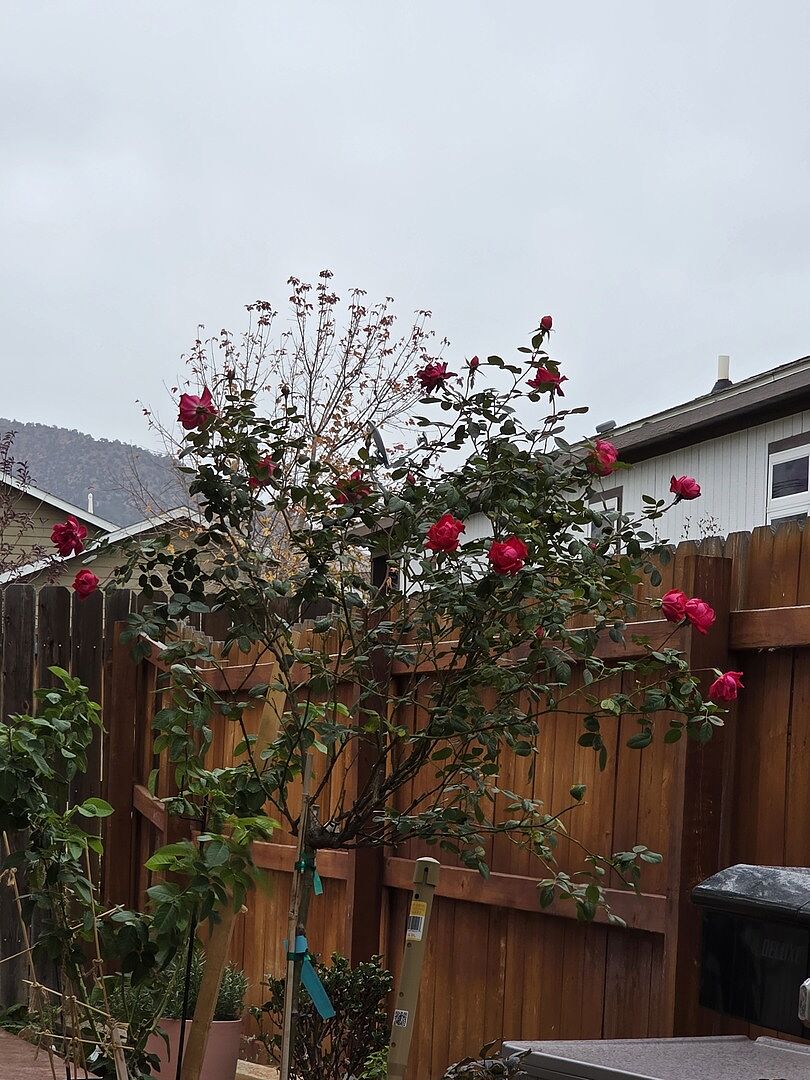
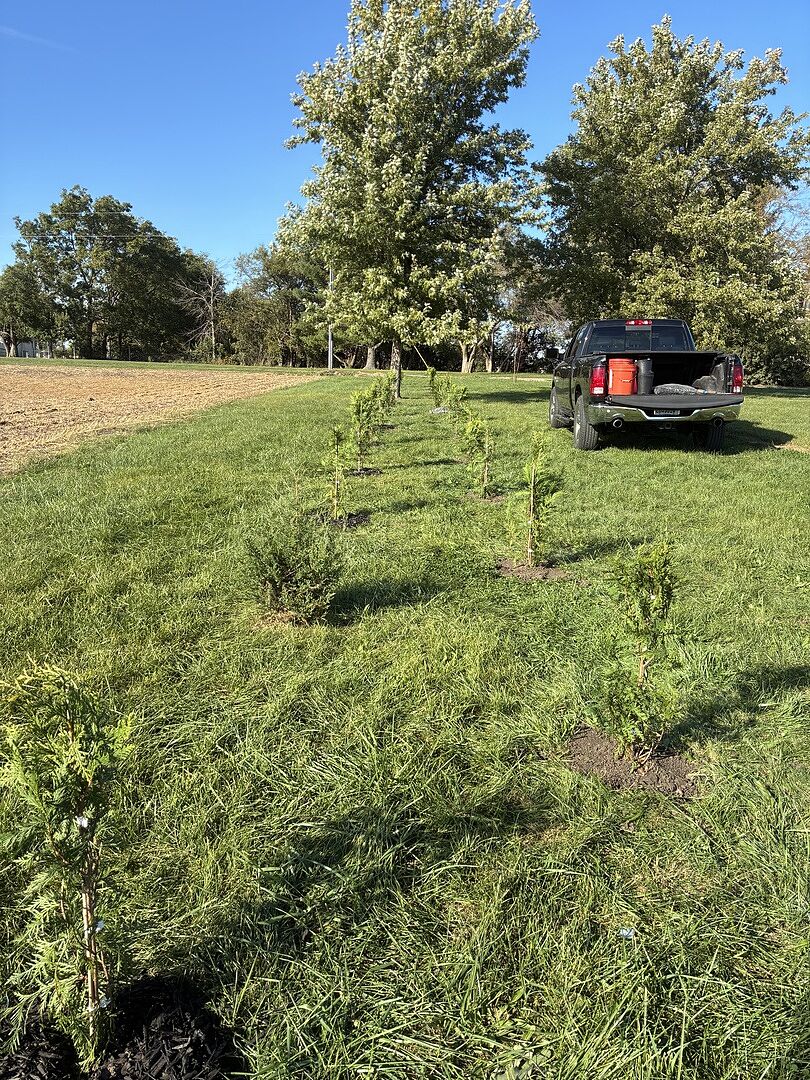
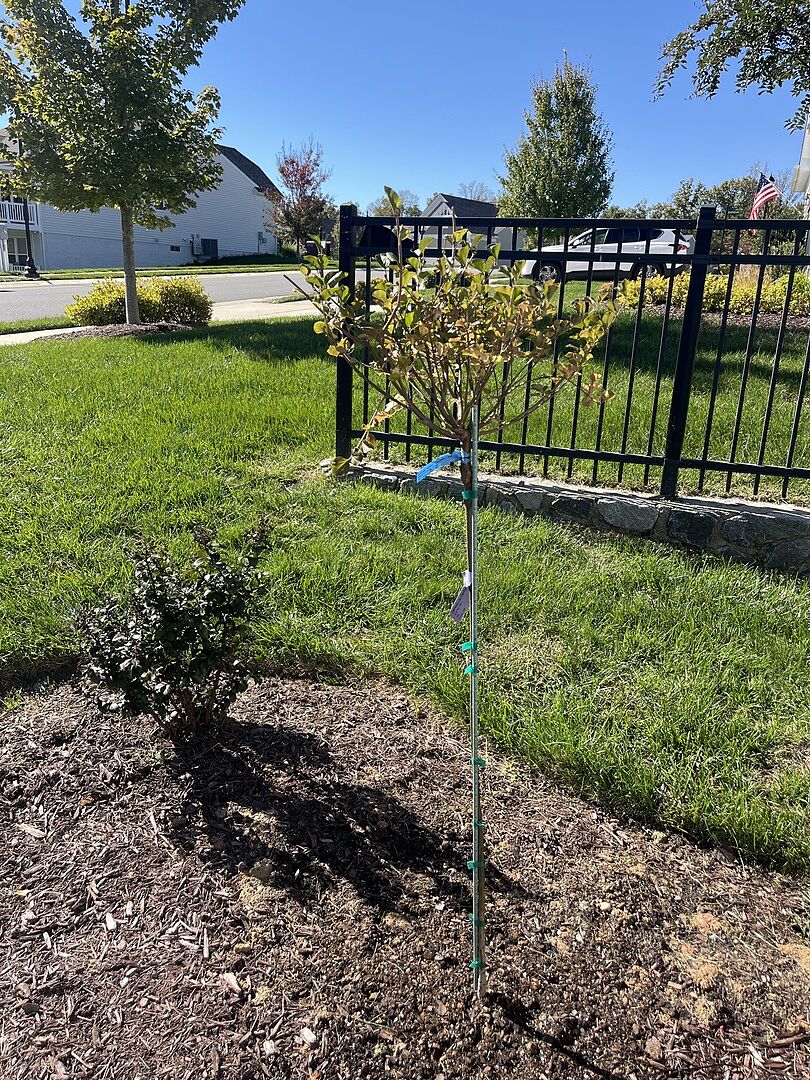
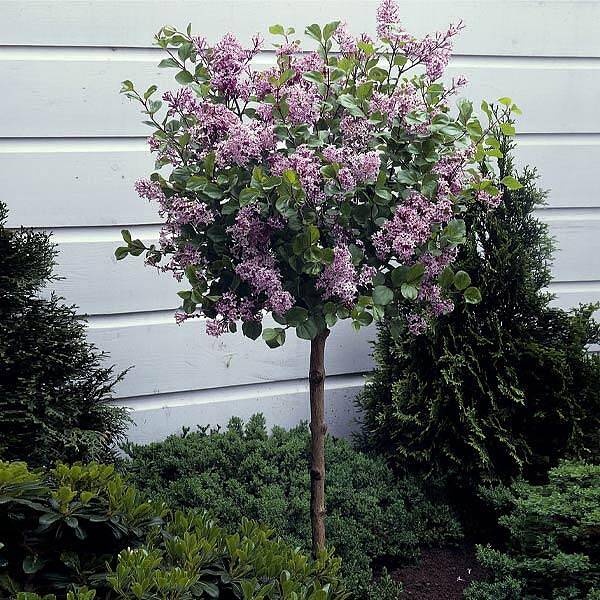
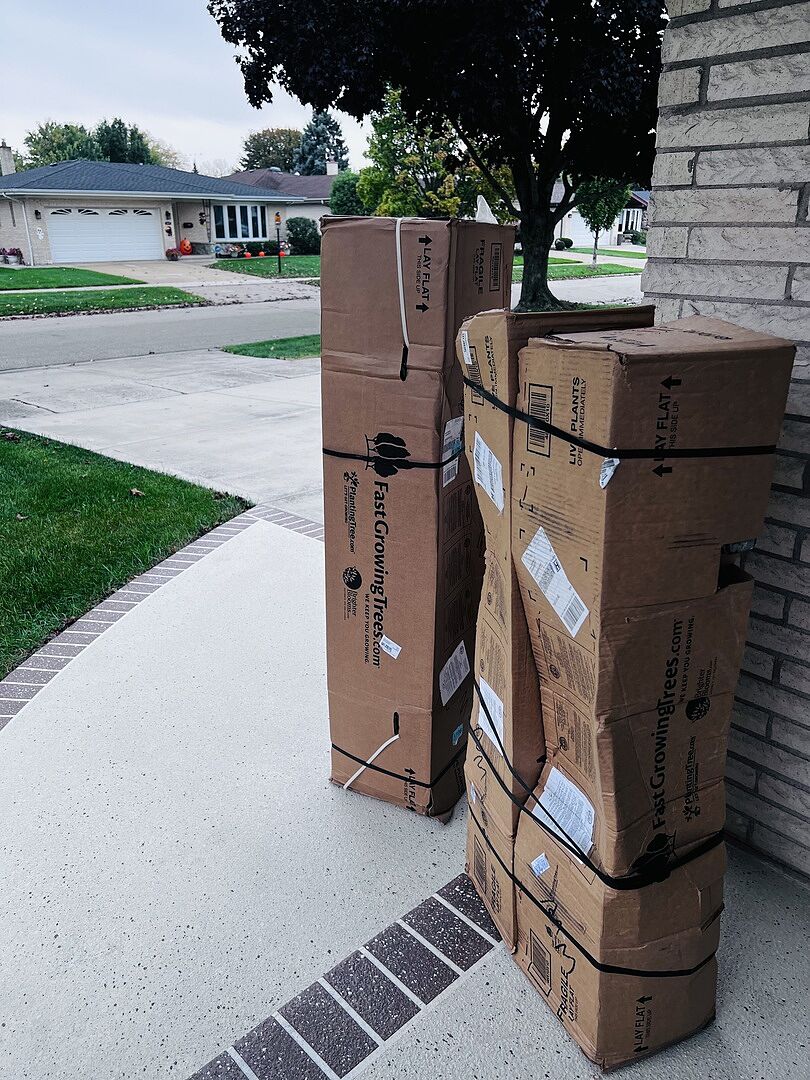
Unbox your plants as soon as they arrive, remove packaging, and give them fresh air and natural light to reduce shipping stress.
Check soil moisture before watering, adding water only if the soil feels dry a few inches below the surface.
Before planting, choose a location with the right sunlight, good drainage, and enough space for the plant's mature size.
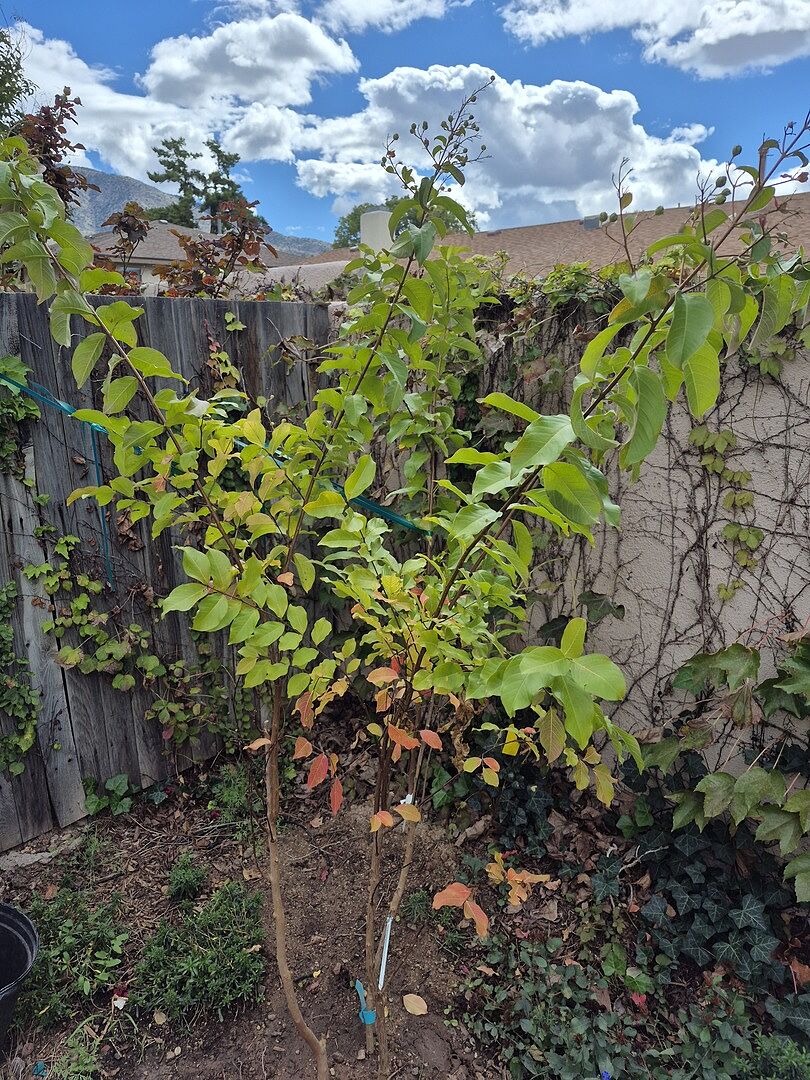
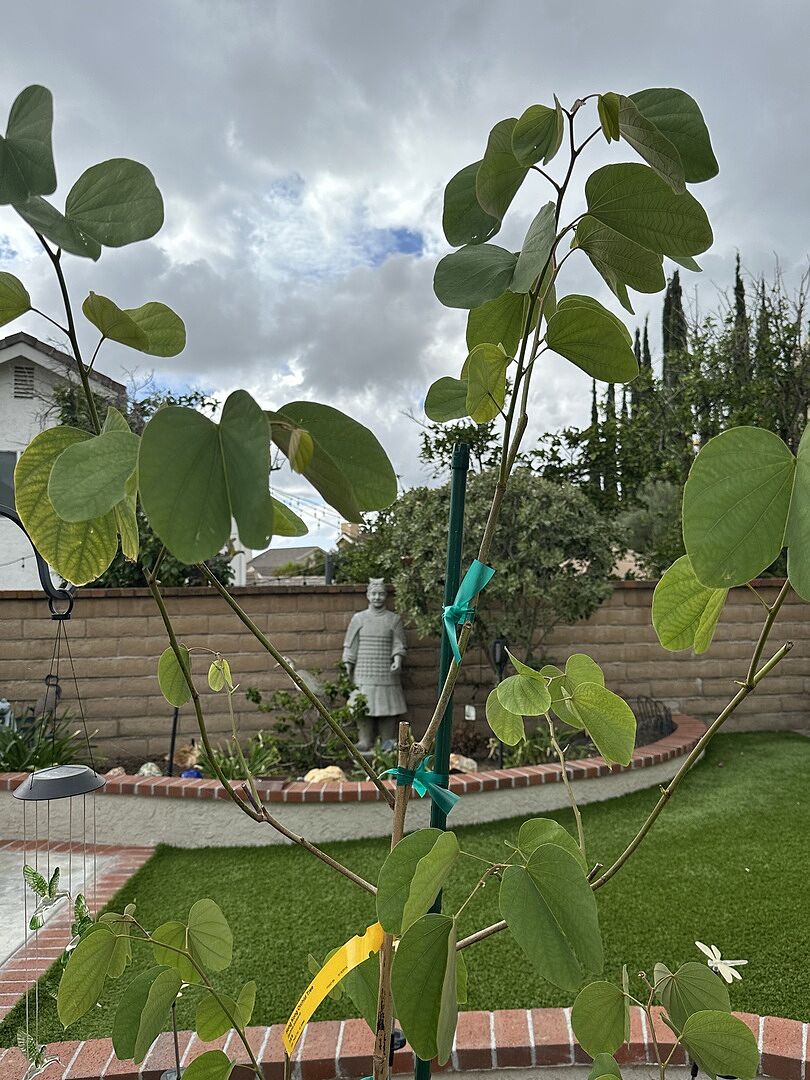
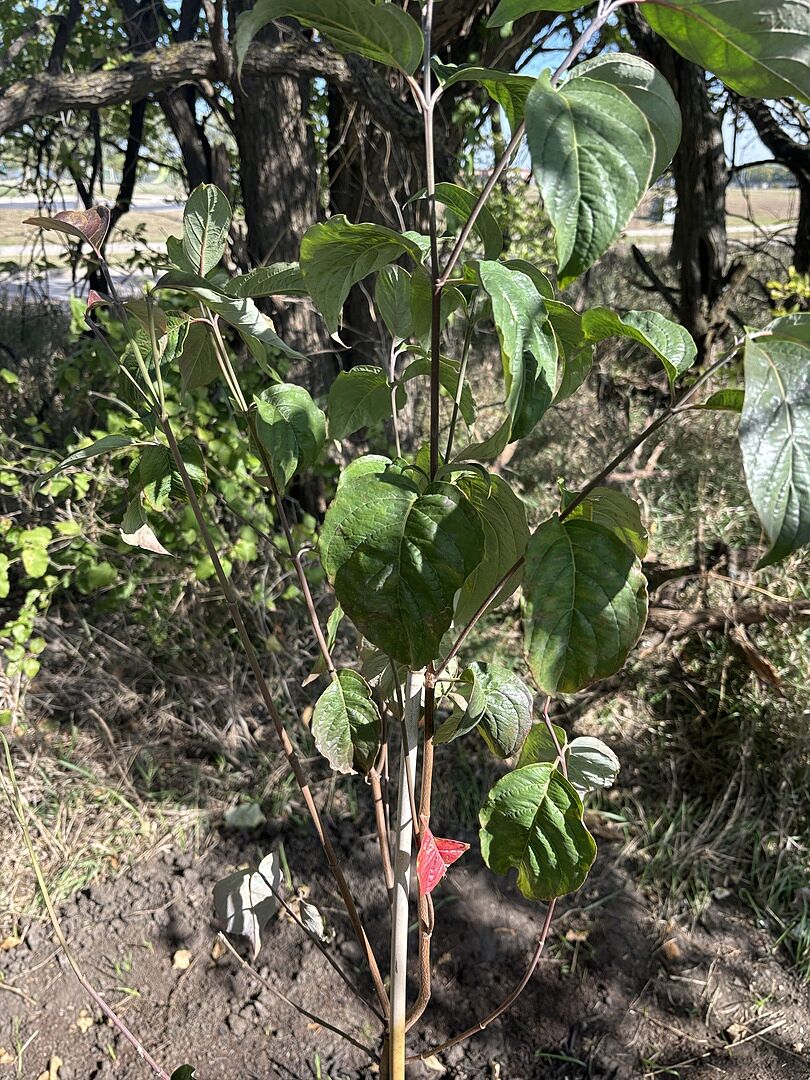
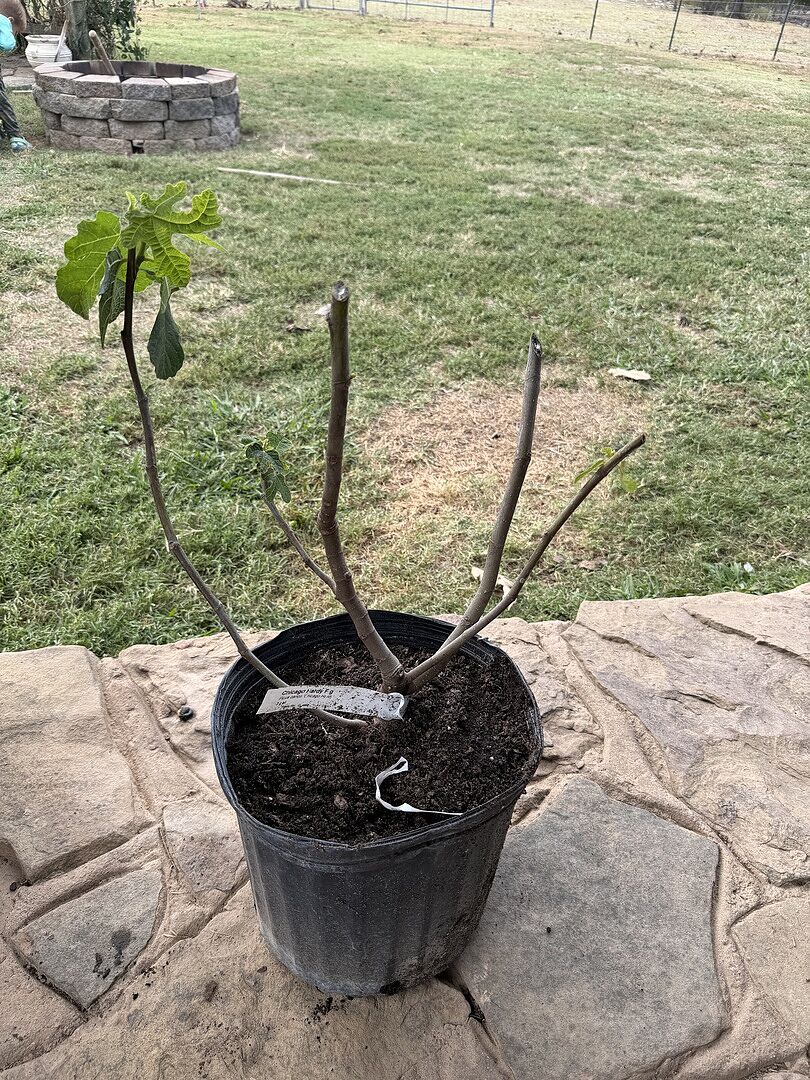
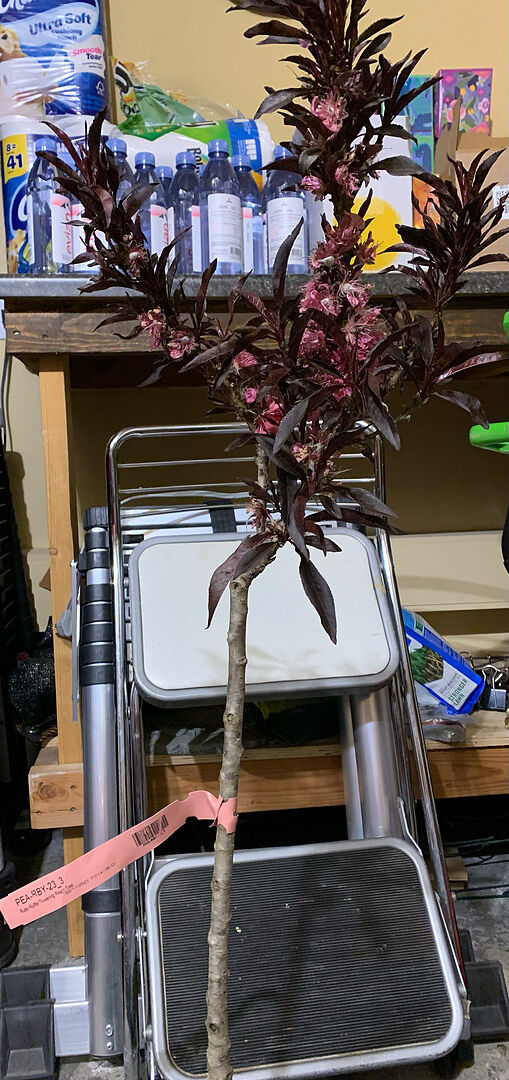
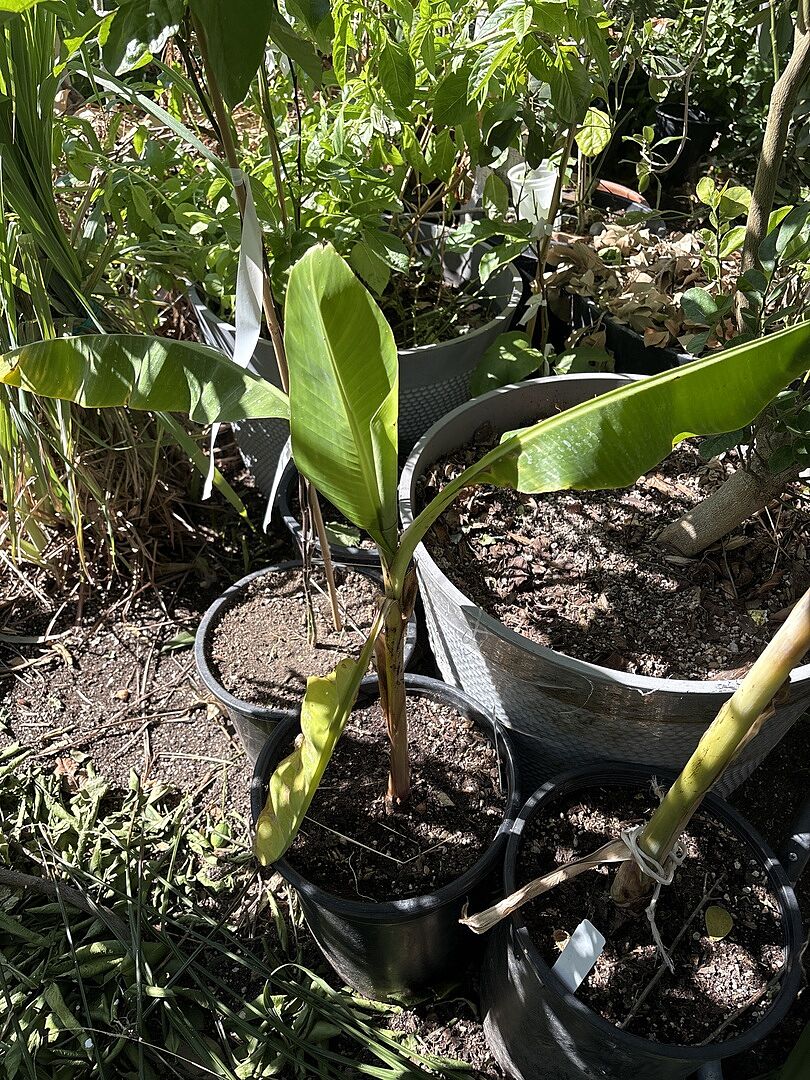
Signs of shipping shock, like wilting foliage or leaf drop, are normal after a plant has been in transit. Give your plant 3 to 4 weeks to acclimate while its roots settle in.
Great news! Your plants have arrived, and they’re ready to grow.
Every plant receives expert care at our nursery, so they’re thriving and healthy from the start, and our proven packaging techniques ensure they arrive protected and stress-free in shipping. However, even with the best care, it’s normal for plants to need a little time to perk up after shipping (like we sometimes do after a long trip).
Follow these simple steps to help your new plants settle in and start growing with confidence.
Quick Checklist
Short on time? Here’s what you need to know to ensure your new plants get off to a strong start:
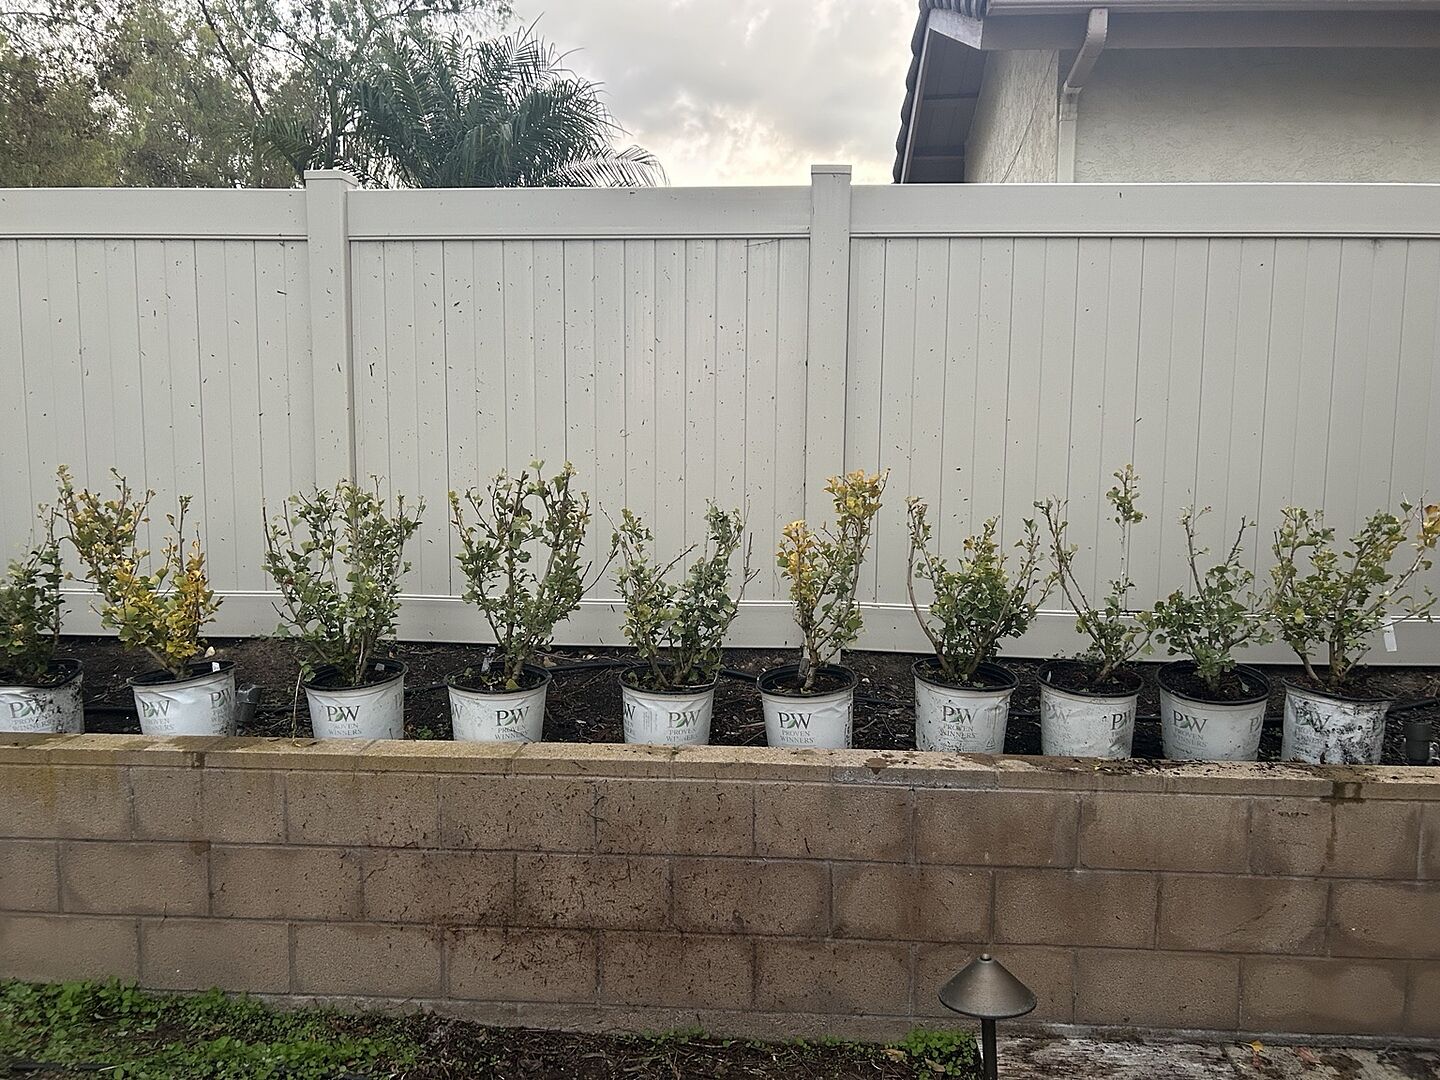
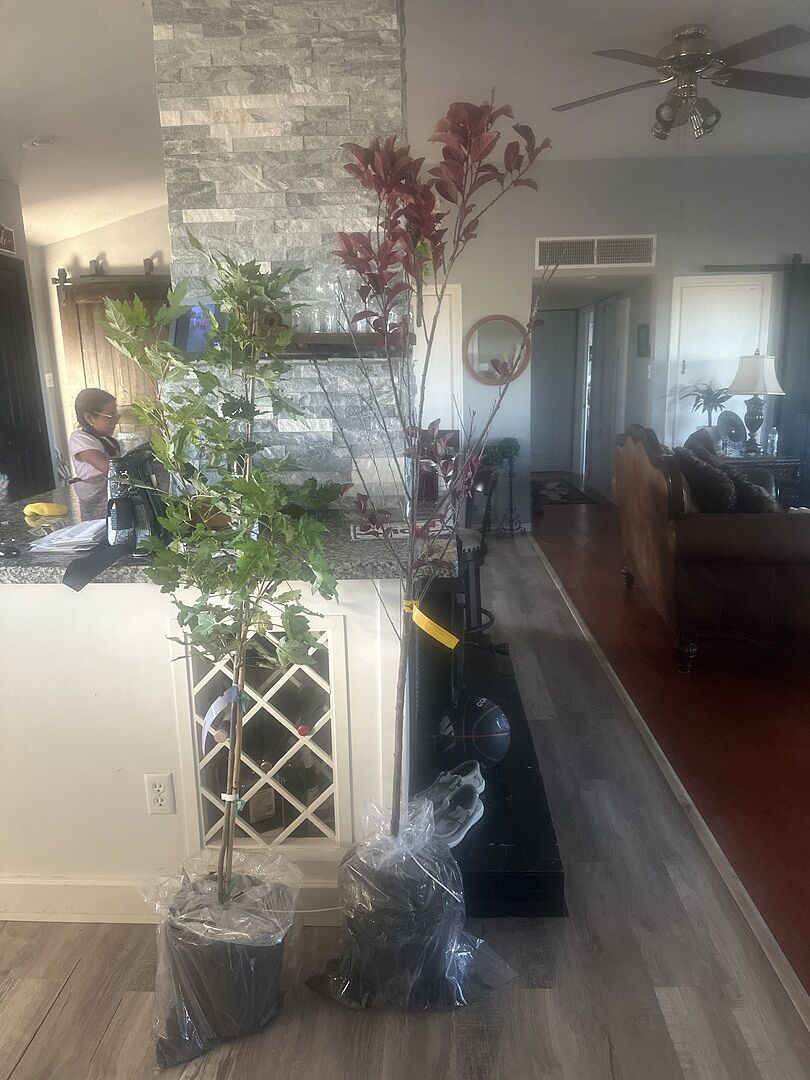
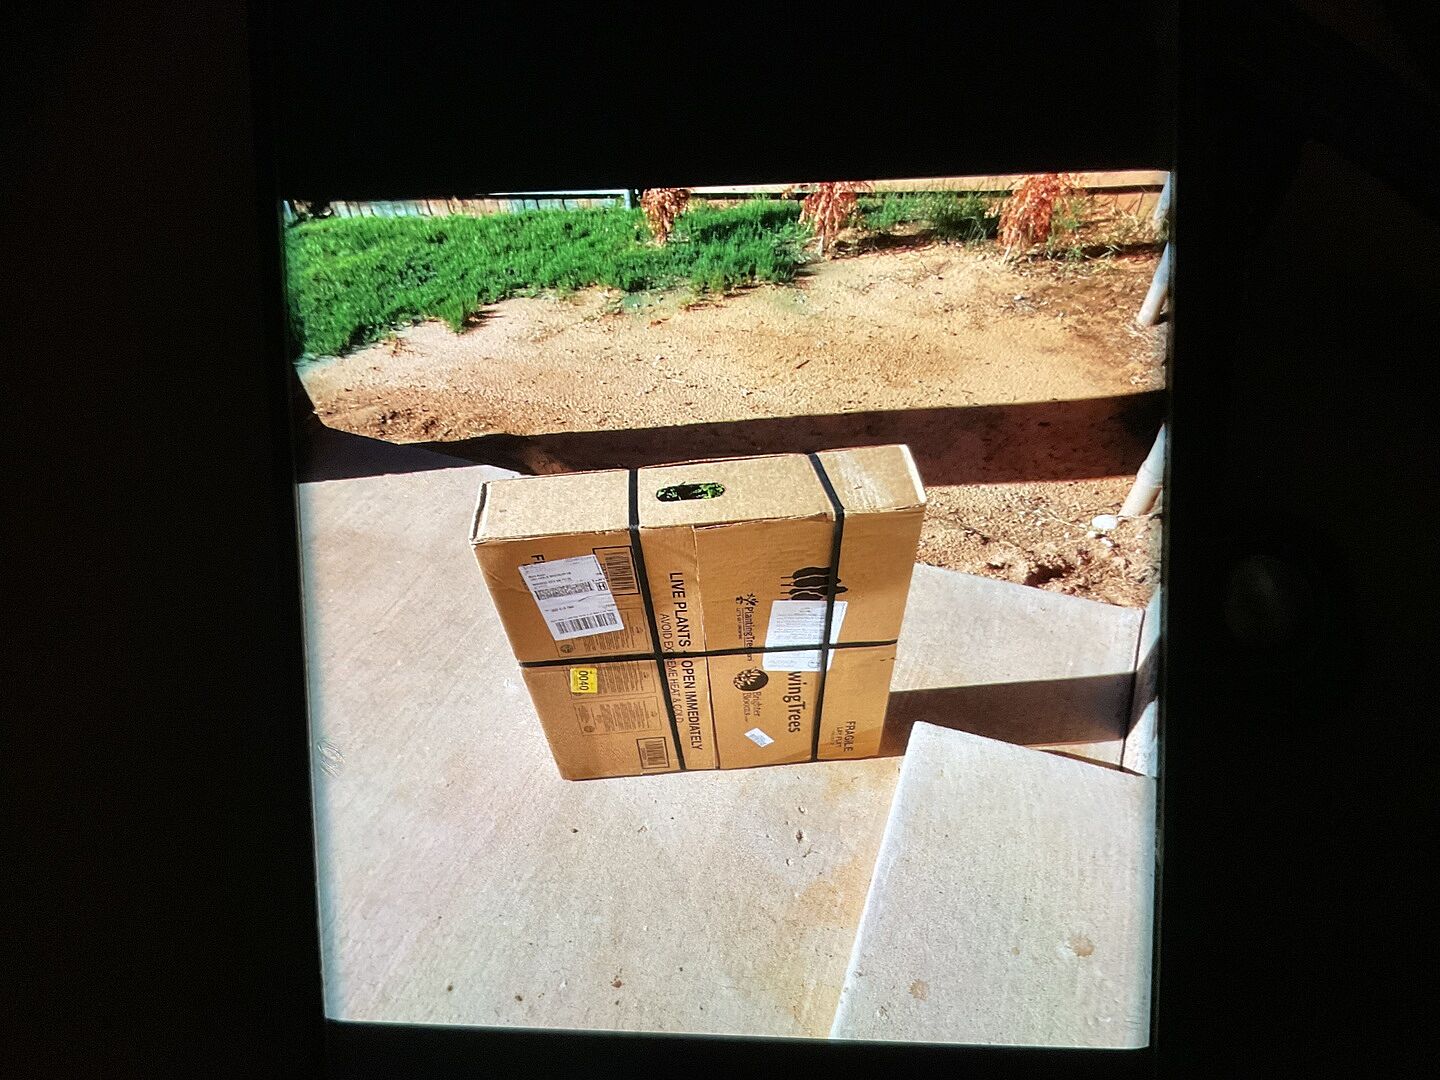
When your order arrives, carefully remove your plants from the box and take off any packaging materials (leaving any nursery pots or burlap or cloth planting bags in place). Plants are packed securely for transit, but once they arrive, they’ll do best with fresh air and natural light.
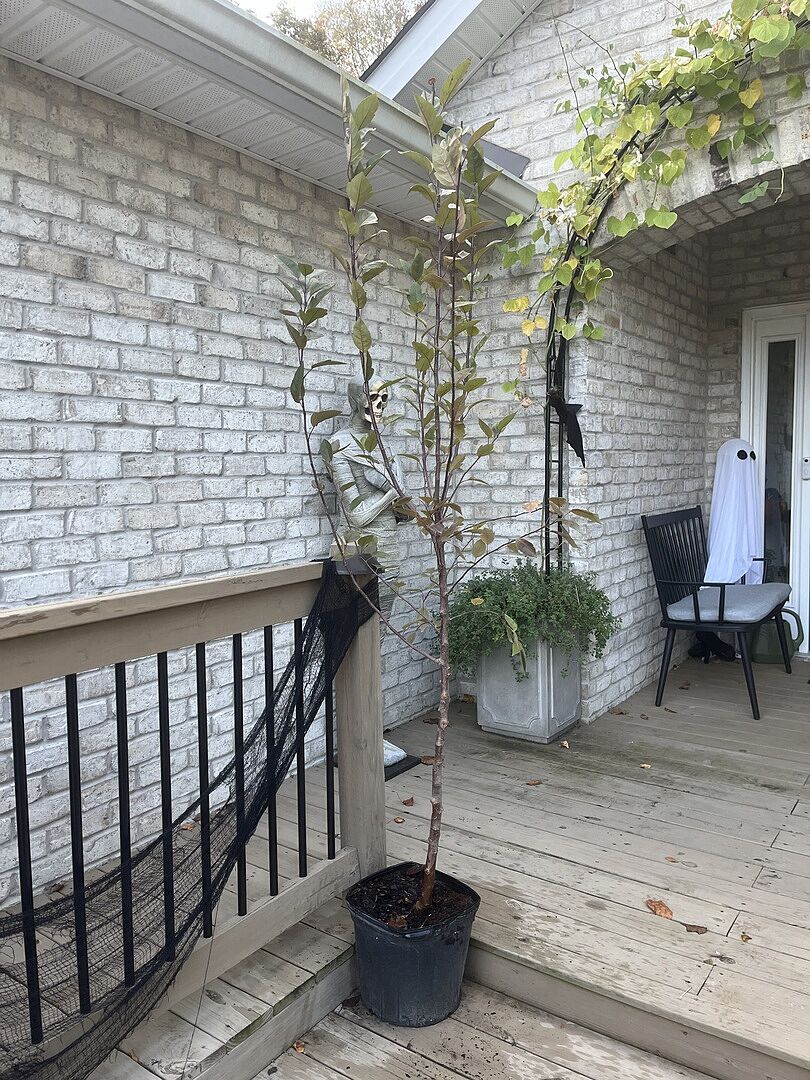
Expert tip: If you receive your order but aren't planting right away, that's okay! Unbox your order as soon as possible, keep your plant in a protected outdoor area and continue checking soil moisture daily.
Step 2: Check the Soil Moisture (and Water if Needed)
Before you plant, check the soil moisture with your finger a few inches down. Shipping conditions can vary, so this quick step helps you give your plant exactly what it needs.
If the soil feels dry: water thoroughly
If the soil still feels moist: hold off for now
Expert tip: Water slowly until the soil is evenly moist and you see a little water drain from the bottom of the pot. This helps fully hydrate the root ball without overwatering.
Step 3: Choose the Right Spot for Planting
Now it’s time to figure out where your plant will live. Before planting, check the planting and care instructions for each plant (you can find them linked in your order confirmation emails). Your plant will thrive best in conditions that meet its needs.
Before planting, make sure you:
Confirm the plant’s sunlight needs (full sun, partial sun, or shade)
Choose a spot with good drainage
Allow enough space to grow (plants need room to mature)
Step 4: Give Your Plant Time to Adjust After Shipping
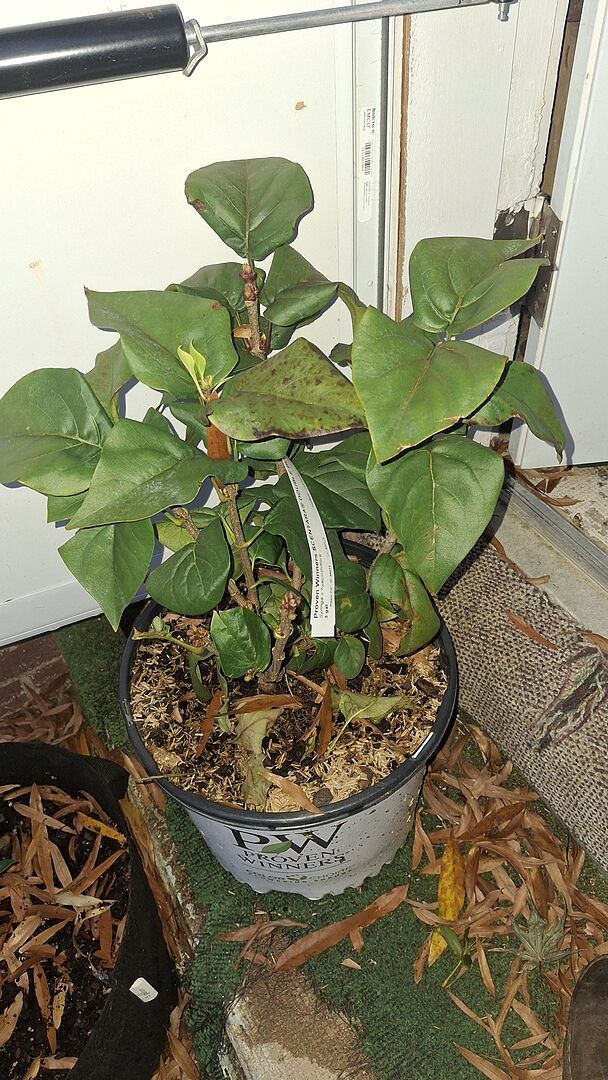
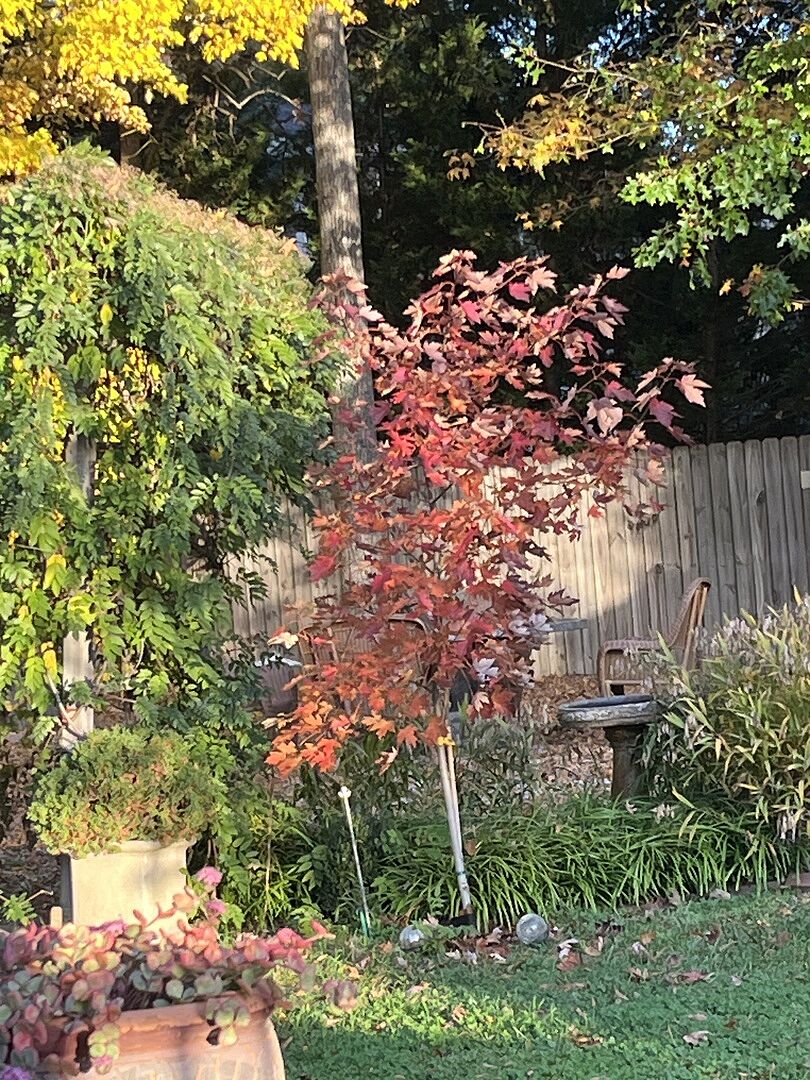
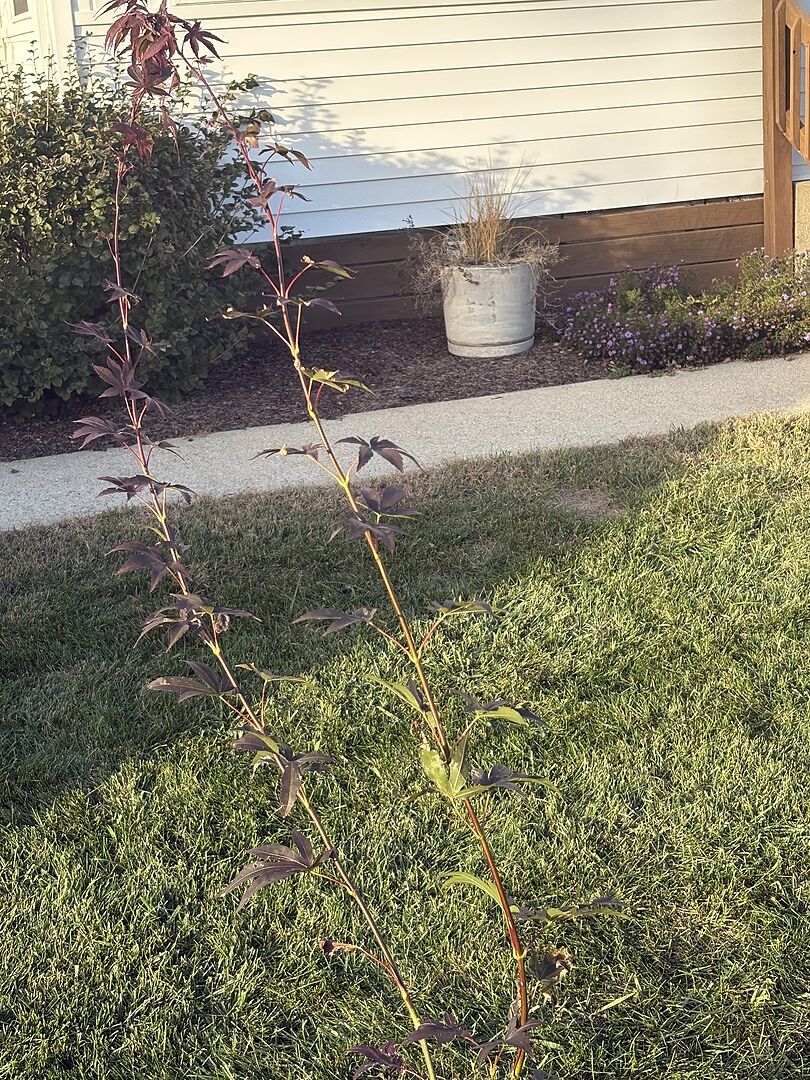
A little “travel stress” is normal immediately after shipping. You may notice temporary changes like:
Slight drooping
Minor leaf drop
Light discoloration
In most cases, plants perk up within a few days once they’re unboxed, watered appropriately, and placed in a stable environment.
Shipping Shock, Explained
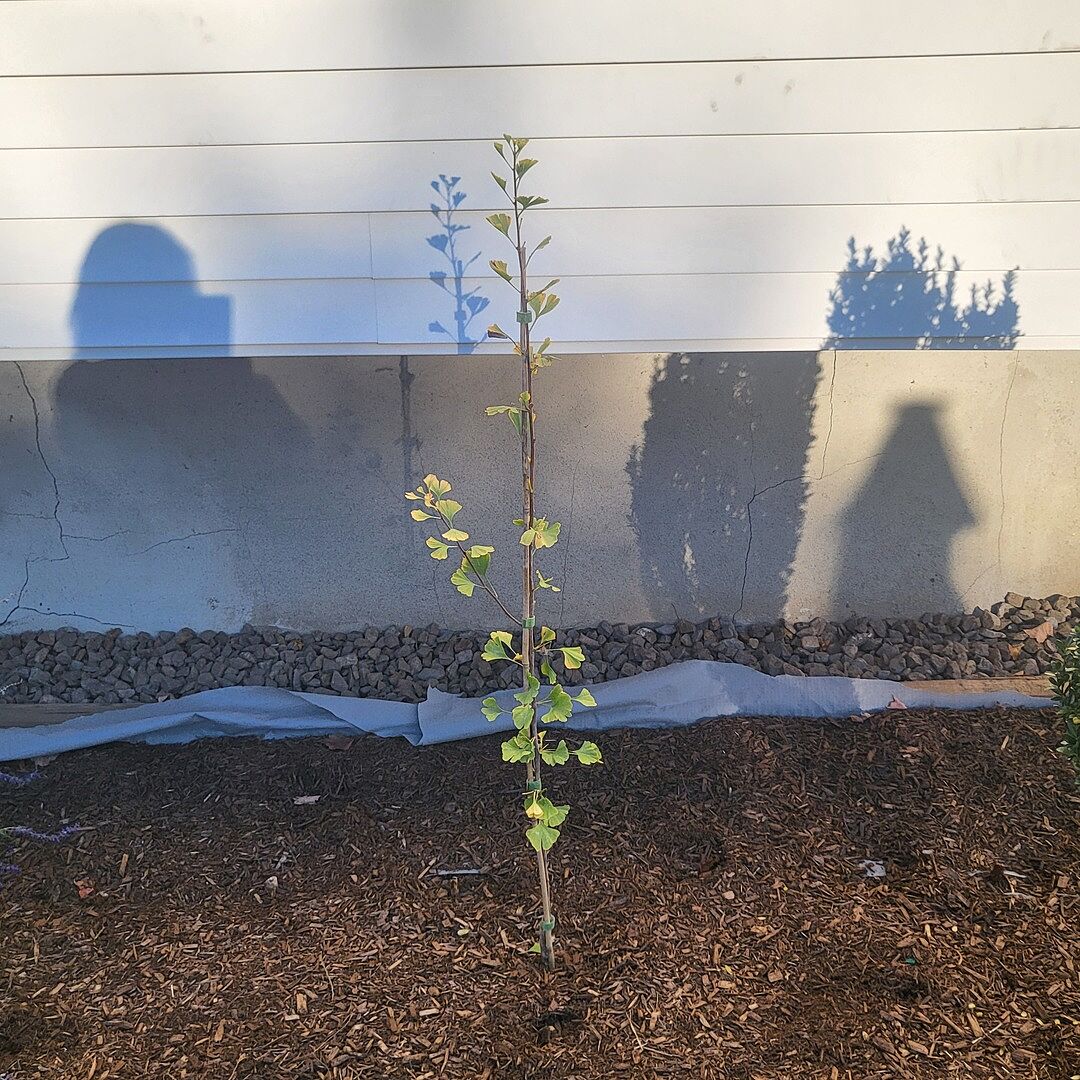
Your plant had to travel to get to your yard, and transit can be hard on living things. After a shipping journey, your plant’s top priority is taking care of its roots. To support roots while they adjust, your plant may pull resources back from its leaves and branches, which can lead to some minor cosmetic changes.
Yellow leaves, minor spotting, and leaf drop are all normal signs that your plant is saving its energy for roots instead of foliage. It's a natural, protective response, and it helps your plant build resilience for the long run.
What to Expect
It's normal for your plant to lose a few leaves in transit
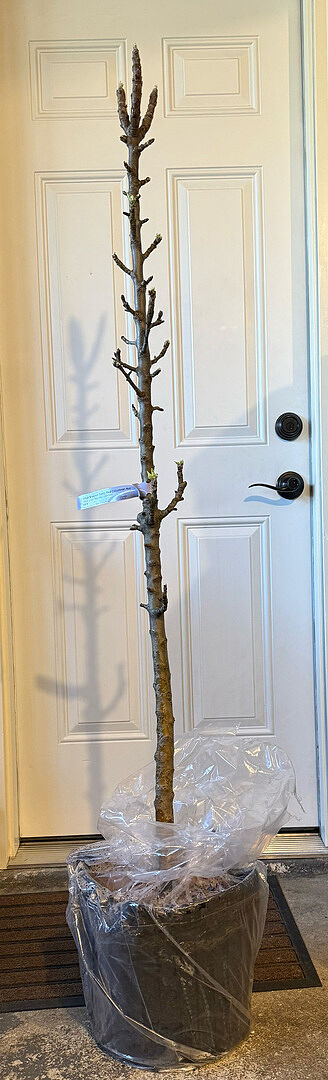
As long as the stems stay green beneath the top layer of bark, your plant is alive and likely to recover
Give your plant 3 to 4 weeks to acclimate to its new surroundings. If you don't see signs of improvement in that time, let us know. We're committed to making sure you're happy with your plants, and we'll work with you to make it right.
Expert Tip: Avoid heavy fertilizing immediately after arrival so your plant can settle in. However, you can apply a root stimulant designed for new plants, like Root Rocket, at this time.
Step 5: Caring For Your New Plant
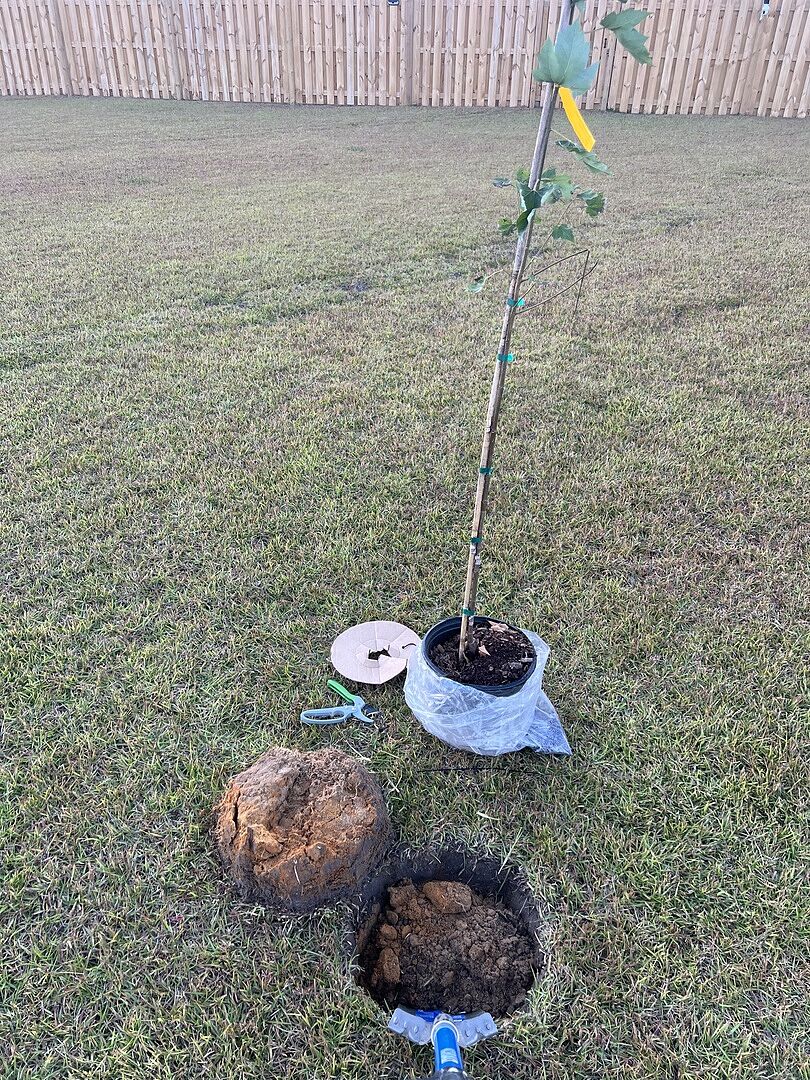
Once your plant is hydrated and settled, it's time to get it in the ground. The right technique depends on the size of your plant.
Large plants (5 to 7 gallon containers or larger)
Underwatering is the most common issue with larger plants. Bigger root balls need more water to become fully hydrated.
Water slowly and deeply so moisture soaks through the entire root ball.
Skip quick, shallow waterings. They only wet the surface and can stress the roots.
If your plant has been thirsty for a while, rehydrate it deeply and use a root stimulant to help it bounce back.
You can also use a root stimulant to help roots get established, such as 4-10-3 where the higher number of phosphorus helps with root development.
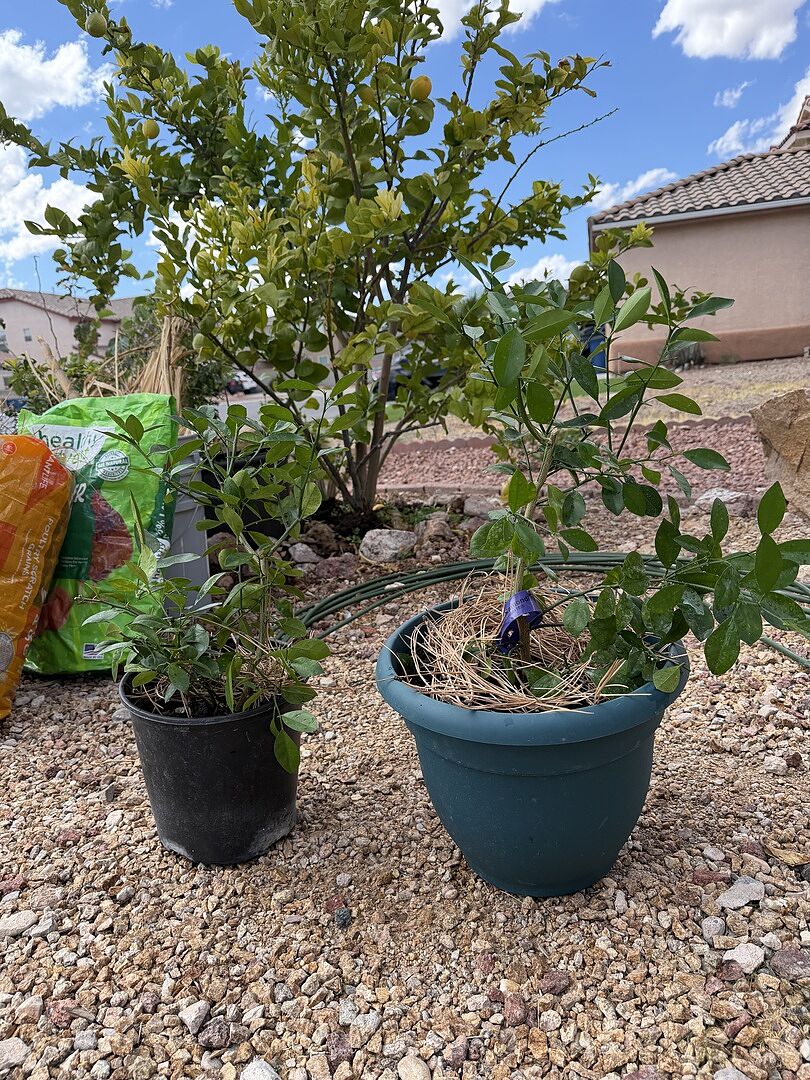
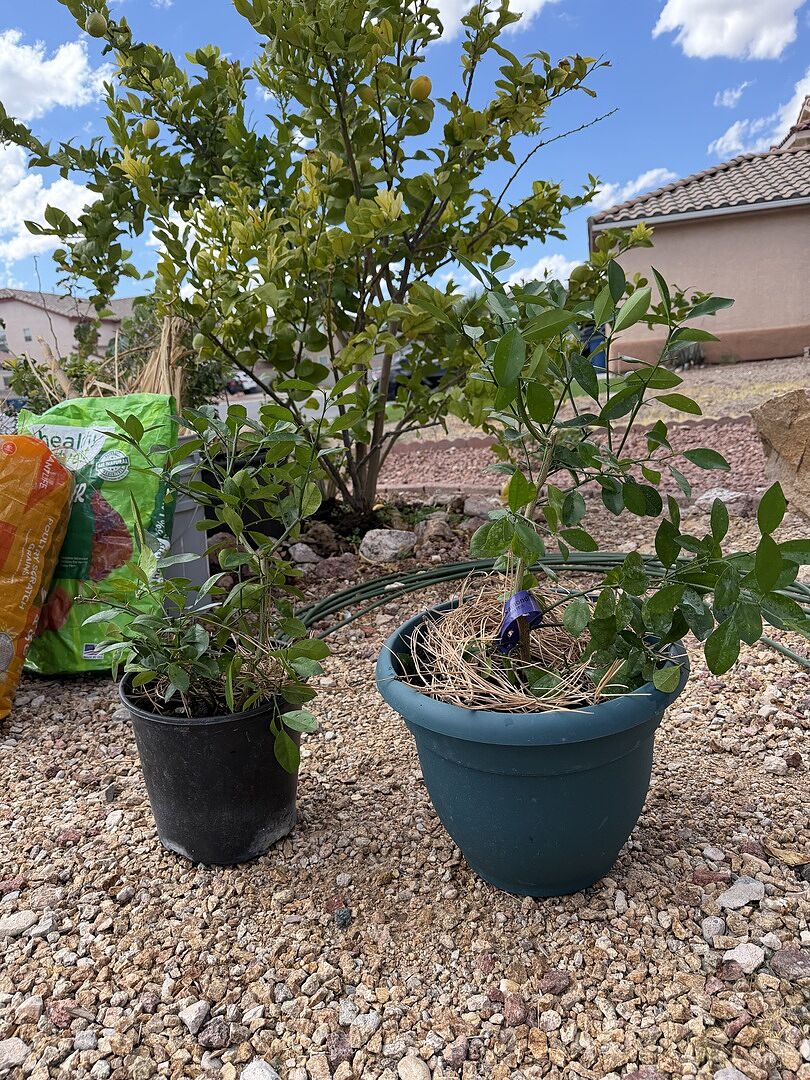
Small plants (1 to 3 gallon containers):
Keep a closer eye on small plants. They dry out faster, so they need steady watering and a root stimulant to help roots get established, such as 4-10-3 where the higher number of phosphorus helps with root development.
Be patient. Smaller plants take longer before you can scale back watering.
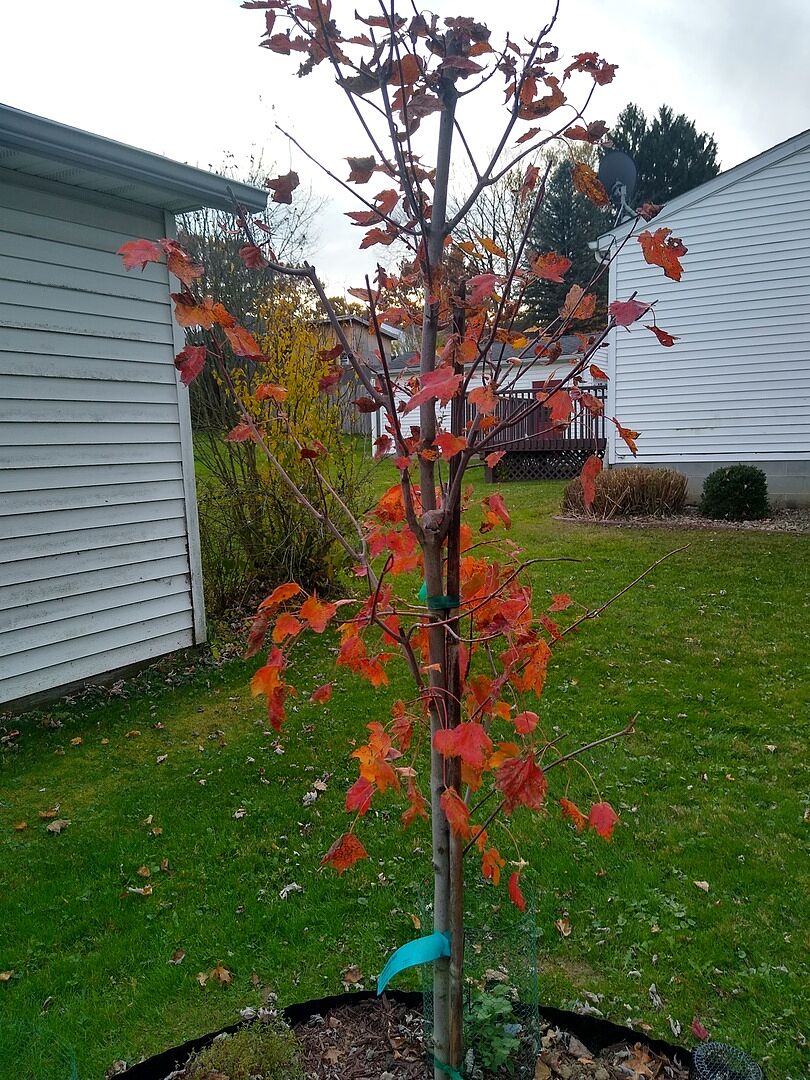
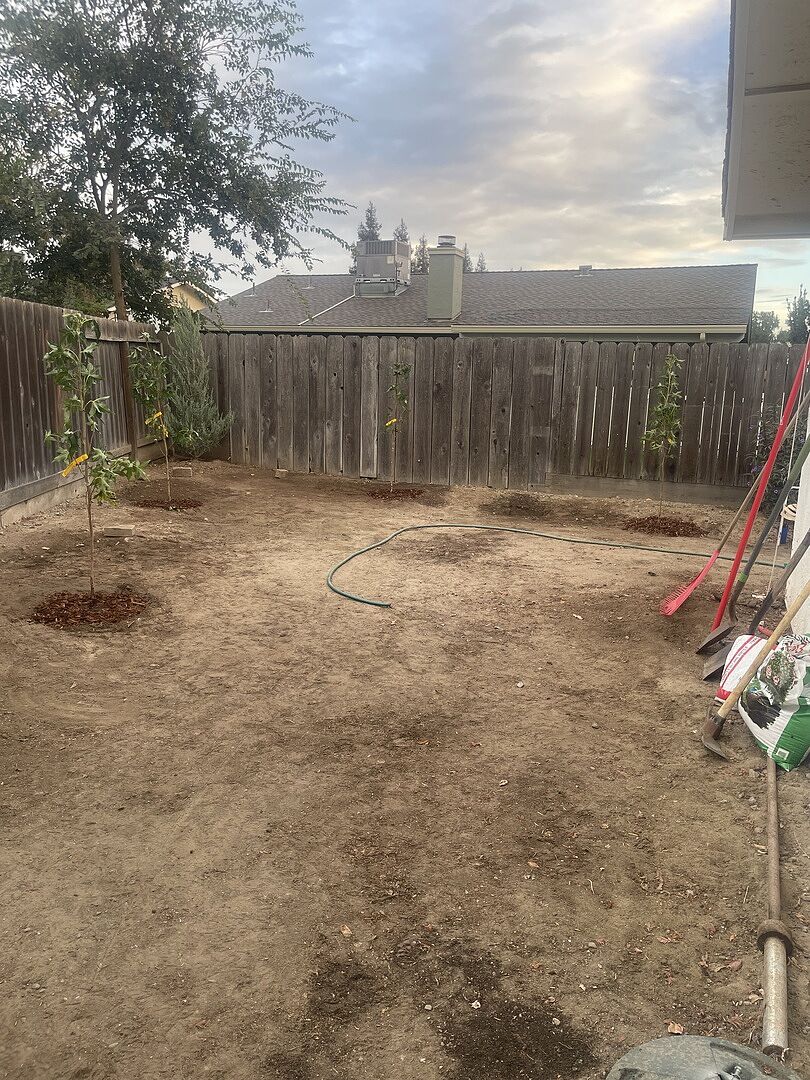
If you're planting later in the year, early fall is ideal, since smaller trees are more vulnerable to heat and drought.
Aim to plant at least 1 to 2 months before the first freeze or a major heat wave so roots have time to settle in.
Mulch helps protect them by retaining moisture during hot spells and insulating roots when temperatures drop.
Tips by Plant Type
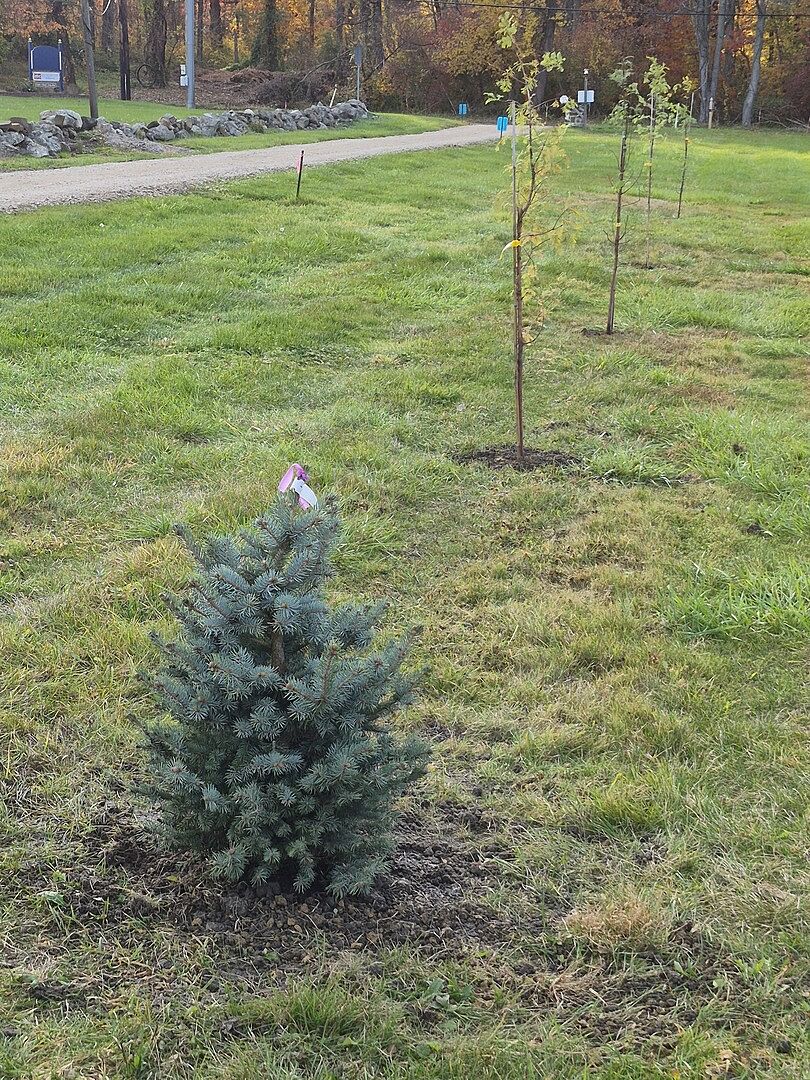
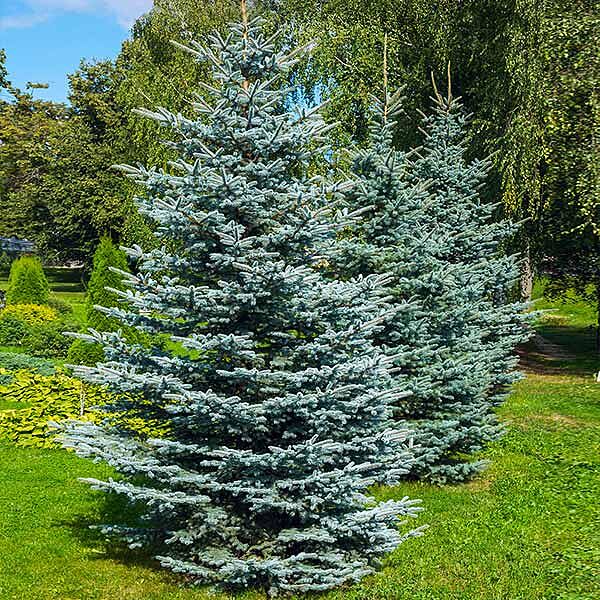
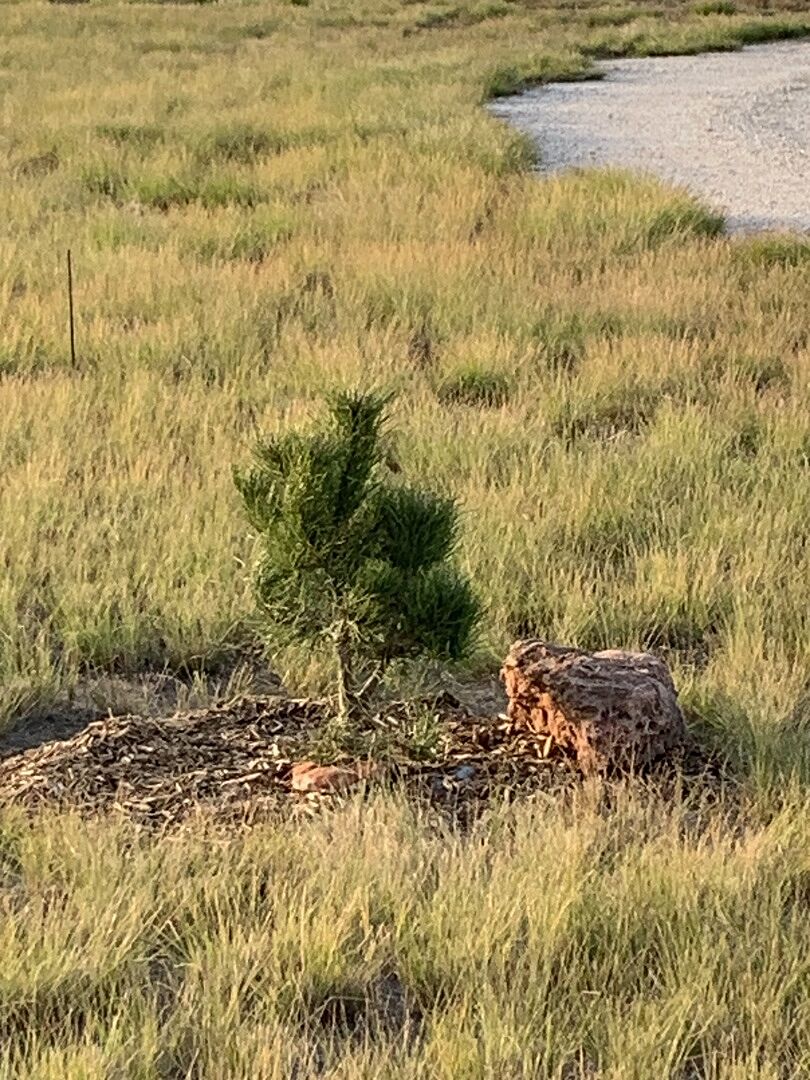
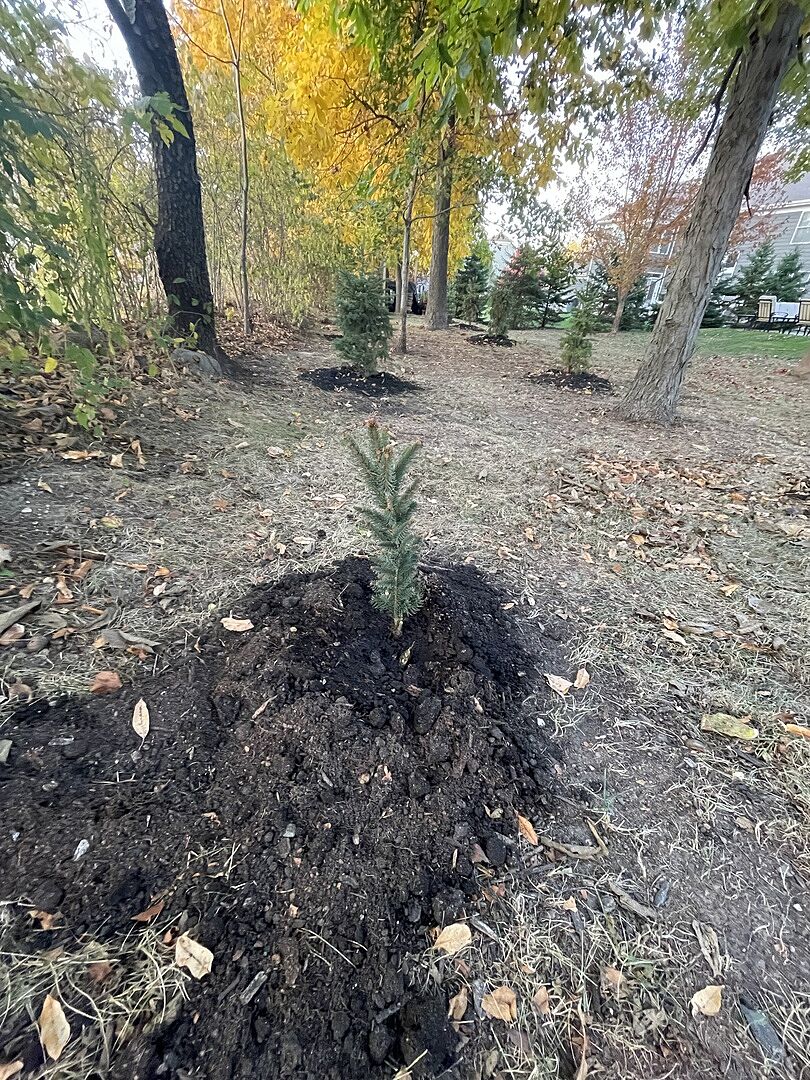
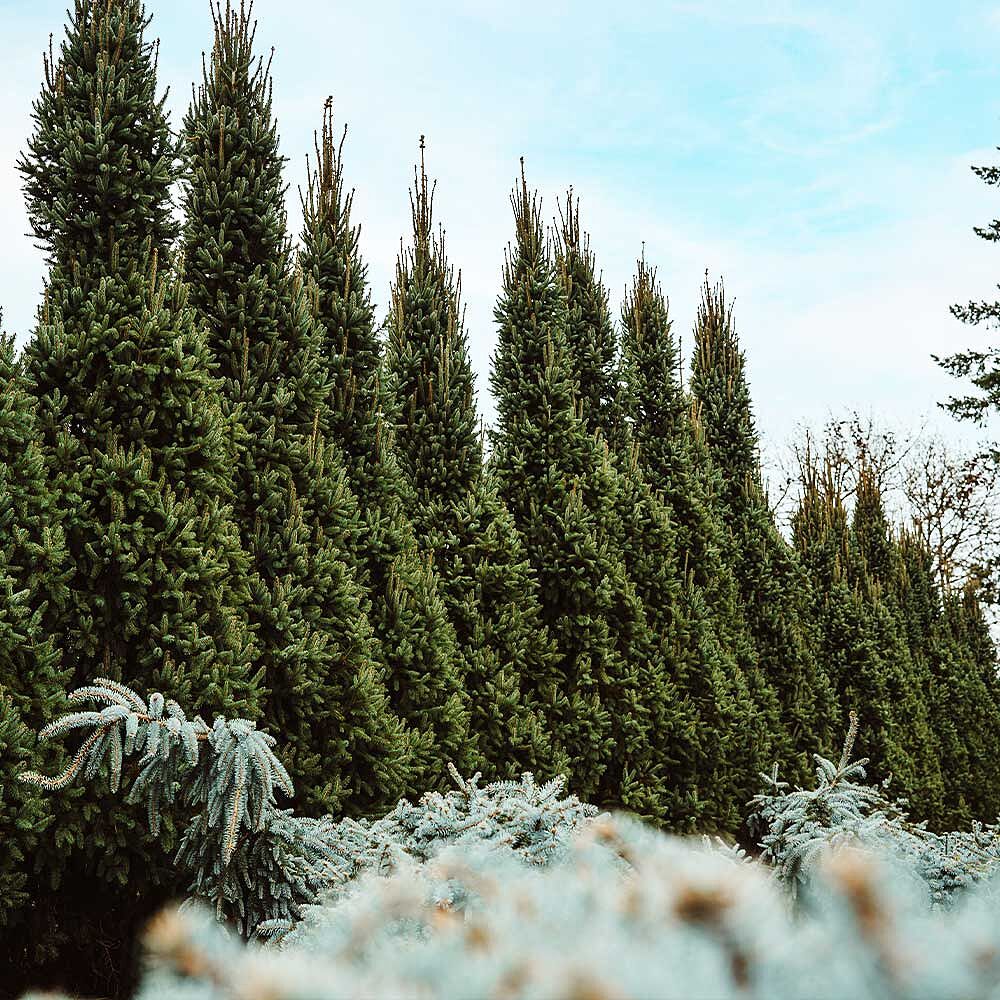
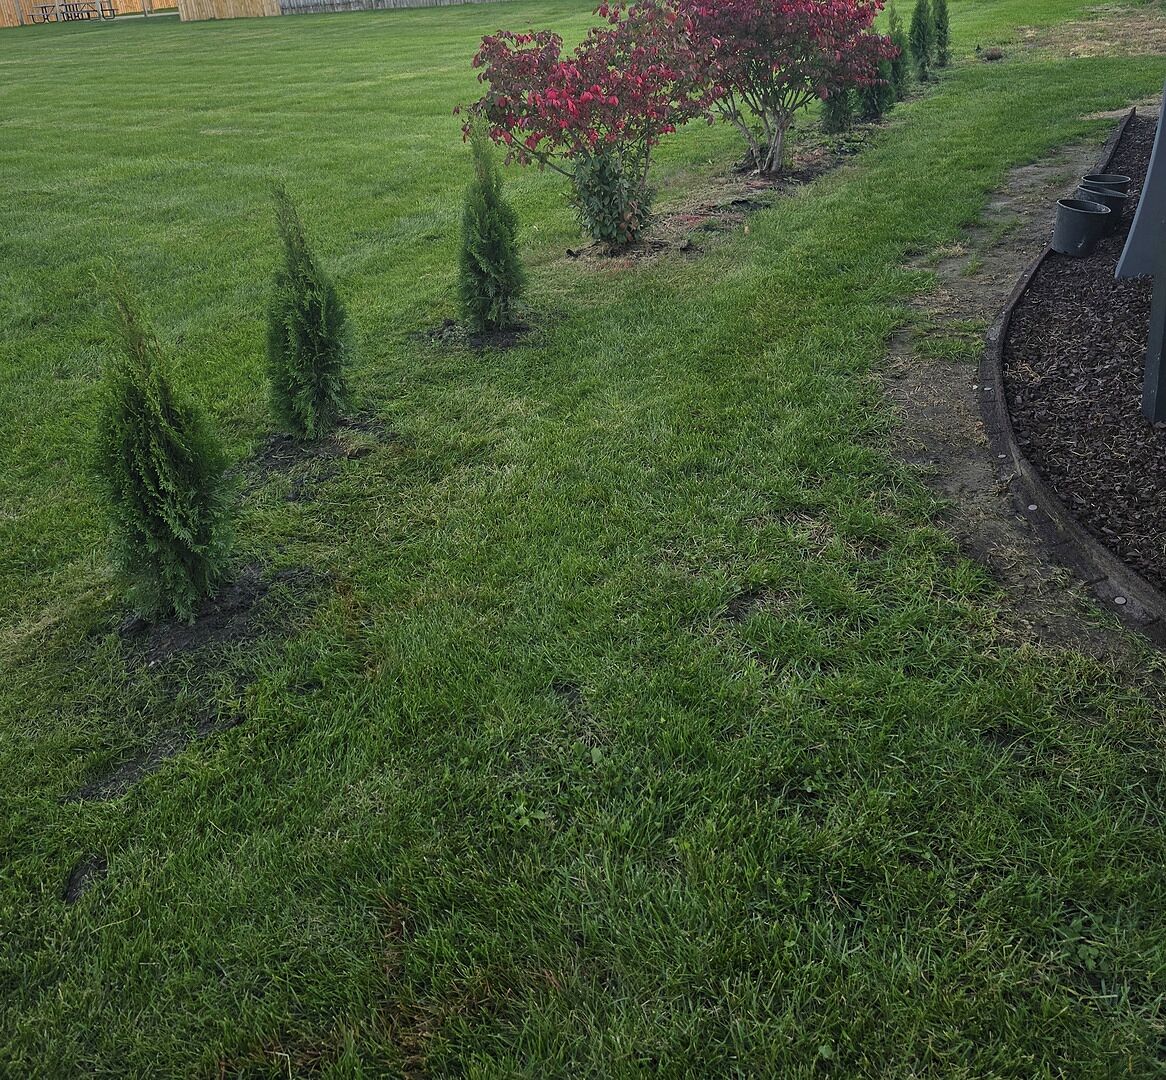
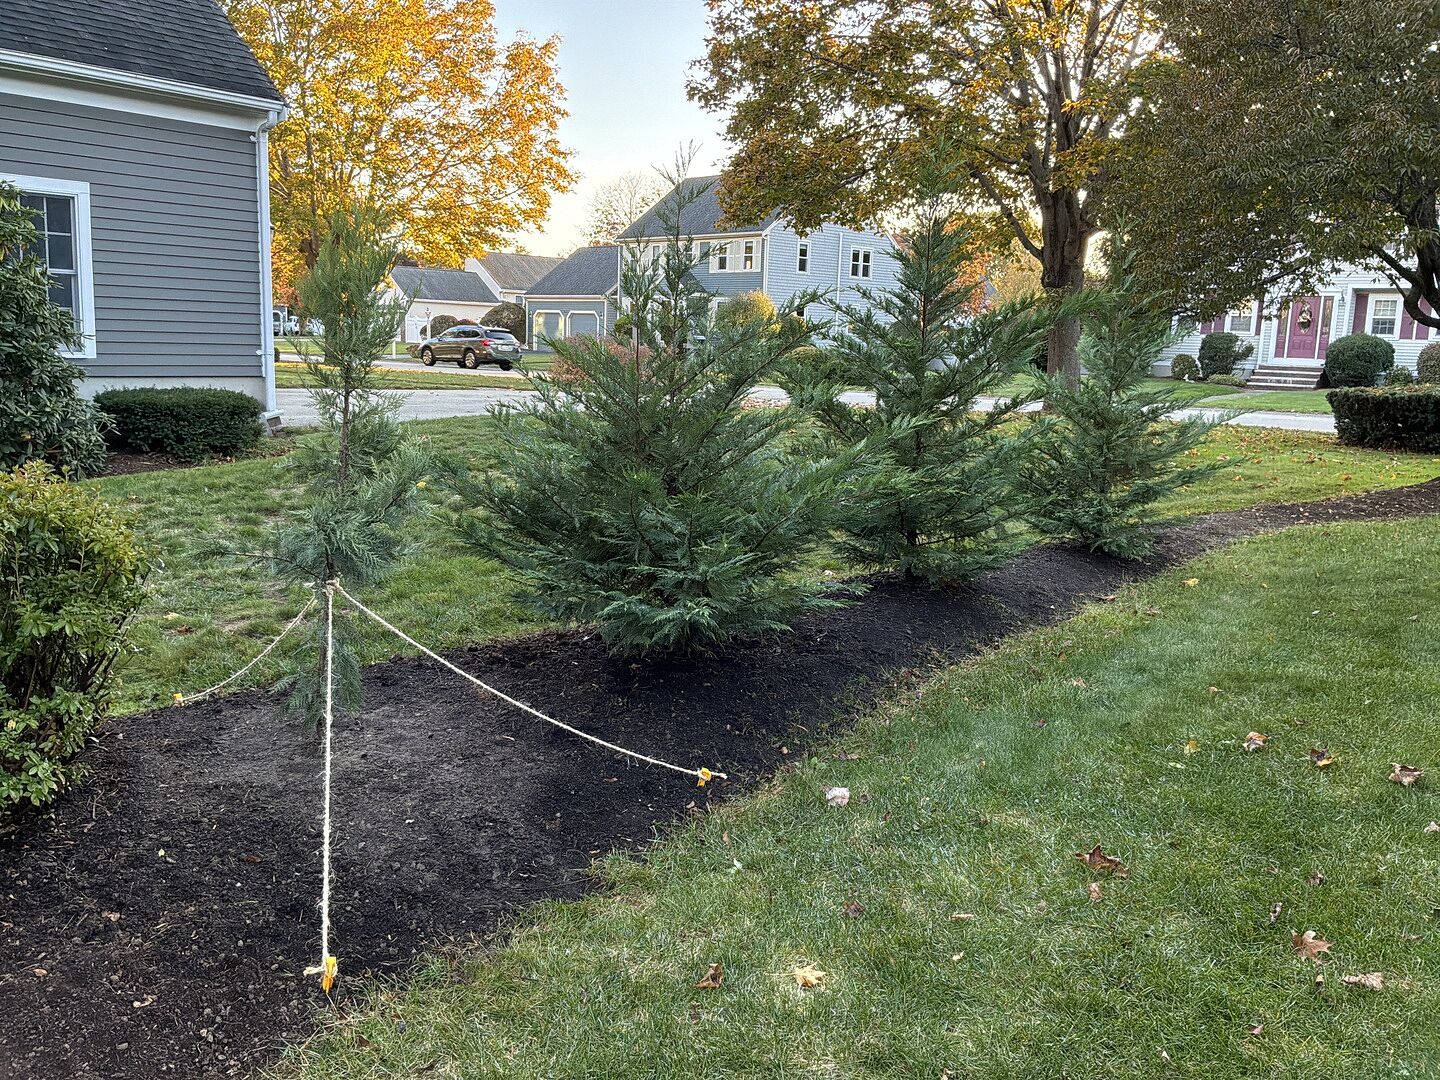
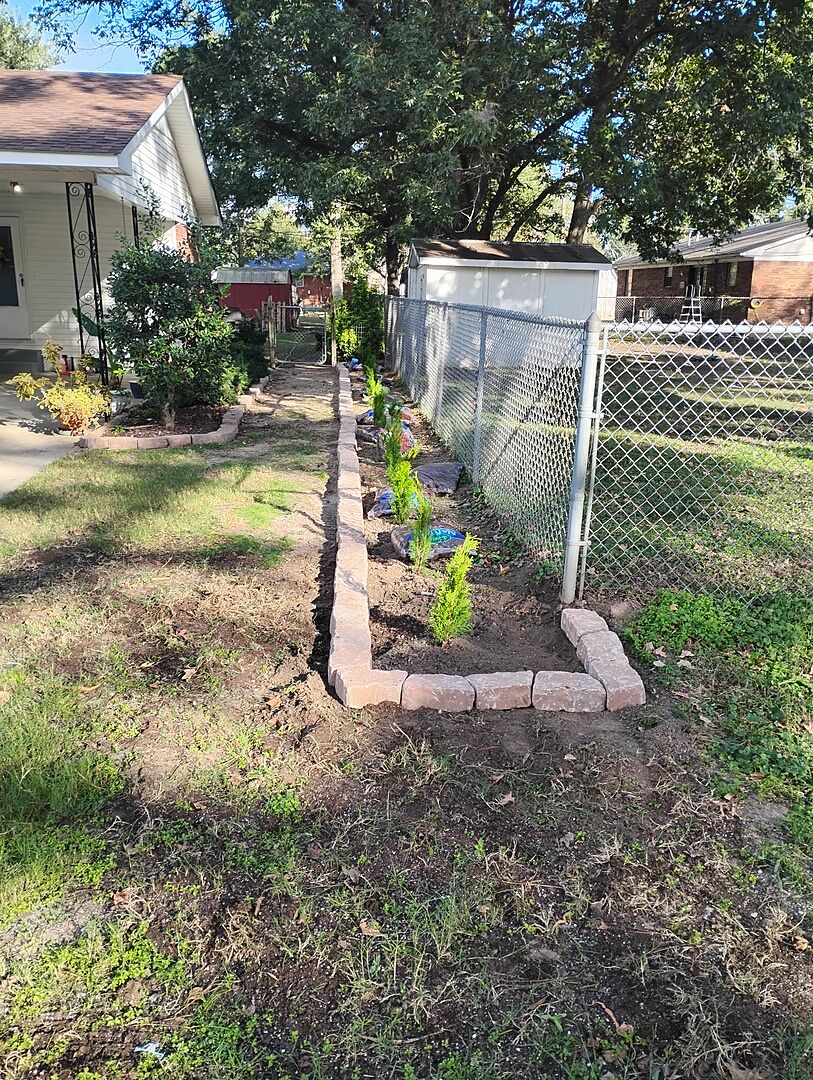
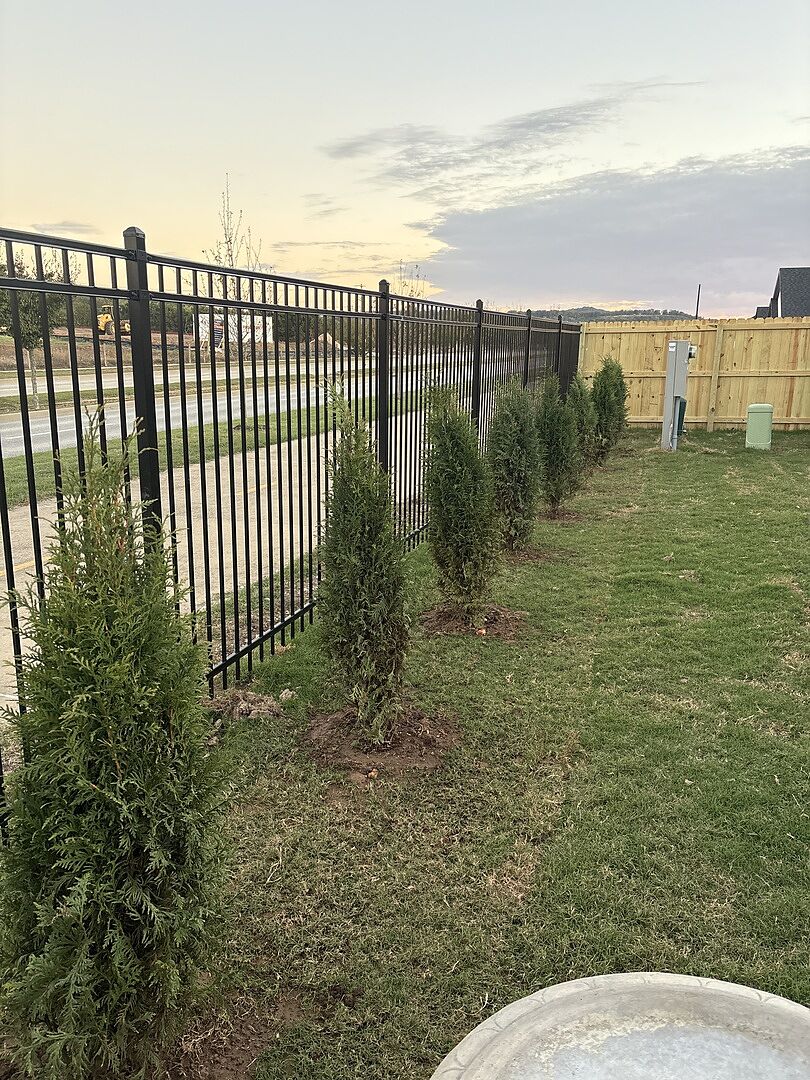
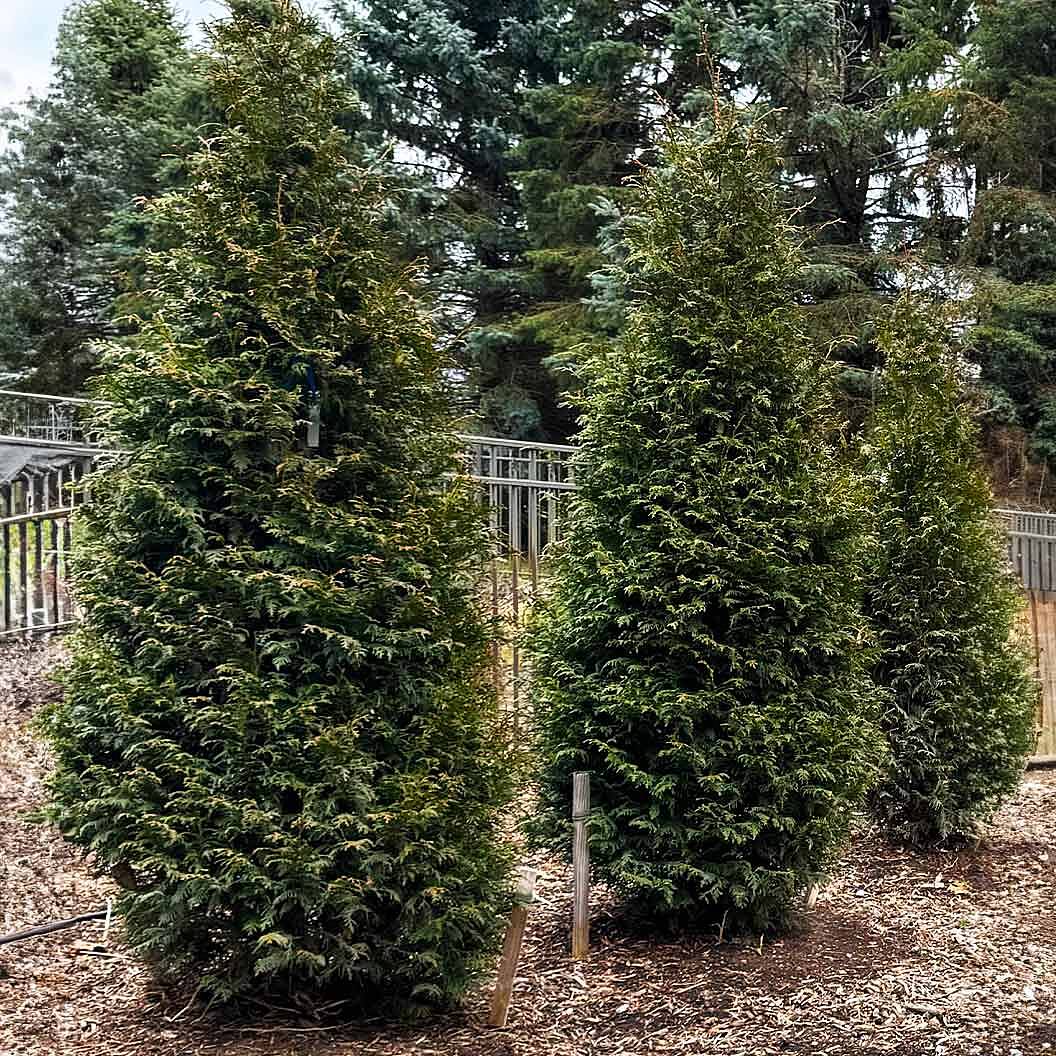
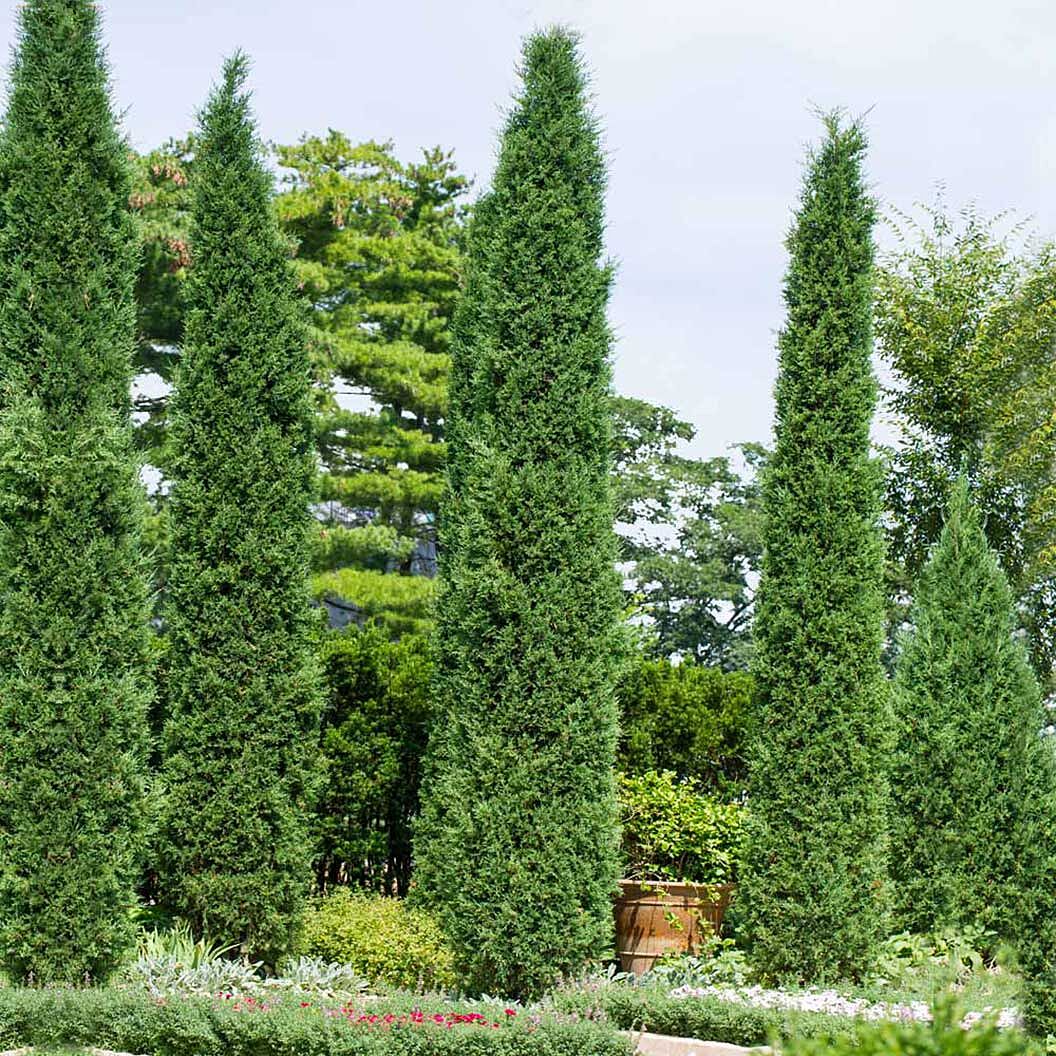
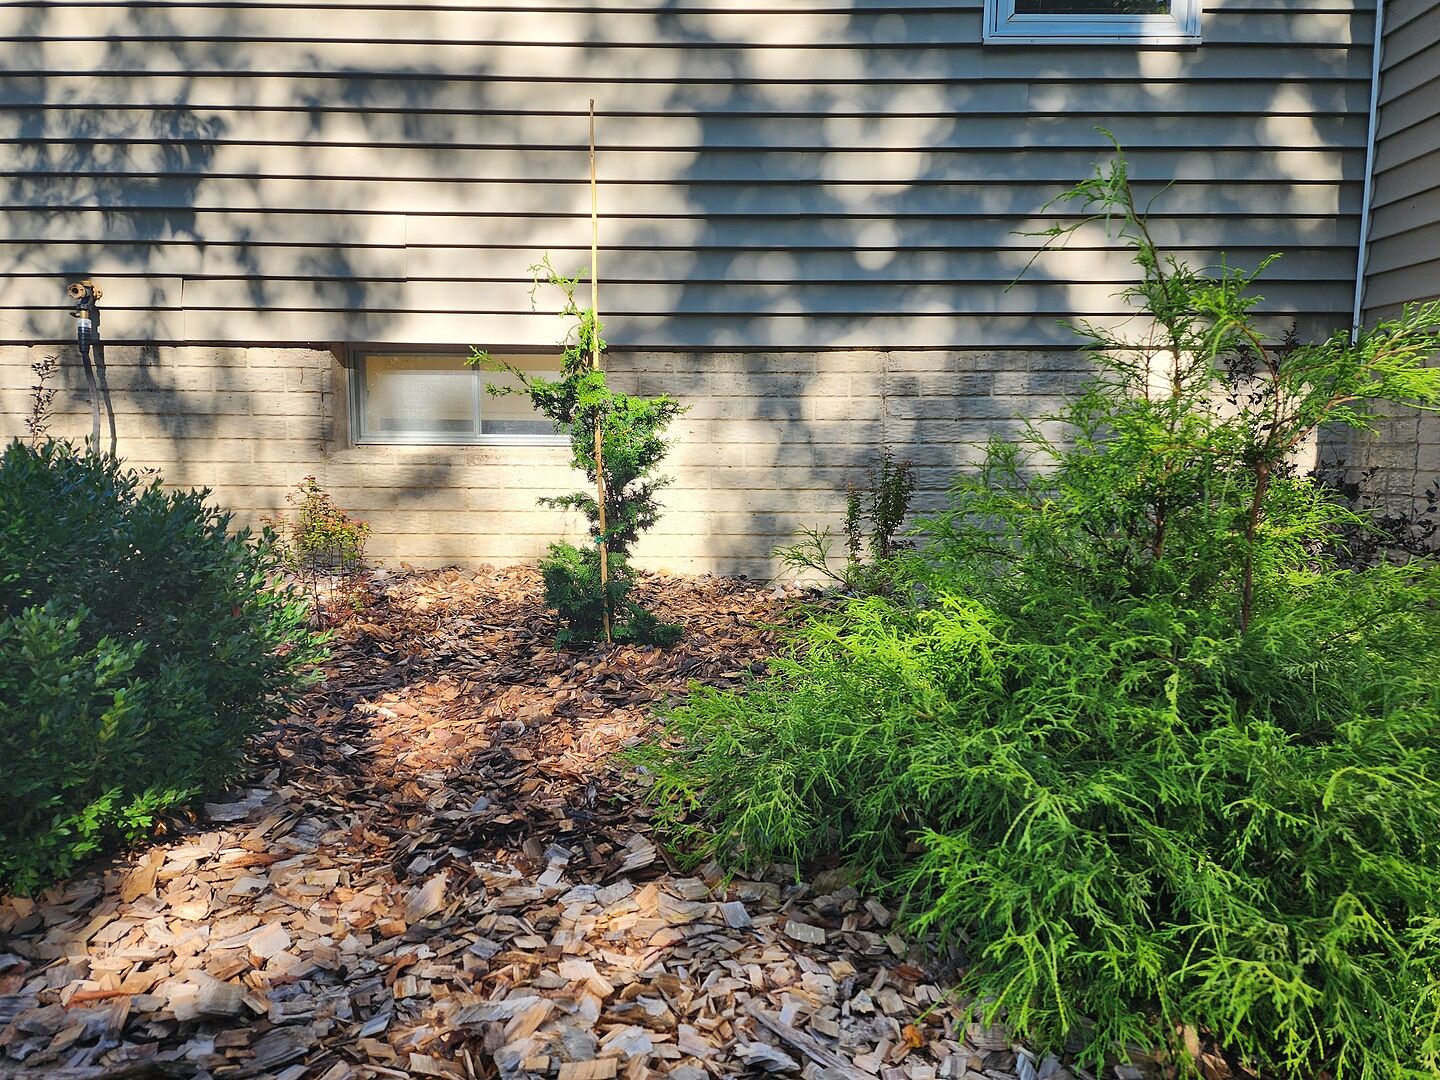
Evergreens: Evergreens have much more fibrous root systems than most deciduous trees. Keep their root balls nice and moist, but not flooded, to encourage them to branch out as they establish.
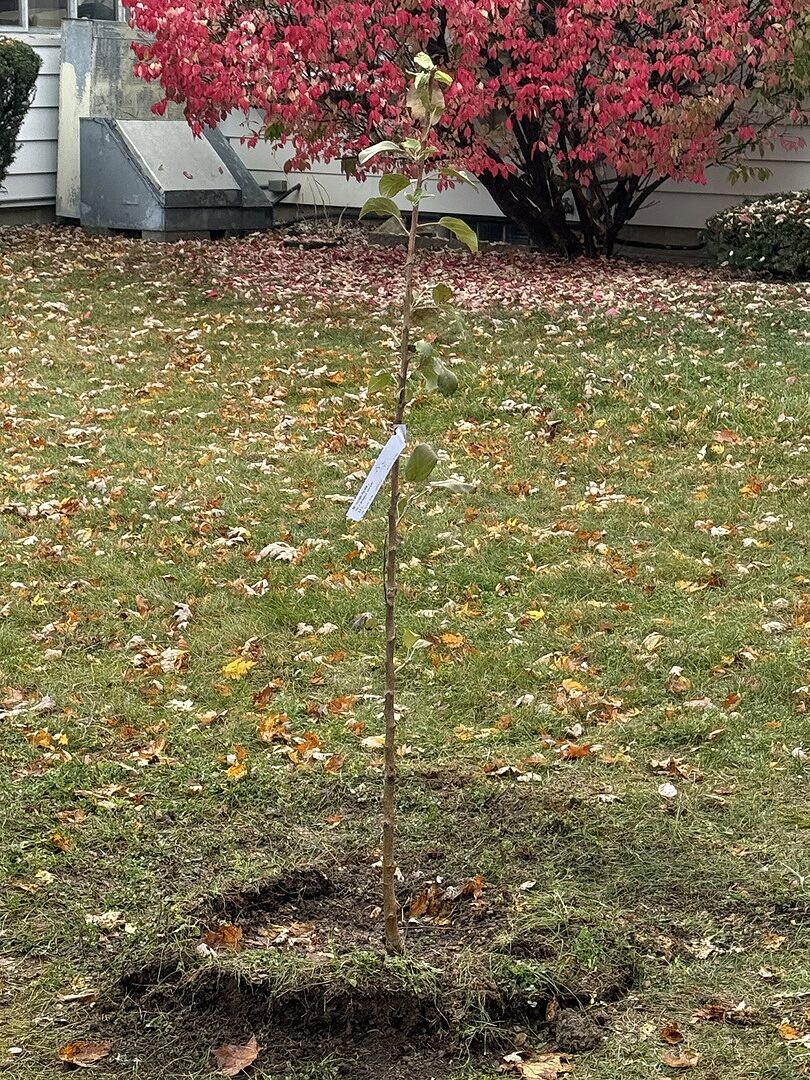
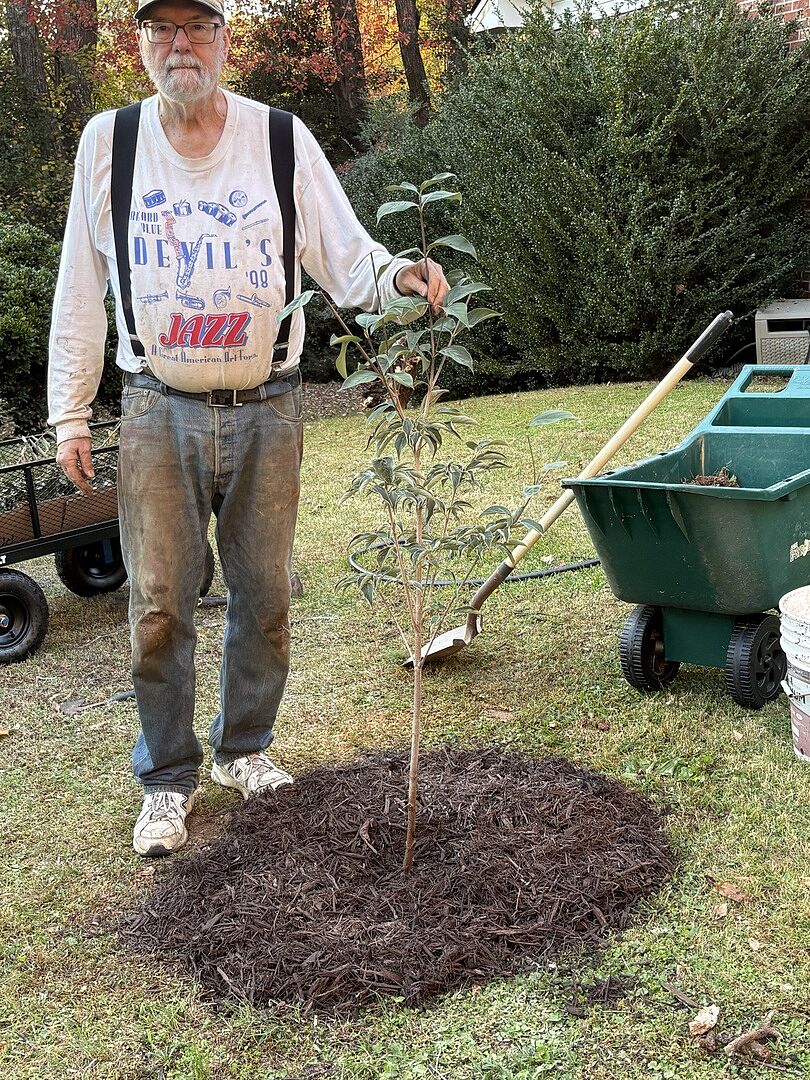
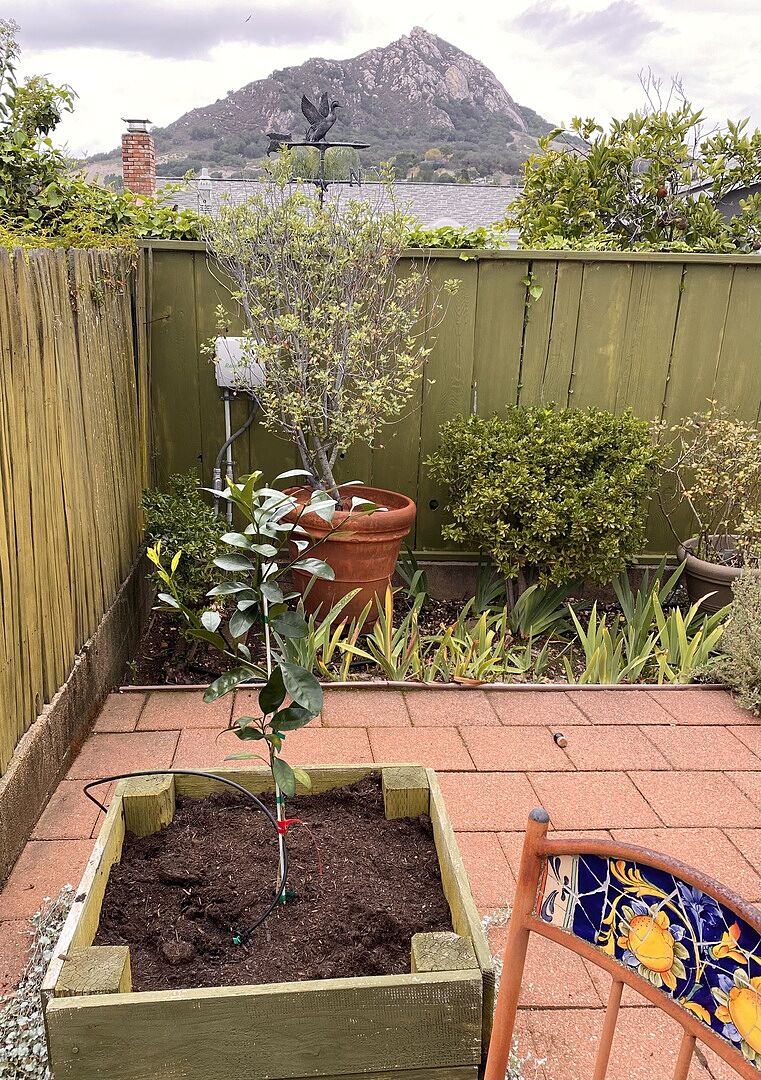
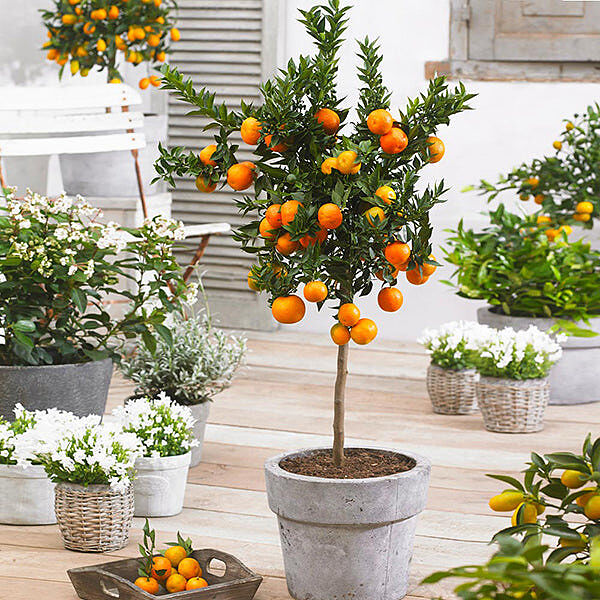
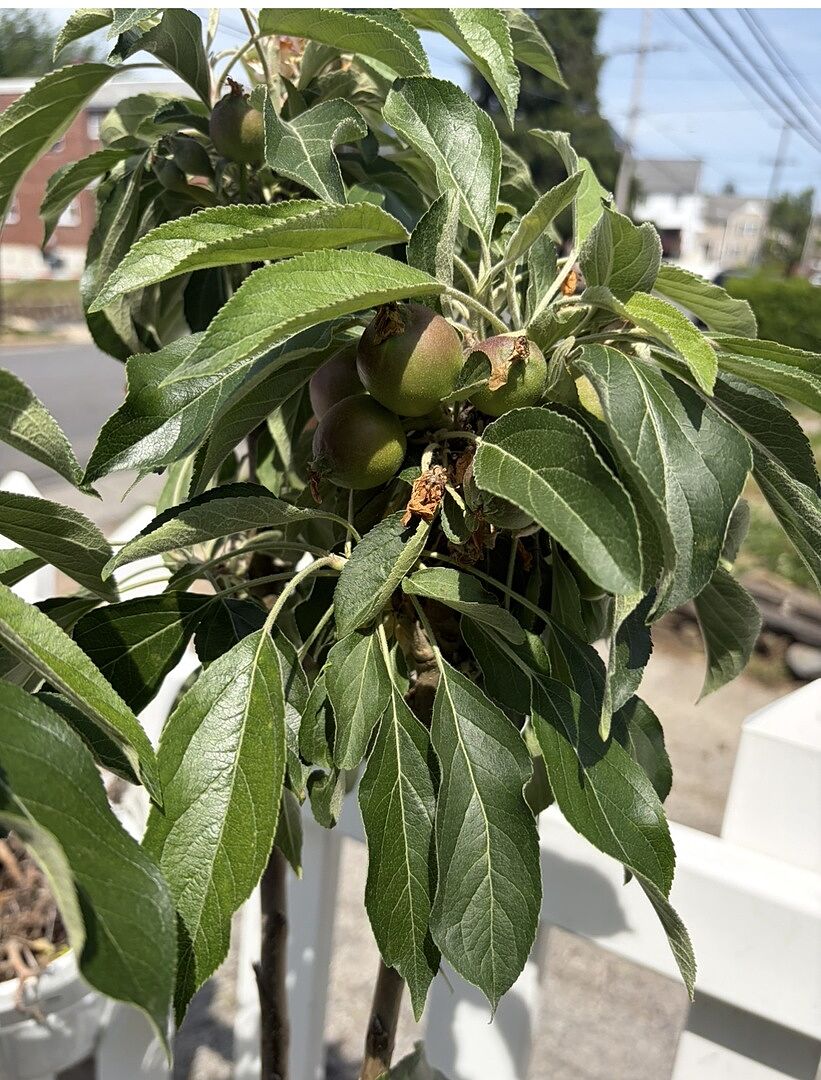
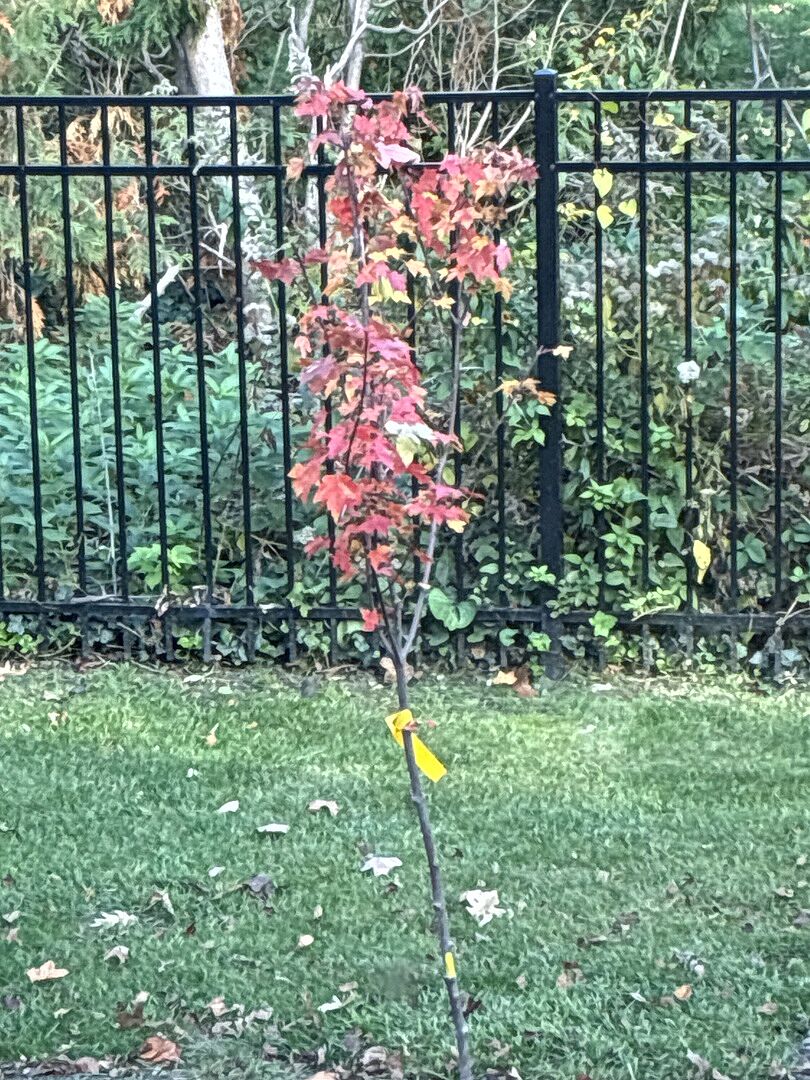
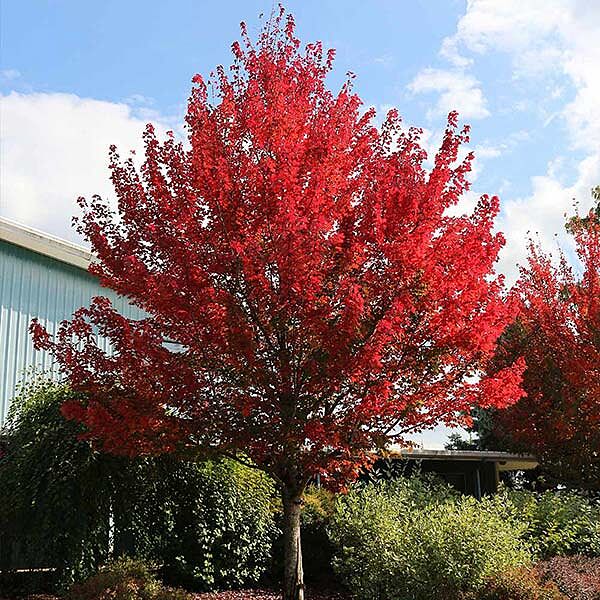
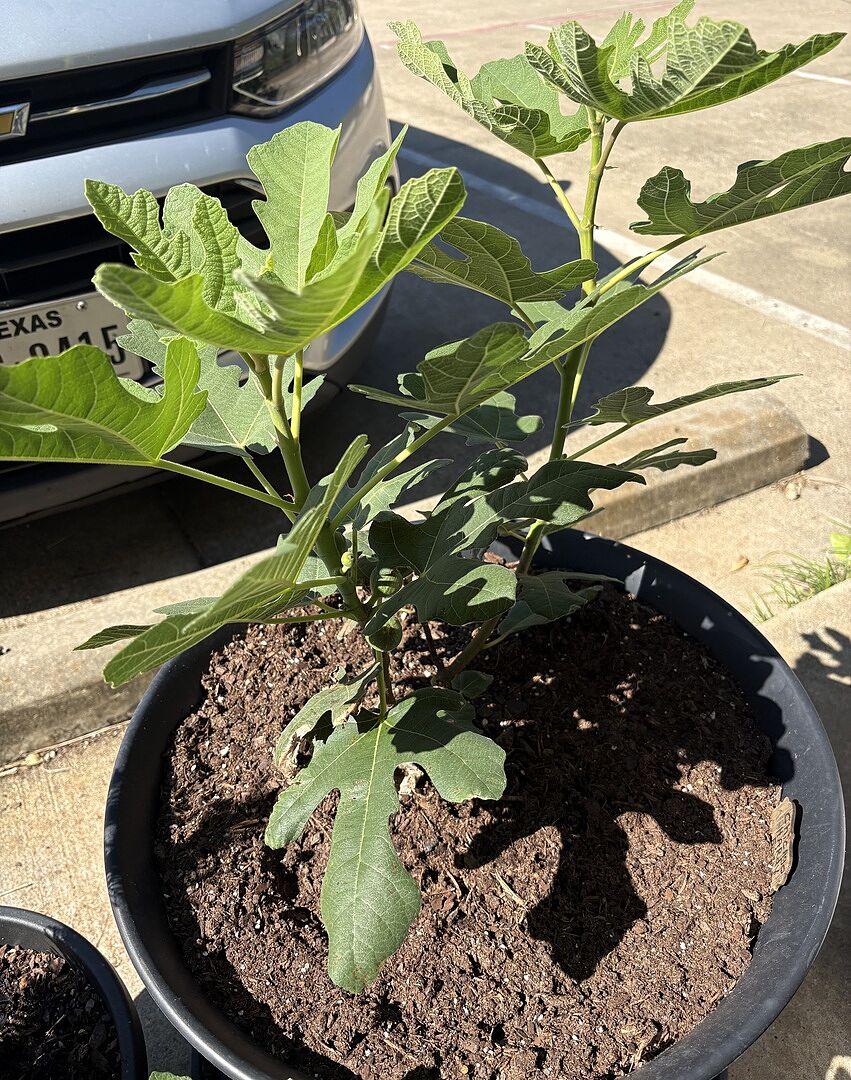
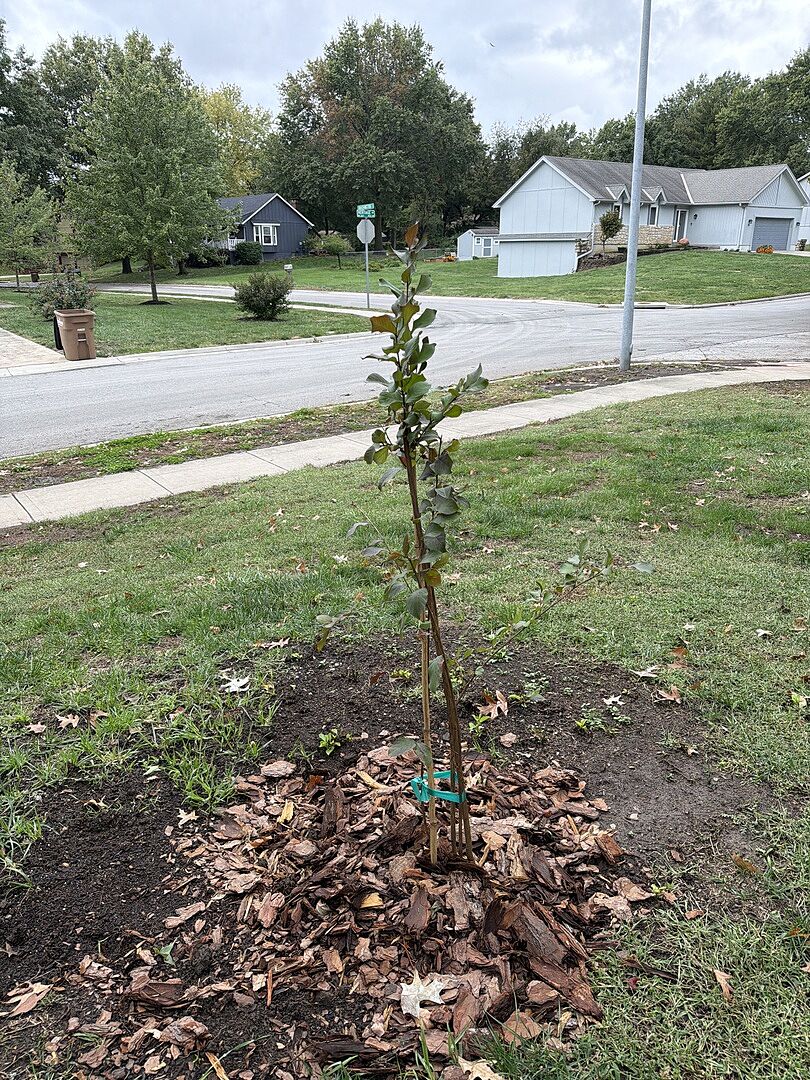
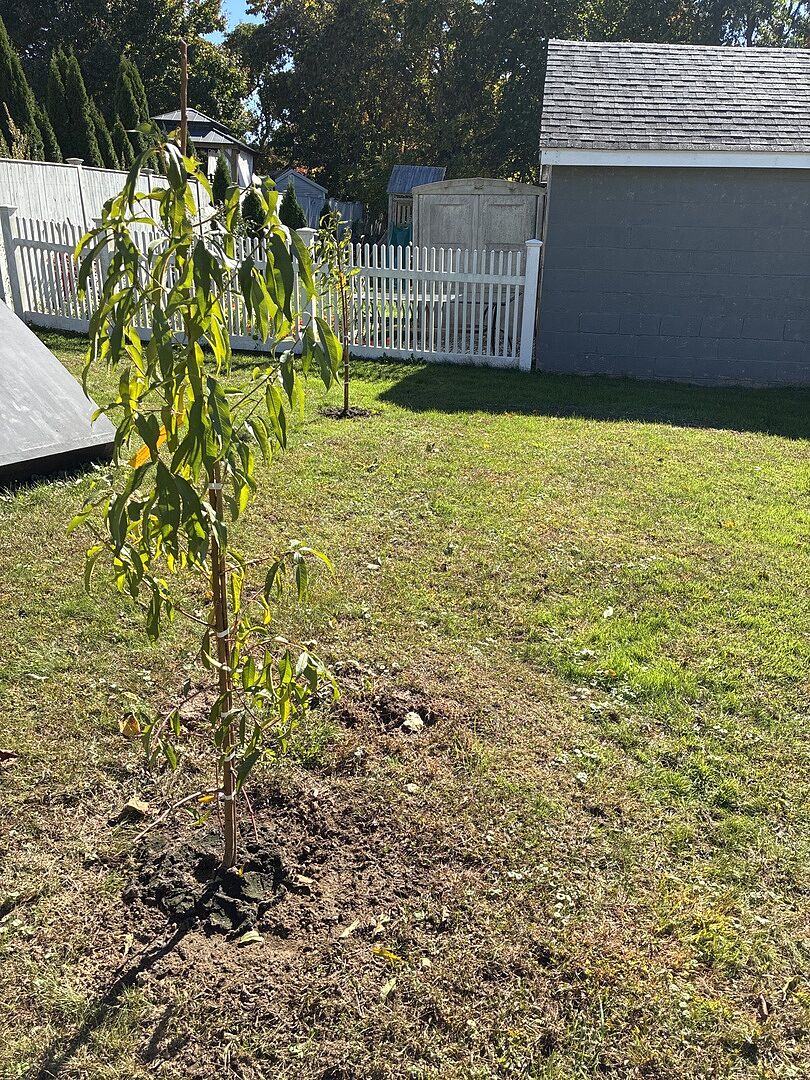
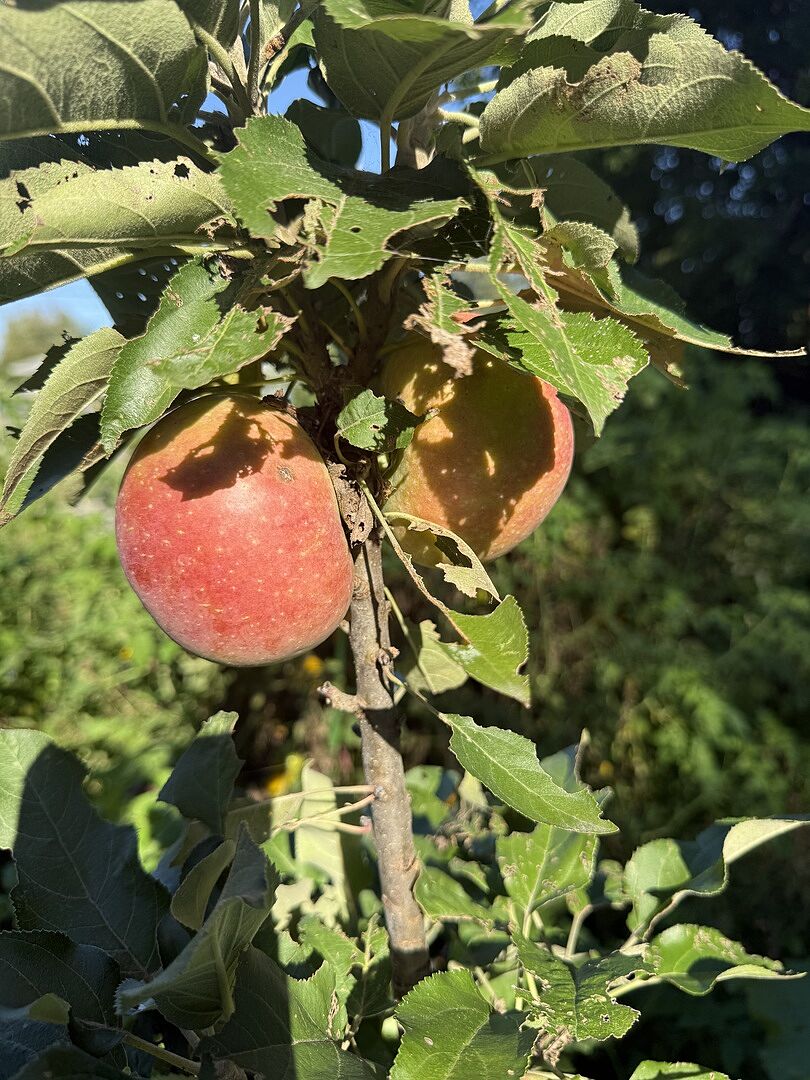
Fruit trees and shade trees:Plant with the root flare exposed. The root flare is the widest part of the trunk, right before it connects to the roots. To find it, locate the root closest to the surface and look directly above it. If the flare sits more than an inch below the soil in the pot, it's okay to remove some excess soil so it's exposed.
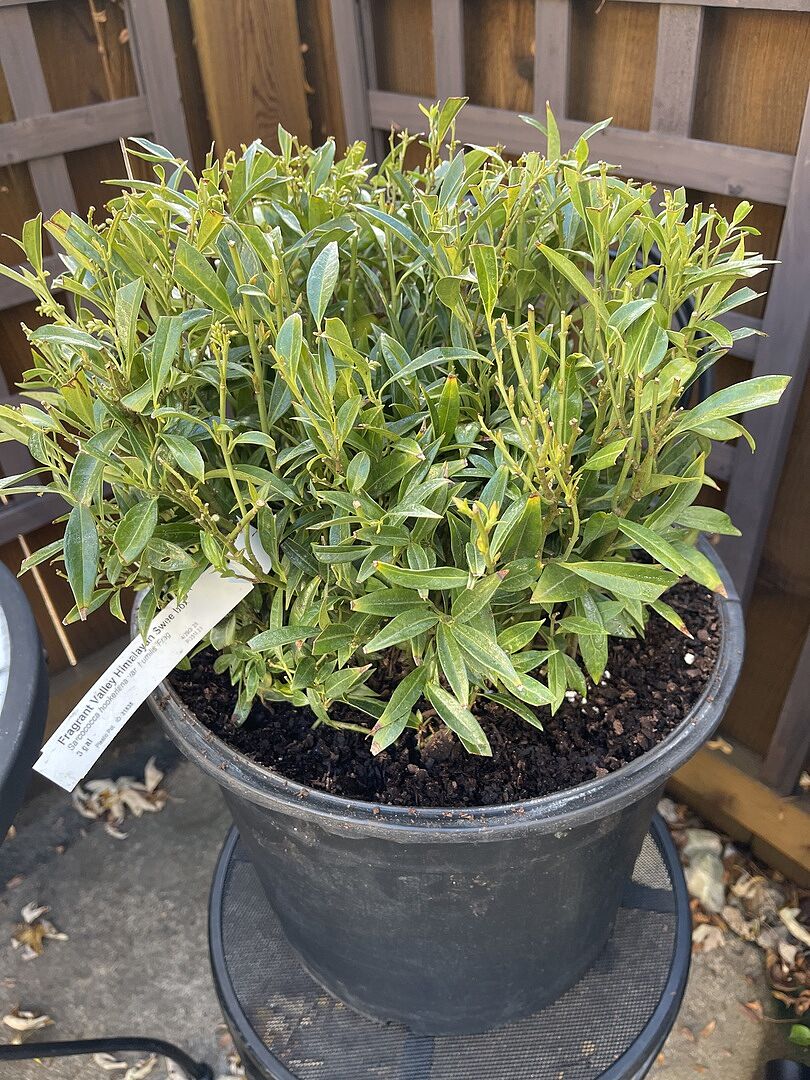
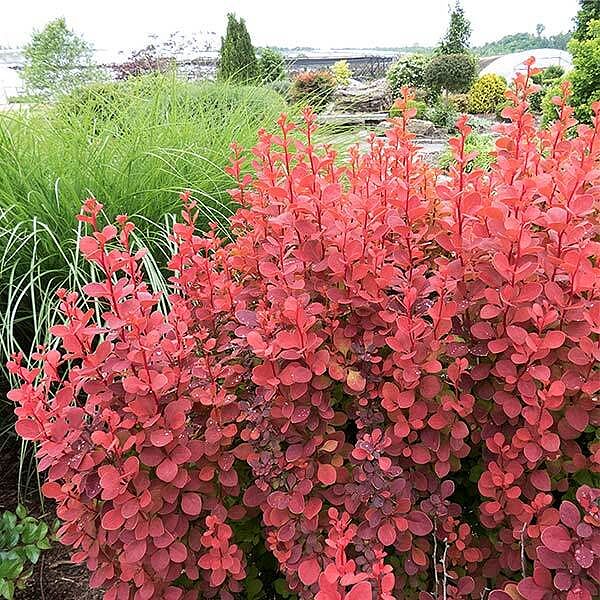
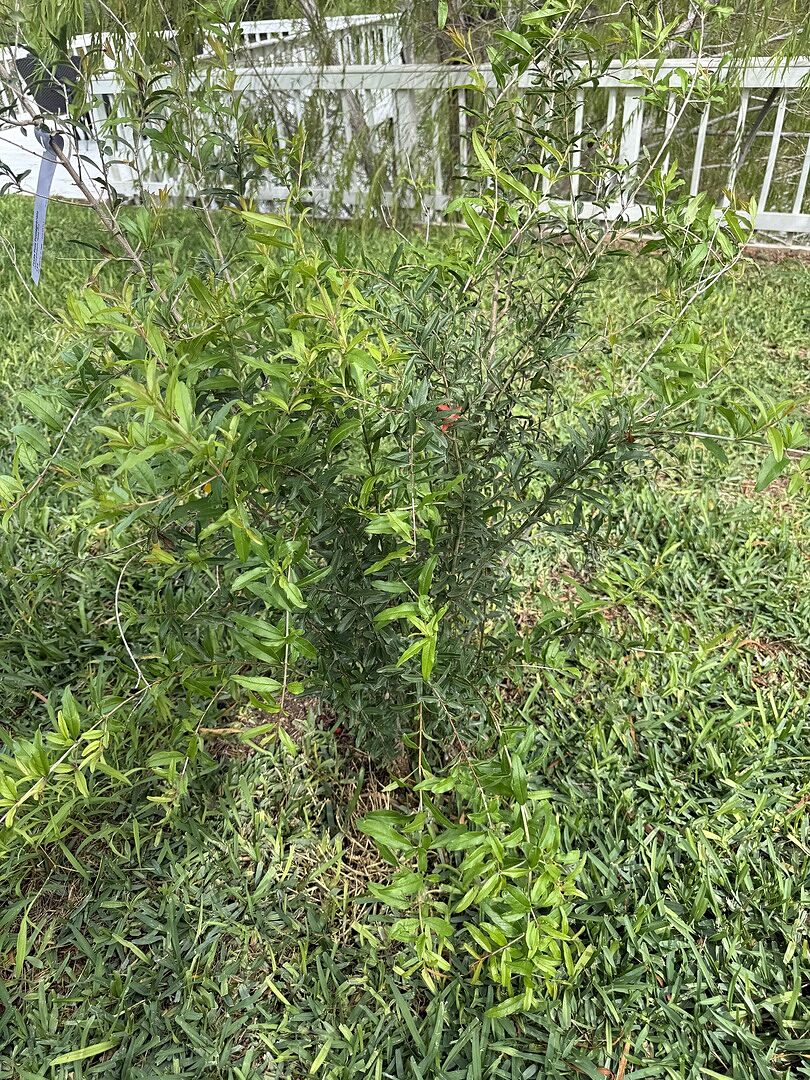
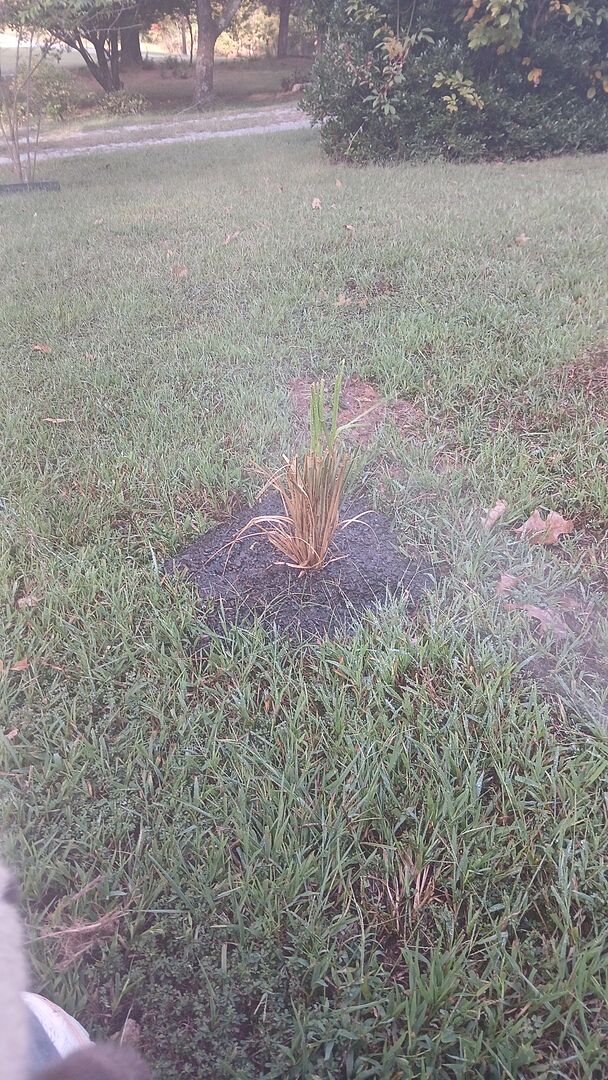
Shrubs and perennials:The smaller the plant, the more support it may need to minimize transition shock. Keep your plant well watered, and use a fertilizer high in phosphorus, such as a 4-10-3, to help roots establish faster.
What’s Normal vs. When to Reach Out
Normal after shipping:
Mild drooping A few yellow leaves Minor leaf spotting Minor leaf drop, even heavy leaf loss, as long as stems stay green beneath the bark
Once your plant is hydrated, settled and planted using the steps above, you're on your way. For help based on your specific variety, explore our planting and care guides for the best timing, spacing, and long-term care.
Every plant we ship is grown and packed with care, backed by our commitment to quality and support. If you ever have questions along the way, our Plant Experts are here to help, so you can grow with confidence from day one.